Pages

Monday, April 30, 2018

Life Is Better With a Smile | Tarrah McLean

Hi Cut Shoppe fans!

It's Tarrah McLean back with you today to share a new layout! This week I was feeling the circle designs so I started out by cutting the bottom left design in the 'Get Around' cut file set from patterned paper

One of the things I love to do with cut files like this is to back each hole with a different patterned paper, 6 x 6 paper pads are perfect for this if you have any laying around! I pulled out some older Amy Tangerine products to stash bust a little! 

Backing cut files can be a tedious job however I find it quite relaxing and I love the result once its all finished! I love how all the colours in the circle compliment each other. 

Once the cut file was all backed with the patterned paper, I machine stitched all the pieces for added texture and interest.

I used some foam adhesive to pop up the photo for dimension and to highlight it a bit more. I was so happy to use up some of the stash I have had laying around for a while!  

Thanks so much for stopping by today!

Check out The Cut Shoppe Etsy store for amazing cut files to enhance any project!

Happy creating!


Sunday, April 29, 2018

Dreamer by Jill

Hey everyone, I am back with a new layout using two awesome files from The Cut Shoppe Etsy store!

I love the mix of files in the Girl Power release, and was really drawn to the file that looks like stems to me.  I've had this SnapChat pic of me laying around forever, and decided to come up with some that worked with the photo and the cut file I like so much.


I sized the stems to approximately 3.25 x 11.6, then cut three of them from kraft cardstock.  I found three patterns in my stash and back the open areas of the file, adding the patterns at random.

Next I used the knife tool in my Silhouette software and detached one of the beautiful butterflies from the Social Butterfly background file.  I like things in 3's, so I made one larger butterfly and two smaller.  I cut the butterflies once from a coordinating patterned paper, then removed all the interior cut lines and cut them again.


I used a tiny bit of adhesive to attach the butterflies together, then ran them through my sewing machine.  I also adhered the stems and stitched those to my background kraft paper.

I wanted lots of dimension on my page, so I lifted the edges of all the cut files off the paper once everything was stitched into place.


I used some layers behind the photo then added a sticker and enamel dots and triangles for the butterfly trails.  


Thanks for checking out my newest layout for The Cut Shoppe!


Saturday, April 28, 2018

Hello Spring | Kelly Janes

Hey there friends! Kelly back with you today to share a new 12x12 layout using two cut files - The Up & Down Background Cut File & the Spring Fever Cut File.


I cut The Up & Down Background Cut File on white cardstock and used a couple Pinkfresh Studio Stamps from my stash to create the background design. I then loosely watercolored each of the stamped images, and I also adhered fun foam behind the cut file image before adhering it to the yellow cardstock background.


I positioned my photo and embellishments on top of The Up & Down Cut File and then cut my title from the Spring Fever Cut File on bright pink cardstock. I also added pop dots behind the title to create more dimension and shadowing. I love all of the bright & cheery colors in this layout! It just screams Spring, and I know I'm ready for warmer weather after this crazy cold winter!


Now you can take a look at my process video showing how this layout came together!


Thanks so much for spending part of your day with me and remember to head to The Cut Shoppe Etsy Store to check out all of the cut files & digital collections!


Friday, April 27, 2018

Mixed Media Scrapbook Journal Cover | Helen Gullett

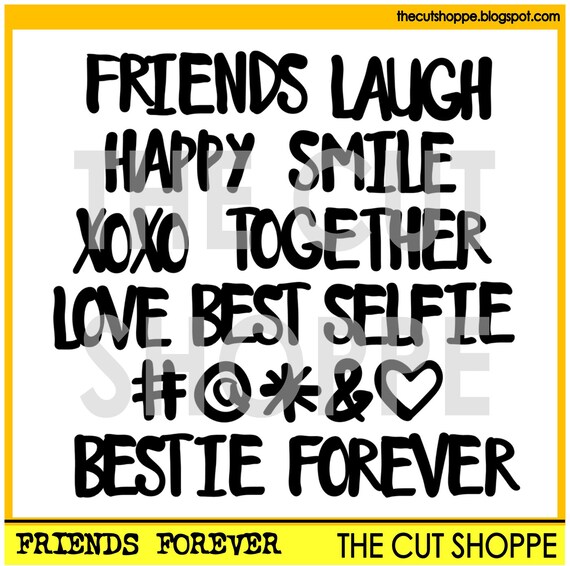
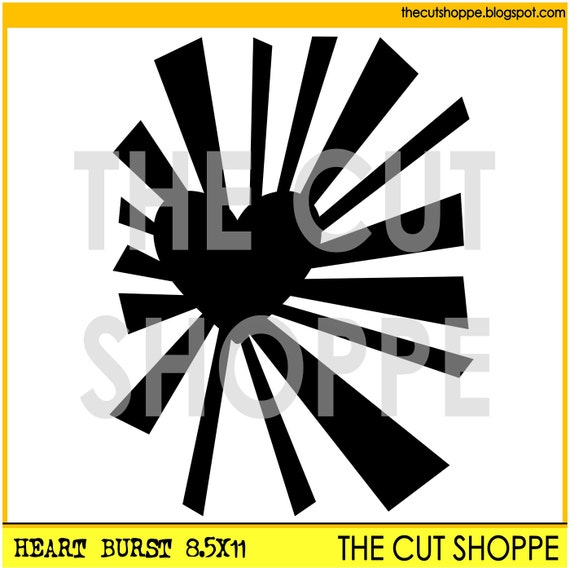
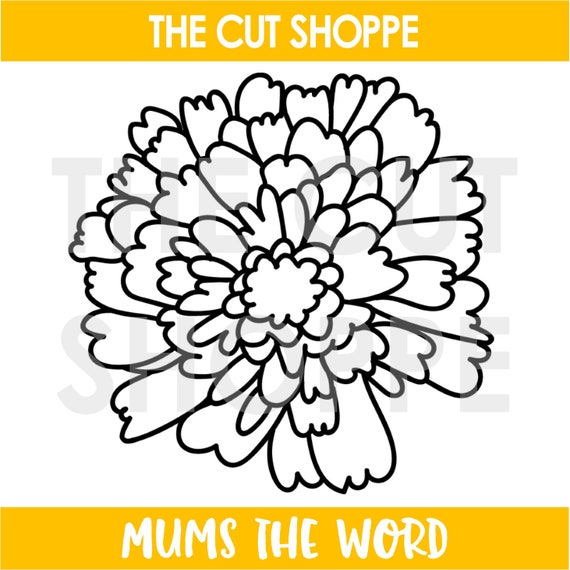
Hello crafty friends... Helen is here :) Today I would love to share with you a mixed media project that I created using the Friends Forever, Heart Burst, and Mums The Word cutting files from The Cut Shoppe.


I decorate this Smash Journal cover with mixed media technique that I use as scrapbook journal for our journey memories.


I started with cover the cover with thin layer of white gesso. I dried it with craft heater and then I sprayed with Angle Pink Fireworks! Shimmery Crafty Spray. I set it aside to dry.


I open the Heart Burst and Friends Forever files using Silhouette Studio software, resized them to fit the sizes I wanted to use on the journal, and then cut out watercolor paper with Silhouette Cameo.

I added the Wilted Violet Distress Oxide inks on my craft mat, sprayed with water, and then I smooshed the heart burst in the ink. To get the layers of colors with the same ink, I dried it in between adding ink to it.

I repeated the same steps for the hearts using the Fired Brick Distress Oxide Ink and the word Love with the Worn Lipstick Distress Oxide Ink.


And To get the gradient colors on these words, Together and Forever, I used the same technique using the Cracked Pistachio Distress Oxide Ink and Broken China Distress Oxide Ink. I dried them with craft heater.

I use Art Glitter Dries Clear Adhesive Glue to add all the pieces on the cover. First, I added the watercolored heart burst background and then I added the word Love in the middle of the heart burst.

I printed our pictures, cut the heart shape with scissors, and then I added on the cover. After that, I added the words Together Forever, and then last is the hearts.


I cut out the Mum flower out of a piece of plastic acetate to use it as stencil. I added the texture paste on the top corner and bottom corner using this Mum stencil. I dried them with craft heater, and after that I scribble some Distress Crayon on them and blended it with my finger.


I finished this cover with some enamel dots. The cover is done. And next I will be working on the pages inside ;)


 I hope you all can enjoy this project today. Thank you for stopping by.... Have a fabulous day!


Thursday, April 26, 2018

New Cut Files | Happy Details

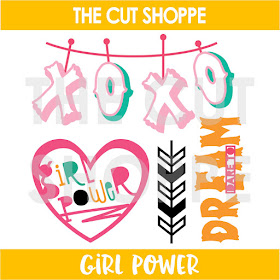
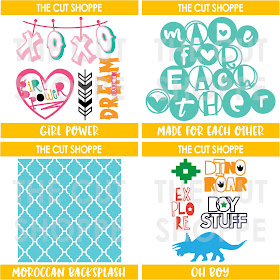
Thursdays are always my favorite day of the week, because it's time for NEW Cut Files to be revealed!  I love creating the designs, using them on my projects, and seeing how all of you use them too!  Today, we've got a fun variety of designs available and I decided to work with the Girl Power cut file set on my layout.


https://www.etsy.com/listing/610250797/the-girl-power-cut-file-includes-4?ref=shop_home_feat_4


Banners always create a fun look on a layout, so I cut three of the XO banners for my page.  I used the Carousel collection from Crate Paper and cut each banner from a different patterned paper.  Then I backed each one with a different patterned paper.  I love combining different patterns and colors on my projects, and this is a fun way to do it.


I placed each of the banners on a wood grain paper from the Carousel collection and then I stitched each one on my sewing machine.  I love the little bit of texture the stitching added to the cut file.  I placed my photo on the right hand side of the page and added a few embellishments around it, to draw the eye.


Once I had the photo in place, I used some of the puffy stickers to create my title.  I used the bottom banner as a guide for adding the letters, and I love the way they follow the curved line of the banner.  To finish the layout, I placed a bow on each banner and then balanced the design with some chipboard stickers and puffy stickers on each row.

You can find the Girl Power cut file in The Cut Shoppe Etsy store today, along with three other new cut file sets.  Head over and check them out and pick up your favorites for upcoming projects!

https://www.etsy.com/shop/TheCutShoppe

https://ashleyhortondesigns.blogspot.com/
 

Wednesday, April 25, 2018

Spring Vibes - Caroli Schulz

Hello there! It's Caroli and today I want to share a new layout I made using one of the gorgeous cut files designed by Ashley.

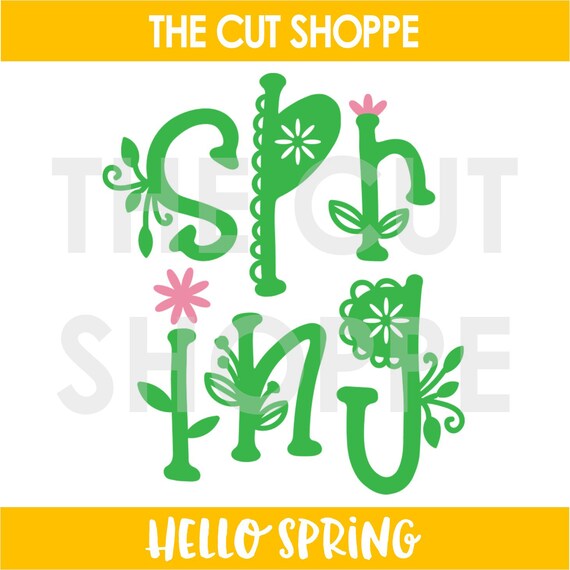
Today I'm sharing this layout I made using Hello Spring cut file:


I also used these flowers exclusively designed for Scrapbook Nerd and available for free at their website:


Here is my layout, I used patterned paper and embellishments from Spring Things collection by Doodlebug Design, and a pic f my little girl few years ago. 


I cut several flowers and combined them with acetate and paper embellishments, I love how these clusters came out.


Something I love is to use my sewing machine to stitch over cut files, in this case I stitched all over the letter


My layout has a lot of volume and color, just perfect for a spring themed project! 


I hope you liked this idea and give it a try, cut files + sewing machine = success! :)

Before you go, make sure to mark you calendars for our NSD event this weekend! I will be sharing a project that hopefully will get you inspired, stayed tuned!


Thanks so much for stopping by today and I hope you have a lovely day!

Tuesday, April 24, 2018

Favorite Place Layout with Neftali

Welcome everyone! I am back today to share another 8 1/2 by 11 layout using two awesome floral cut files from the shop. This time I started off straight away by choosing the gorgeous Flower Power cutfile and the Funky Florals cutfile. I fell in love with the pretty detailed flowers and I knew I wanted to back them to bring them to life.

I then picked a few of my favorite colors from patterned papers in my stash and used pink, yellow, hot pink and teal glitter. Those are all of my favorite colors! Here it is:


When I finished backing it, decided that since the cut file covered most of my Letter sized base, I wanted to create a vertical line of focus on the center of my page. 

I rummaged through my supplies to find matching collections to my colors and I quickly gravitated to the Pink Paislee Pick Me Up collection. 


I chose this beautiful quote ephemera piece INSTEAD of a title because of the sweet words and how well they reflected the story I was trying to document with this photo of my sweet family.

I decorated around my page by adding a few very subtle petals and extra dimension to the cutfile itself. And of course, I even included a few splatters. 

I just love how it turned out!

So, that's it for today! I hope that my layout today has inspired you to get crafty with some florals, or giving this cutfile life with some patterned paper backings! 

Either way, I have enjoyed sharing this layout with you today. I'll be back next month with much more inspiration. 


Don't forget that NSD at The Cut Shoppe is coming very soon. I'm super excited for that. Bye, now!


Monday, April 23, 2018

Beautiful - Erica Thompson

Hello Cut Shoppe Fans!  Erica here with you today using the Flutterby cut file and some Simple Stories I Am collection! 

 I just love this cut file and decided to change it up a bit by taking the butterflies off the circle.  One of the things I love about cut files is that you can change them up a bit!  Now this could be done in the software but I was not sure yet what I was going to do when I cut the file out.  I just had a pile of files cut out since my scrap time is limited!  

I started with plain white cardstock as my background and added some white gesso.  Now if anyone has a favorite gesso please let it down below in the comments because I do not like the way the one I used changed my white paper to a dirty white.  Maybe I should try clear?  Anyway if someone has suggested I would love to hear them!  So back to my layout....added gesso and them so color with a bunch of different mists and inks from my stash.  Some Shimmerz, Distress Ink, and Heidi Swapp Color Shine!
I backed the cutfile with one of the papers from the Simple Stories I Am collection that had a watercolored look to it!
Here is a look at my completed layout and you can check out my full process on my YouTube channel HERE!

Here is a look at my completed layout using the Flutterby cut file!

Make sure to check out shop for all the fabulous files and stay tuned for some new ones coming soon!  Also mark you calendars for our NSD event!
Thanks so much for stopping by today and I hope you enjoy the rest of your day!