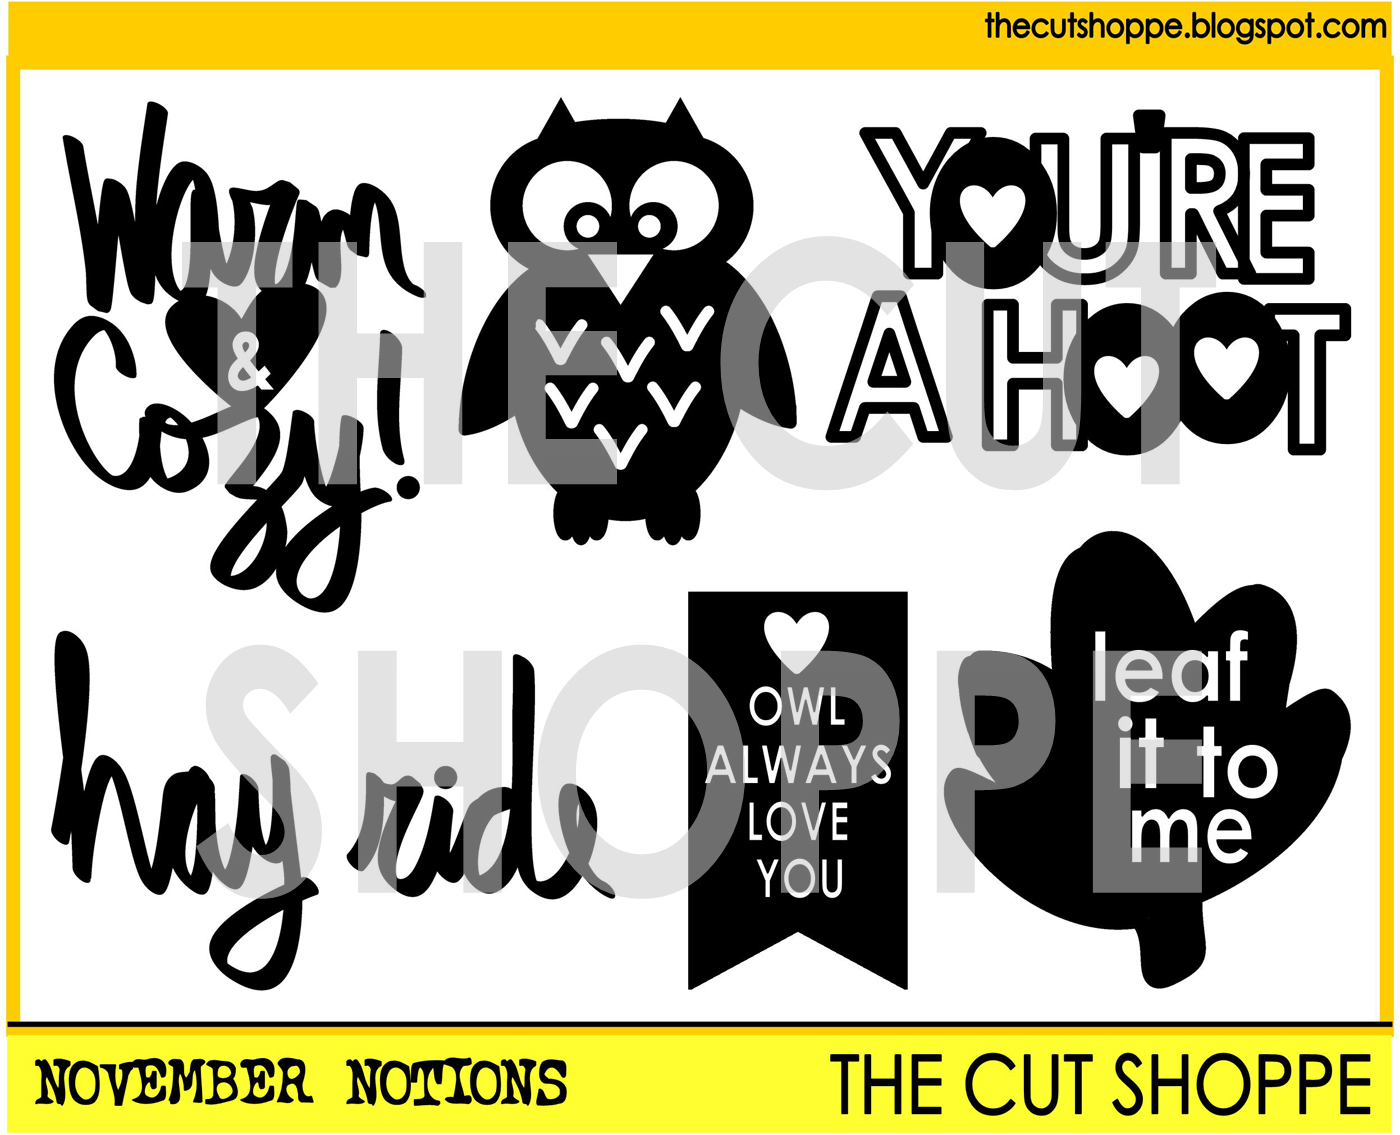
I just had to use that cute owl from the November Notions cut file set. I may have purposefully chosen a photo, that would work on a Fall themed layout, that could work with an owl!! He is ready to cut as is and leave the White space negative, but I wanted to add a little bit of extra something, something to my owl. Here's a quick look at how you can separate the owl in Silhouette Studio, to add your own fun touch.
1. After you open your Owl in Silhouette Studio and Trace the image, go to Object and select Release Compound Path. This will separate all of the individual parts of the owl.
2. I wanted to back the chevron pattern instead of cutting each piece separately, so I only moved the eye and nose pieces. Once you decide how you want to cut each piece, you can move the extra pieces off of your mat, before sending your owl to cut. I just cut each piece on the patterned paper I wanted to use, and then put all of the pieces together, once everything was cut.
**Color added to emphasize the separated pieces.**
I hope you enjoy all of the new Cut Files in the Shop this week! Here's a look at all of the ones that have been added today!
I spy some great Planner cut files, that are available today!! And they come in two formats...Cut Files and Printables!!
Supplies: November Notions cut file & Lucky In Love cut file: The Cut Shoppe; Patterned Paper & Date Stamp: American Crafts; Stamp, Tags, Wood Veneer & Cork Bits: Elle's Studio; Flair Button: A Flair for Buttons; Tiny Attacher: Tim Holtz; Die Cut Machine: Silhouette Cameo


love this fun layout!
ReplyDelete