Showing posts with label vinyl. Show all posts

Saturday, August 17, 2019

be the light | orange gearle

Hello!  Orange Gearle here with one file -- but two projects!  Today I am using the Be The Light cut file for two off-the-page projects. Here are my projects!


Here is the Be The Light file?


The word I chose as my "word" this year is Light!  When I saw this cut file I wanted to plaster it on everything!  I settled for two things (so far). I used vinyl to make myself a skin for my computer. I cut out the center of the lightbulb in yellow for extra pop!

I also made a t-shirt that I will wear proudly!!!

Thanks so much for stopping by. I hope I have inspired you to look at using cut files not just for paper projects -- but also to take it off the page! XO o.g.


Sunday, December 23, 2018

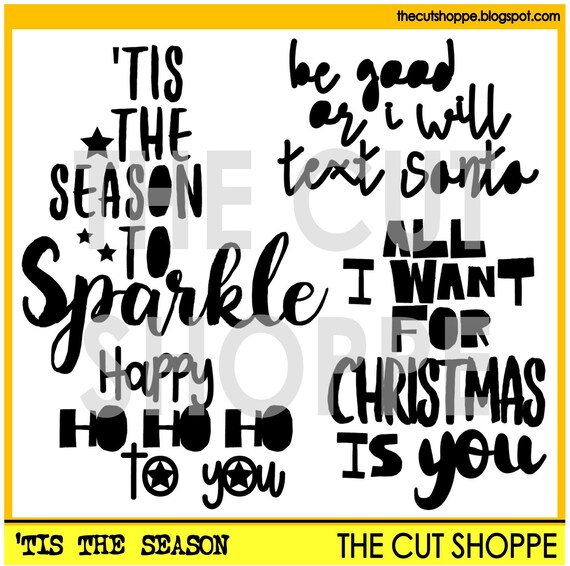
Tis The Season To Sparkle | Tarrah McLean

Merry Christmas Cut Shoppe friends!

It's Tarrah McLean back today to share a festive project with you! I wanted to create my own top to wear to work on my last day for the year and the Tis the Season cut file set was perfect for it!

image 0

Once I had traced the cut file, I wanted to see what the colours would look like in the software, so I filled the words and stars in to match with the green, red and gold glitter vinyl colours I had chosen. This is a great way to get an insight to how your finished product will look! See below a screenshot of the colours filled in.

You may notice that I moved the bigger star to the right hand side instead of the left where it was in the original design. I also moved the word 'season' so that it sat more in the centre. I released the compound path in the design software so that the words were separated and I could group and cut the same colours on the appropriate sheet of vinyl as you can see below. MAKE SURE YOU MIRROR YOUR DESIGN IN THE SOFTWARE for heat transfer vinyl as you have to load heat transfer vinyl upside down in the machine.

Once everything was cut, I weeded out the unwanted pieces of vinyl so that just the words and shapes that I wanted were left on the backing sheet. I laid them on to my shirt how I wanted the finished product to look being careful not to iron them onto themselves or onto backing sheet.

I then ironed them on using a hot setting on the iron with a thin tea towel in between the shirt and the iron. I checked if it had worked before I had finished by peeling up the corners of the backing sheet once it had cooled down a little bit.

Thank you so much for stopping by today! Merry Christmas and a Happy New Year to you and your family!


Sunday, October 28, 2018

Fall Home Decor

Hey there! It's Devra  and I'm so excited to show you my project today! I made a DIY fall decor piece that I've been wanting to do for a while.


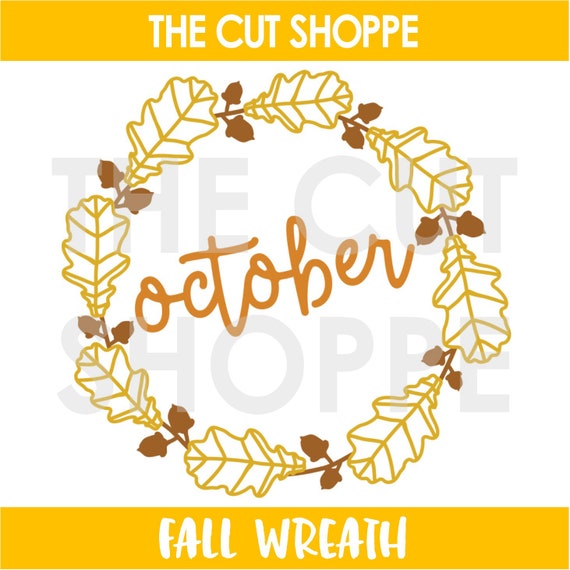
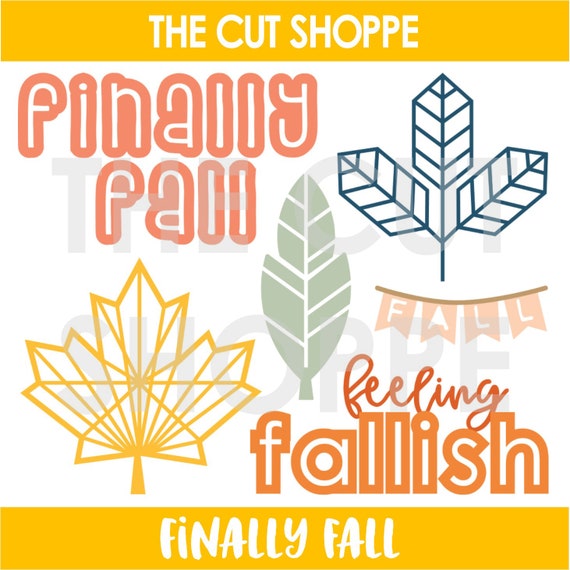
I used three different cut files. Fall Wreath and Finally Fall were cut with vinyl for the front of the glass block.  The wreath was easy. I made it small enough to fit on the block, then cut the vinyl.


Getting 'fall' cut was a bit tricky. I used the knife tool in the silhouette software to slice the 'feeling' off of 'feeling fallish'. Once that was done, I was able to cut just 'fall' to add to the center of the wreath.


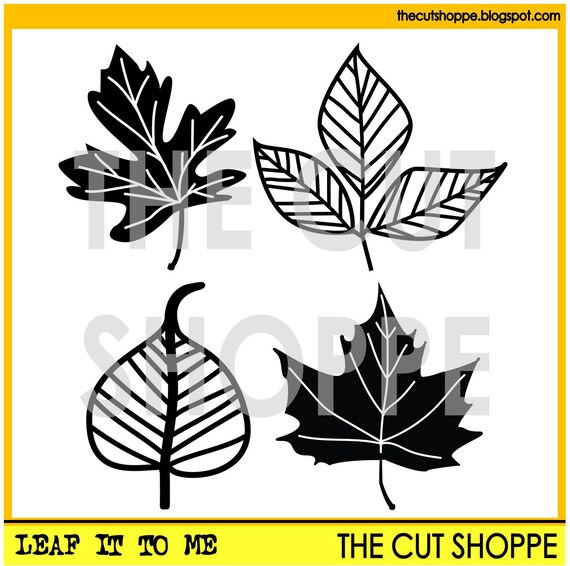
Now on to the paper part! I cut several leaves from Leaf It to Me, backing them with patterned paper  to add color, pattern and yes, strength! I layered them on each side, on the top of the block. It looks so pretty siting on my table!


Surprise! I put twinkle lights inside the block! This is what it looks like all lit up. I love the lights through the cut files!


Thanks for taking a look at my project today! See you next time.