Showing posts with label Mums the Word. Show all posts

Monday, July 15, 2019

Fly like butterfly | Sasha Biyanova

Hello, everyone!

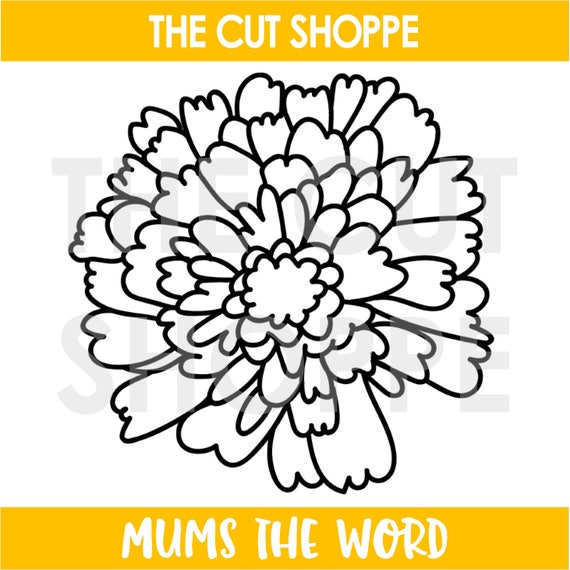
It's Sasha here today)) I created two layouts using one cut file in different sizes. And it wasn't a series! That cut file was Mums The World)


I could't imagine what size of flower I needed! So I decieded to cut this file in three sizes and unexpectidly created more layouts than I planed)


This one is about one little butterfly) These subtitles mean "my girl" and "fly like a butterfly" ))


And "cutie" is here)


I imagine that she is a butterfly on the flower)))


And another one layout is very simple) Brrr - that was exactly the feeling of my daughter when she tasted mojito lemonade))))


Thank you for stopping by today!
Happy crafting)

Friday, April 27, 2018

Mixed Media Scrapbook Journal Cover | Helen Gullett

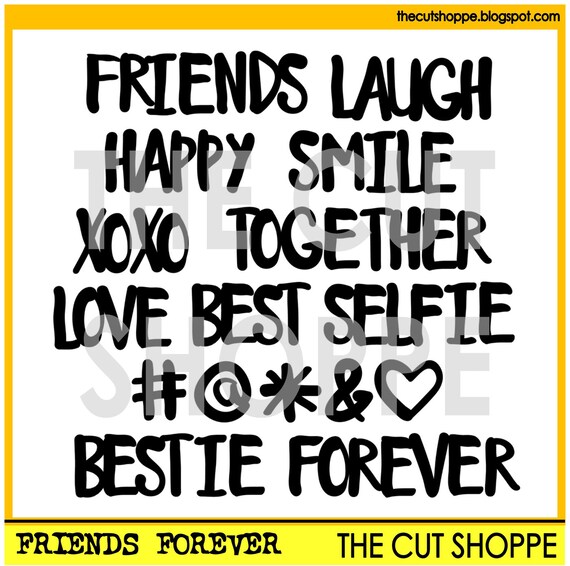
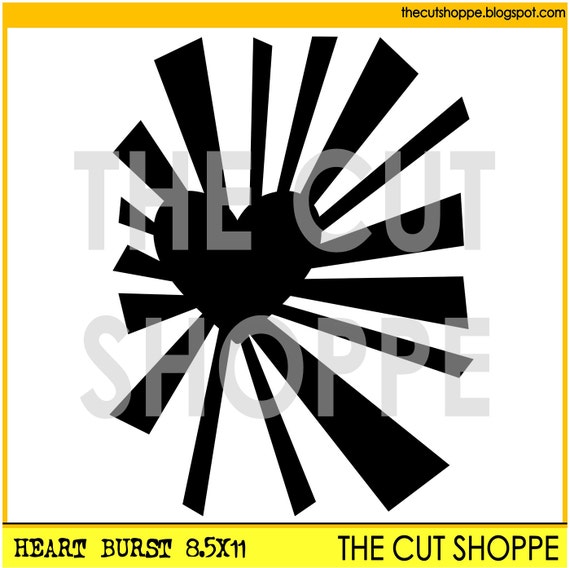
Hello crafty friends... Helen is here :) Today I would love to share with you a mixed media project that I created using the Friends Forever, Heart Burst, and Mums The Word cutting files from The Cut Shoppe.


I decorate this Smash Journal cover with mixed media technique that I use as scrapbook journal for our journey memories.


I started with cover the cover with thin layer of white gesso. I dried it with craft heater and then I sprayed with Angle Pink Fireworks! Shimmery Crafty Spray. I set it aside to dry.


I open the Heart Burst and Friends Forever files using Silhouette Studio software, resized them to fit the sizes I wanted to use on the journal, and then cut out watercolor paper with Silhouette Cameo.

I added the Wilted Violet Distress Oxide inks on my craft mat, sprayed with water, and then I smooshed the heart burst in the ink. To get the layers of colors with the same ink, I dried it in between adding ink to it.

I repeated the same steps for the hearts using the Fired Brick Distress Oxide Ink and the word Love with the Worn Lipstick Distress Oxide Ink.


And To get the gradient colors on these words, Together and Forever, I used the same technique using the Cracked Pistachio Distress Oxide Ink and Broken China Distress Oxide Ink. I dried them with craft heater.

I use Art Glitter Dries Clear Adhesive Glue to add all the pieces on the cover. First, I added the watercolored heart burst background and then I added the word Love in the middle of the heart burst.

I printed our pictures, cut the heart shape with scissors, and then I added on the cover. After that, I added the words Together Forever, and then last is the hearts.


I cut out the Mum flower out of a piece of plastic acetate to use it as stencil. I added the texture paste on the top corner and bottom corner using this Mum stencil. I dried them with craft heater, and after that I scribble some Distress Crayon on them and blended it with my finger.


I finished this cover with some enamel dots. The cover is done. And next I will be working on the pages inside ;)


 I hope you all can enjoy this project today. Thank you for stopping by.... Have a fabulous day!


Friday, April 13, 2018

Framed Mum Shaker Card | Helen Gullett

Hello everyone... Helen is here today sharing my first project as The Cut Shoppe Design Team. I am so excited and thankful for this opportunity to create with Ashley's cutting files and be part of her amazing team.

For today project, I created this Framed Mum Shaker Card using the Mums The Word cutting file and Friends Forever cutting file.


I started with creating the Framed Mum panel. I opened the Mums The Word file using Silhouette Design Studio Designer Edition. The file is in PNG, so I created a cutting line for the flower by tracing it with Trace Tool. After that, I selected it and then created compound path for the flower.


Next step is to crate the frame. I drew 2 squares (5" and 4.5") and I created compound path for both squares. I dragged the flower to the front of the square frame. I resized the flower to slightly bigger than the small square. The line have to be overlapping each and then I clicked Weld. And we get the Framed Mum flower and I cut it with my Silhouette Cameo using Heavyweight White Cardstock.


I then open the Friends Forever cutting files, I resized the words and cut them with my Silhouette Cameo. 

For the background of the shaker card, I created a watercolored background. I added the Distress Inks on craft mat, sprayed it with water, dipped the watercolor paper, and I dried the color with craft heater on each time I dipped into the ink. I trimmed the watercolored panel into 5" squares.

I still have some orange and yellow ink left on the craft mat, so I dipped the SMILE letters into the ink to add colors to them. Once they dried, I added some dries clear adhesive glue and dipped them into fine clear glitter for the extra sparkle on them :)

It is time to put the card together. First I added the vellum paper on the Framed Mum panel, and then I added foam tape all round it. I sprinkled some of the sequins and fine glitter on it and then I added the watercolor background panel on top of it with dries clear adhesive glue.

I added the shaker box on the 5.5" squares card with lots of adhesive and then I added the sentiment on it. I finished the card by wrapping around some Natural Twine Ribbon on top of the card.

My card is done. Here are the files that I use on my project today:


I hope this give you an inspiration to create with The Cut Shoppe cutting files! Have you checked the new cutting files at the store yet? They are amazing! You'll love them.

Thank you so much for stopping by today! Have a wonderful day!


Thursday, November 16, 2017

New Cut Files | Better Than I Imagined

One of the things I love about cut files, is that there's usually more than one way to use them.  When I designed the new Mums the Word cut file, I was envisioning a fall flower.  But when I sat down at my desk, to work with the design, I decided to use it in more of a general way.  Flowers are always a great image to use on your projects.  I changed up the Mums the Word from fall to everyday, just by the colors and embellishments I chose to use on my layout.


I had this photo in mind from our recent trip to Disney World, and wanted to pair it with the Dream On collection from Pinkfresh Studio.  I cut the flower from White card stock and then cut it again from one of the PF patterned papers to back the outline.  I also incorporated the new Thanks & Giving cut file, by cutting the leaves from the Give Thanks design.  I just trimmed away the excess from the circle and tucked the leaves under my photo.


For the rest of the design, I based all of the embellishments along where the photo met the leaves.  The Better Than I Imagined phrase from the PF ephemera was a perfect fit with my photo.  I loved the look of the finished layout and the pops of color from the PF collection contrasting with the black & white photo.


The Mums the Word cut file is now available in The Cut Shoppe Etsy store!  You can stop by and pick it up, along with our other new designs, or any of your old favorites!

https://www.etsy.com/shop/TheCutShoppe

https://ashleyhortondesigns.blogspot.com/