Showing posts with label jpg. Show all posts

Sunday, March 29, 2020

Somewhere Over the Rainbow | Tarrah McLean

Hi friends,

It's Tarrah back with you and today it is sadly my last post and share with you as part of The Cut Shoppe design team. :( It has been an absolute blast being on this team and using Ashley's cut files! Thank you so much for having me Ashley!

So now to my layout! I decided for my last layout that I would create something bright and fun to hopefully cheer people up with all the uncertainty and difficult times you may be going through. 

I used the Over the Rainbow cut file and cut each individual piece of the rainbow using different coloured cardstocks. 


Over the Rainbow

Once I had the cut file pieces all stuck down in rainbow order, it was time to add my photo and embellish! The photo is of my gorgeous niece in a pretty rainbow dress and handbag that matched! Perfect photo for this layout! I added a rainbow paper underneath the photo and placed it slightly to the right of the centre of the rainbow. To balance all the colour at the top of the rainbow, I decided to add a rainbow strip of paper down the very bottom of the page. I love how that looks!

With embellishing, I tried to embellish tone on tone where I could. The flair button was perfect in the centre of the rainbow on the blue piece as it had the same blue background. I added some pink enamel hearts in some of the heart cut outs of the cut file. I also added some phrase stickers that suited the page also. 

The white fluffy hearts are a fabric embellishment made by a lady in Australia. I added a small gold heart sticker to each cloud. On the yellow piece of the cut file, I added some yellow glitter chipboard thickers from my stash and that became the beginning of the title of the page. On the right of the photo, I punched out a heart from red cardstock and layered a gold sticker heart over the top of that one too.

Thank you so much for your support using The Cut Shoppe cut files on the design team. I do hope that you all continue to support Ashley and The Cut Shoppe by purchasing her amazing cut files!

Happy creating, stay healthy and look after each other!

Saturday, March 14, 2020

Boys Will Be Boys | Tarrah McLean

Hi friends,

It's Tarrah back with you and today I am sharing a boy layout using the awesome Boys Will Be Boys cut file! Being the mum of 2 boys and hubby I love it when I can use one of the many awesome boy related cut files in The Cut Shoppe store!


Boys Will Be Boys

I cut the cut file design out from a grey paper and then backed each letter in the title with a different paper. Backing cut files is one of my favourite techniques and these titles are also one of my favourites too. Once it was all backed I adhered the whole piece to the lower half of a piece of white cardstock. 


I adhered the photo of my sons at the top above the cut file design slightly tucked in underneath at the bottom of the photo. The reason I often add my photo to the top of a design like this is so it creates a good balance on the page. To the right of the photo I added a circular die-cut, a star and some phrase stickers.

I love to add embellishments over cut files too and this one was no exception! As you can see in the photo above, I added a flair button to the centre of the 'O' in 'Boys' and an enamel dot in the middle of the rocket that forms the 'I' in 'Will'. I also added a word sticker and an arrow die-cut.

Thank you so much for stopping by, I hope you are inspired by my layout in some way!

Happy creating!


Tuesday, December 10, 2019

Jingle All The Way | Tarrah McLean

Hi creative friends!

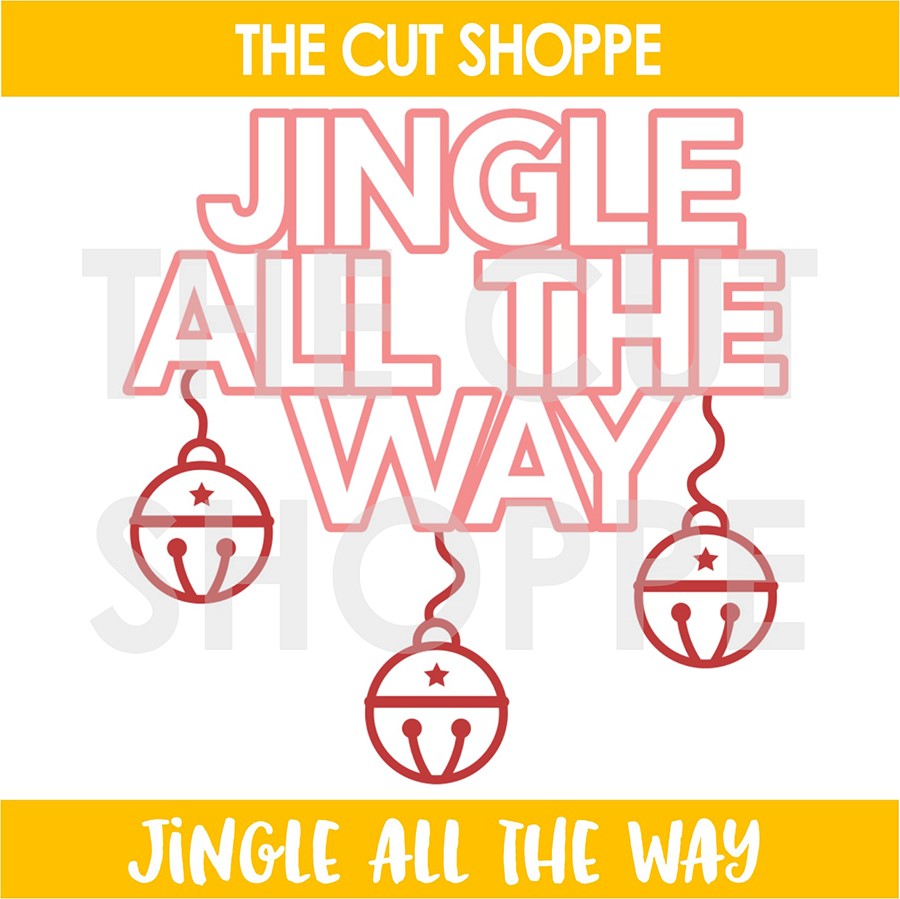
It's Tarrah McLean with you today to share a Christmas themed layout using the newsletter subscriber exclusive recent free cut file - Jingle All The Way! 


The newsletter free cut file - Jingle All The Way


I chose to just use the title for my layout today, I left off the baubles. I backed each word with a different Christmas patterned paper and then added craft foam underneath the whole title and adhered it down towards the bottom of my background paper.


I chose a small photo of my boys from Christmas Day last year and changed it to black and white to co-ordinate with the colours in the collection. I added a small piece of striped patterned paper underneath my photo and also added craft foam under the photo to pop it up off the page. I then added the white tree card beside my photo and added some enamel dots to the tree! 


I continued to embellish using some wood veneer pieces both layered on top of my photo and straight onto the background paper. The ampersand and Good Times together piece went perfectly right there in the centre of my title. I also added a couple of acrylic pieces like the star to the right of 'Jingle' and the present to the left of 'Jingle'.


If you aren't a subscriber to The Cut Shoppe newsletter, you need to be because otherwise you will miss out on some awesome free cut files only available to newsletter subscribers! I hope you enjoyed my layout today!

Thanks so much for stopping by!

Happy creating!