Showing posts with label Bits & Baubles. Show all posts

Tuesday, December 13, 2016

A white day in Disneyland Paris

Hi everyone! It's Monique here today sharing this winter layout with you. The photo was taken a few years ago when we spent a few days in Disneyland Paris in December. It was snowing so hard and we were so cold, but still we had a great time (even though you can't tell from the photo, lol)!


And these are the cut files I used:

The FREE cut file "Magical Christmas"


For my layout I cut a huge snow flake (bottom left image) from "Magical Christmas" and the words "snow day" from the "Bits & Baubles" cut file using the Here Comes Santa Claus collection from Doodlebug. Here are a few close-ups:


Okay, this is it for now. Hope you like it! For these cut files and lots of others head over to The Cut Shoppe Etsy Store and don't forget to use the code MERRY31 for a 31% discount on your entire through the month of December!


Thanks for stopping by! Wishing you a happy day!


Tuesday, December 22, 2015

Snow Day

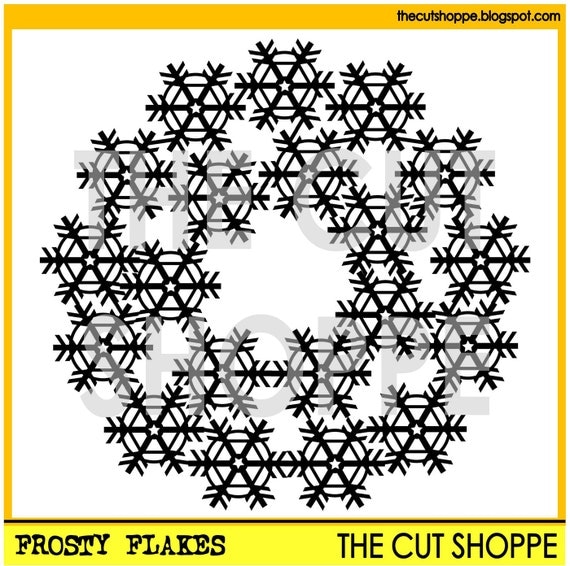
Hello! Jennifer here to share a layout I created using some of the new fun cut files from the shop!  I instantly fell in love with the Frosty Flakes cut file and couldn't wait to use it on a page!   It is simply gorgeous and perfect for this time of year!  

For my title, I used silver gold foil and a title from the Bits and Baubles cut file.  I layered my letters over journaling cards from the Joyful collection. 
I layered more journaling cards and cut out labels from Joyful to jot down details about my photo.
Using the Frosty Flakes cut file as my background, I  added some spray mist and a mask from Studio Calico on the edges of my page.  I also added in some wood veneer trees and snowflakes from my stash!
To add a little more bling, I adhered some sequins as well as added enamel dots to the outside edges of the cut file.


The Frosty Flakes cut file is a background cut file, that can be used for your scrapbooking and papercrafting projects.

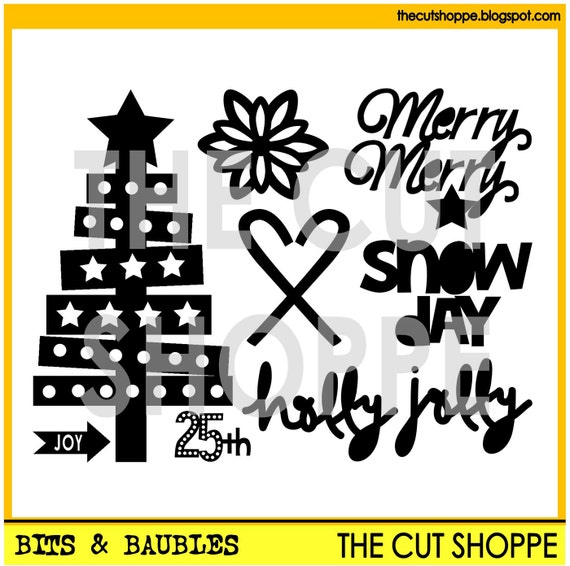
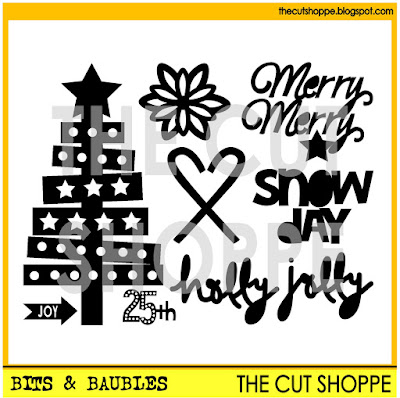
The Bits & Baubles cut file set includes 8 Christmas themed icons, that can be used for your scrapbooking and papercrafting projects.

Be sure to check out all of the fun holiday cut files to use on your projects!  Thanks for stopping by today!

Monday, December 21, 2015

Merry Merry

The layout I'm sharing today uses the very versatile Quirky Quilt cut file. This cut file includes three variations, each one great for mixing patterns and/or colors and for using up scraps. 


Here I repurposed leftover paper scraps from a couple of older Christmas collections to create a "star-studded" background for my page:


Different patterned papers were used to back the openings of each individual "star":


Next, after adding a layered-paper photo mat, I embellished with a candycane paper clip and Christmas colored brads:


A smattering of gold stars highlights a title from the Bits & Baubles cut file: 


Several other motifs and sayings come with this file,


and I can't wait to use them all. I think that plank tree might be next! Or maybe the candy cane! 

With both seasonal and non-seasonal files from The Cut Shoppe, decorating my scrapbook pages can be just as much fun as decorating my home for Christmas. ;) 

Friday, December 18, 2015

Christmas Card Photo Antics

It's Katrina here on The Cut Shoppe blog today, sharing a layout about trying to get pictures for our Christmas card. Trying to take photos of all four dogs can be a little crazy!  These were some outtakes of Ella running around our photo shoot area!

I used The Bits and Baubles cut file that recently went up in the shop. You can find the cut file HERE.


And here is a look at the set that I used.  It's a great one with lots of different cuts to create with. I used two of them for my layout, but seriously considered using more!


Am I right?!  How fun is this set.  You can use it for Christmas, winter, party themed projects and more!

One thing I like to do is to accent cuts somehow.  As you can see, I placed a doily underneath the flower/snowflake cut just to add some fun. I also added a die cut from the paper collection in the middle of it.


I knew I wanted to do a row of those trees at the bottom and a 6x6 mini pad is perfect for those types of cuts.  Add a sequin for a star and call it done! I also didn't adhere my trees all the way, I only applied adhesive down the middle in three spots. I thought it gave them a little fun look and some dimension instead of just being flat. 


That's all from me today.  Be sure to check out the new cut files that just came out for your New Year's projects!  Happy Friday!


Thursday, December 10, 2015

We Wish You a Merry Christmas

I don't know about you, but I usually come up with layout ideas, when I should be sleeping!  When I was thinking about which cut file set I wanted to use this week, inspiration struck when I settled on the poinsettia image in the new Bits & Baubles cut file set.  I decided to use it to create a textured background for my layout, and loved the end result.


https://www.etsy.com/listing/259898813/the-bits-baubles-cut-file-set-includes-8?ref=shop_home_active_7

https://www.etsy.com/listing/258531432/the-deck-the-halls-cut-file-includes-3?ref=shop_home_active_11

I started the layout by using the text tool in Silhouette Studio to spell out the word "Merry".  Then I sized it to fit across the center of the layout, and I created an outline of it using the Offset tool.  Once I had the offset sized to where I wanted it, I sent it to my Cameo to draw out with the Sketch pens.  Then I went back after it was finished and cut the original letters on different patterned papers from the Elle's Studio Good Cheer collection.  I used a paper piercer to punch holes along the drawn lines and then stitched around each letter with embroidery floss.  When I finished stitching, I adhered the patterned paper letters to the inside of each stitched letter.  While I was working on all of that, I set up my Cameo mat with the poinsettia shape from the Bits & Baubles cut file set, and let those cut.  After they were done, I randomly placed them on the White cardstock background paper to create the textured look.  I punched holes from Gold glitter paper and added a dot to each of the poinsettia shapes.  I kept my photo, title and embellishments clustered to allow a lot of the background to be seen.  I incorporated the Deck the Halls cut file into my title, by cutting the word "Christmas" from the first tree in the set.

This is a really fun technique to try on your layouts.  And you can grab the Bits & Baubles cut file set from The Cut Shoppe and try it out using the poinsettia shape.  While you're there, you can also check out the other new sets that are now available in the Shop!

https://www.etsy.com/shop/TheCutShoppe

And don't forget to use the Discount Code MERRY31 at check out to save 31% off of your purchase!  You can use the code all month long, through December 31st!!

https://www.etsy.com/shop/TheCutShoppe

Supplies:  Bits & Baubles cut file & Deck the Halls cut file:  The Cut Shoppe; Patterned Paper, Stickers, Wood Veneers, Letter Stickers & Cut Outs:  Elle's Studio; Flair Button:  A Flair for Buttons; Glitter Paper:  Recollections; Die Cut Machine:  Silhouette Cameo

http://www.ashleyhortondesigns.com/