Showing posts with label Christmas Star. Show all posts

Wednesday, December 26, 2018

Merry everything | Sasha Biyanova

Hey, The Cut Shoppe friends!
Merry everything!

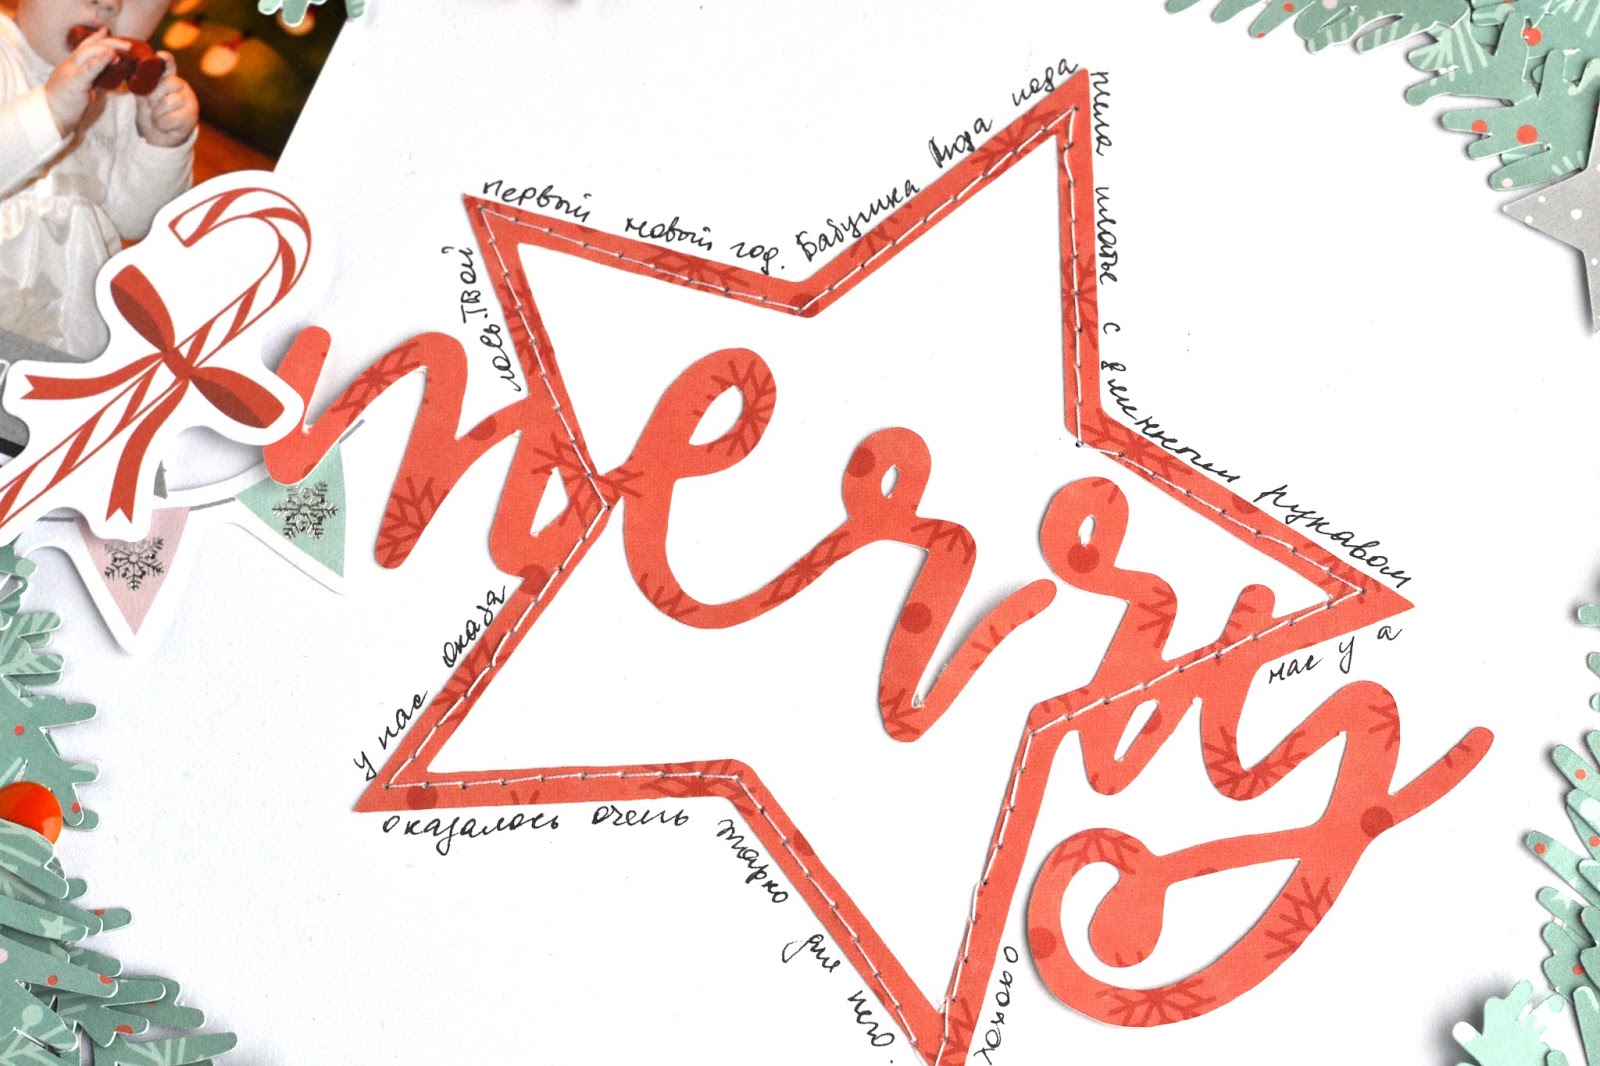
Today is Sasha here! We celebrate a New Year in Russia) This layout about the very first New Year of my daughter, Aline! She was too little so I sewed her funny soft christmas tree))


I used two cut files to create this layout! The first one is the Christmas Star. I think it's very beautiful for the title) 


And the second one is Branches and Boughs. This cut file is free)

I've cut trees but then decided to fussy cut all the branches and made the wreath) 

Becides that year my family has a tradition to decorate a Christmas tree on December 31! But other families decorate it much earlier)


Hope, you were inspired and will decide to create beautiful holidays projects with these cut files or other from The Cut Shoppe!

Happy holidays and holidays crafting!


Saturday, December 22, 2018

Merry Christmas Star | Amanda Baldwin

Hi Friends!

Amanda here, & boy oh boy am I getting excited for Christmas! It's the most wonderful time of the year! I just love spreading the Christmas cheer!
For today's layout I wanted to create something fun 'n' magical, & The Christmas Star cut file was the perfect choice!

Here's my layout, "Merry"


Isn't this magical?!! 
I have been inspired by visions of sugarplums and used all the pink, glitter & sparkles! 
That giant sequin shaker star is just stunning! And I just adore the super glittery Merry title! 
There's no denying that the Christmas Star digital cut file is all kinds of awesome!
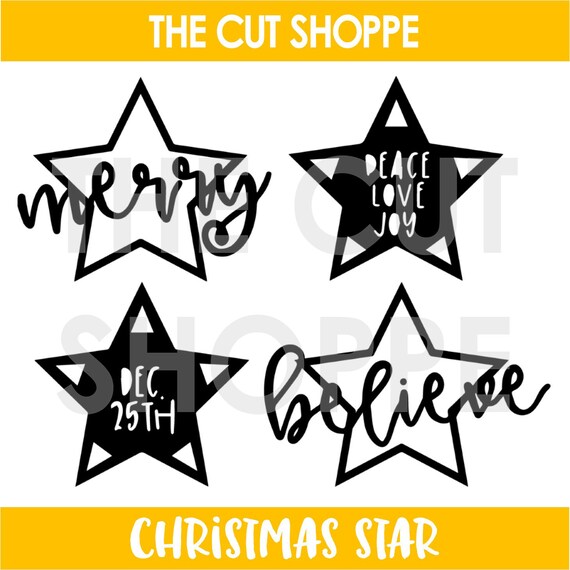
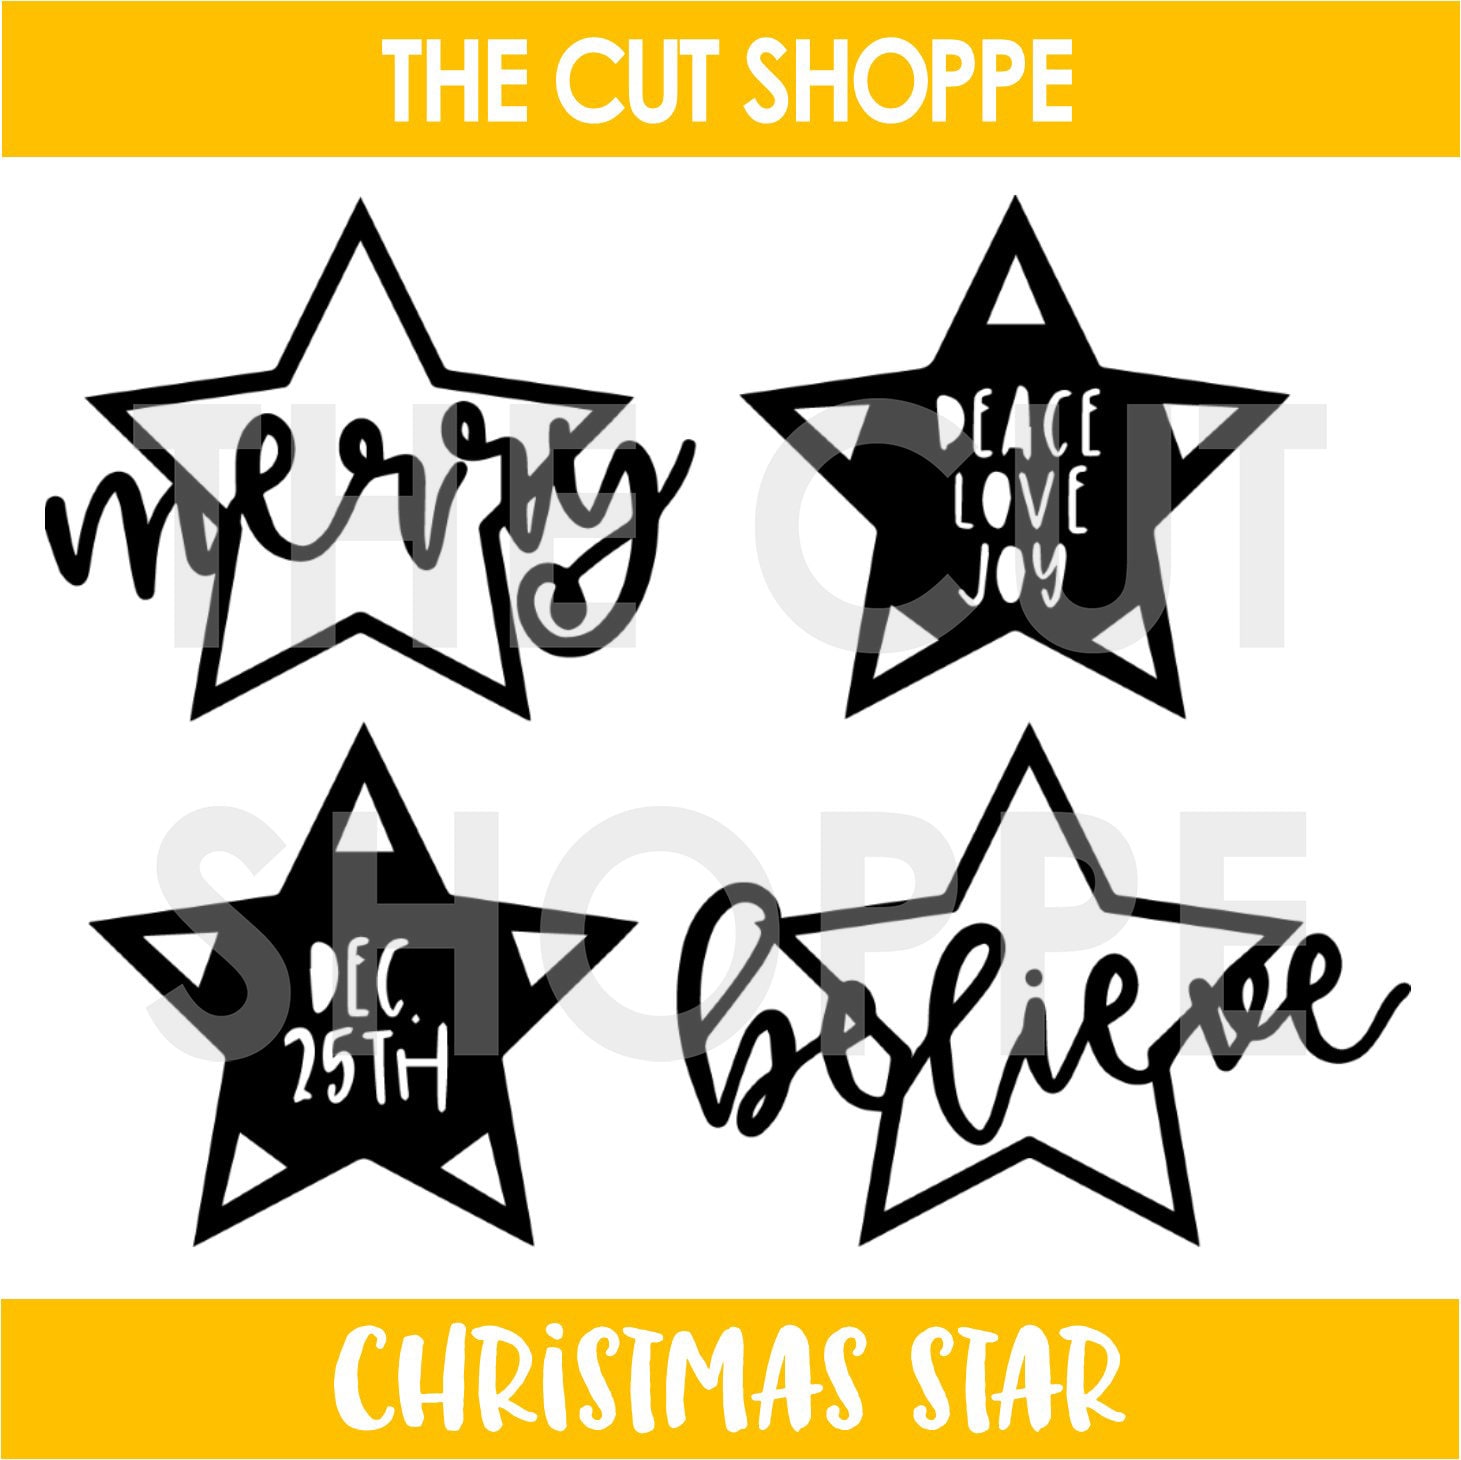
It looks like this....


Wow! What an amazing file with SO many possibilities!
You can get this fabulous cut file from The Cut Shoppe HERE. 

For today's layout, I simply enlarged the Merry star to 8 inches wide and cut it out in white Bazzill cardstock. I created a 'pocket' by backing the star with a layer of pattern paper & vellum. Before I sealed off the pocket, I filled it with sparkly sequins. To add extra sparkle and interest, I glued more sequins over the top of the vellum, and then dressed the title in pink glitter paste. I just loved how this turned out! So festive & fun!
Here's a closer look for you....


To enhance the magical feel of this layout, I created a whimsical, cotton candy style background with Shimmerz Paints Vibez: Jeni Be Bleu, Vibez: Sweet Heart, Coloringz: Oh Say Can U Sea? & Spritz: Cotton Candy. This mixed media base really makes the Merry star stand out. For added 'pop' factor, I mount the Merry star on thickened foam tape. So effective! 


On closer view, you'll also spot that I embellish the Merry star with a few stickers, and some cotton floss threads! Very pretty details! 


Just look at that glitter title! So.much.sparkle!!!
The Christmas Star cut file is just a stunning addition to any Festive project! 


Aren't they adorable?! Such a Merry Christmas moment! 

With only 3 days til Santa comes, I want to take this opportunity to wish you and your loved ones a safe and very Merry Christmas! 
And a Happy New Year!

Thanks so much for stopping by today, 
You can shop the Christmas Star file & more in The Cut Shoppe HERE.


Wednesday, December 13, 2017

Believe Layout by Jill

Hello!  I was so excited for the gorgeous stars in the new Christmas Star cut file set in The Cut Shoppe Etsy shop!  I love designs that can be big and bold on my layouts, or can be cut smaller and used as embellishments.  For this layout I decided to go big and bold, check it out below!


My first step was enlarging the believe star and rotating it slightly in my Silhouette software, knowing I wanted the cut located on the top left of my white cardstock.  I cut the star twice, once from the white paper and again from the green plaid so I could inlay the plaid on the white.


I backed the cut file with a more solid red paper so it would really pop on my layout.

I used a smaller photo from last Christmas of our elf, Elfie.  This wasn't a major moment in our lives, but I wanted to capture some of Elfie's antics!  I used several patterned papers behind the photo, then embellished with stickers.


I've loved banners since the moment they became a hot embellishment in scrapping, so I add them to about half of my layouts, haha!  I used my sewing machine to stitch a few rows to make the banner look like it's hanging.


And here's the layout, I was so happy with my end result!


Thanks so much for stopping by TCS blog today, I hope you're getting all prepared for Christmas!