Showing posts with label Happy Clouds. Show all posts

Tuesday, January 9, 2018

Under The Stars with Jennifer

Hello everybody,

this is Jennifer with a new layout for The Cut Shoppe!


For this project I used three different cutfiles. First: The Arrowheads 12x12 cutfile for my background:


For my title I used the Camp Out cutfile:


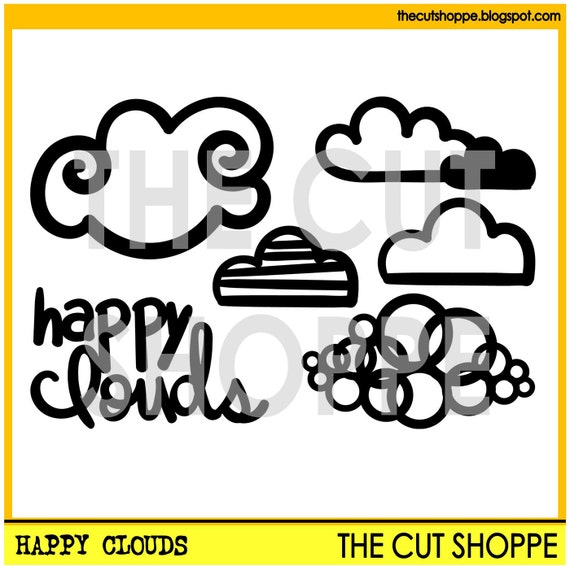
And last but not least, the Happy Clouds cutfile:


In December I took this amazing photo of the sunset over Hamburg and I've wanted to scrap it in it's wonderfully colorful awesomeness for weeks now but I lacked inspiration. I love all the colors but I didn't really know how to combine it with patterned papers or embellishments. But when I went through my stash I found a summer collection from last year that matched the colors in my photo perfectly. It was pretty much a match made in heaven.


I felt like a full 12x12 background using Arrowheads would be a bit much so I only traced half of it with my cutting software. Which turned out to be a really good idea because I didn't have a lot left of the ombre paper I used to back the cutfile.


Because I wanted to keep the focus on my picture and title I cut the cloud from Happy Clouds out of white cardstock for a white-on-white effect. I love how soft the background looks and how my picture just pops right of the page.


I cut my title from a scrap of starry night patterned paper I had laying around. For a bit of a layering effect I glued down some clouds first and added the words on top of it. A few sprinkles of gold shimmer mist to round everything out and my layout was done.

That's it for today. Thanks so much for stopping by and have a great week.

xoxo,


Monday, March 27, 2017

Real Life Road Trip

Welcome to the Cut Shoppe blog and some more boy inspiration!  
Wendy here today sharing a layout I created using the Boys Rule, Road Trip, Happy Clouds, Daily Grind, and Jumping Jack cut files.


This layout began with the cut files Daily Grind and a fun journaling card I had from my Cocoa Daisy kit.


From there I knew I wanted to bring in some black elements to make the page pop, so I used the Road Trip file to help make my title and begin the black popping.  To continue the pops of black, I handrew a border to match the cloud and I used the Jumping Jack cut file to add a button type design (or maybe a railroad crossing look) to my circles which promote the feel of moving and tires.


Some cloud elements to continue the pattern of the cloud cut from some Cocoa Daisy paper and to add in some light, outdoorsy feeling using the Happy Clouds file.


Thanks for joining me today, you can find all of these fun cut files in the Cut Shoppe etsy plus many more!


Friday, March 17, 2017

First Ride

Hi there scrappy friends,
Zsoka here with you today with a new layout.
When I saw the new bike cut file, I knew I wanted to use it right away. I already did a bike layout last year, using my favourite Fancy Pants Good Fellows collection, but for this one I wanted to use a feminine line full of flowers, because of the basket filled with flowers in the new Full Bloom cut file! I also used some other cut files:
https://www.etsy.com/listing/240626846/the-make-a-splash-cut-file-includes-5?ref=shop_home_active_59


I blew up the cut file and cropped the front of it.
Since I already had Paige Evans' Oh My Heart collection on my table when I started working on this, I just went with that collection again. I went through the papers and found the perfect one for my wheels! Or at least I think I did! :) It's a shame I had to cut up two 12x12" papers just to get the right pattern but I still have one left, so it's OK, it was all worth it.
 
I adhered my bike to the background and hand stitched around the wheels to give them extra definition. I also glued enamel dots in the middle of my wheels, mostly for fun :).
 
I then fussy cut loads of different size flowers from one of the patterned papers and added these to my basket and also to the front of the bike. Some I popped up using some foam adhesive so they have a bit of dimension.
 
 
Looking at the layout at this point, I felt like the top was too empty and I wasn't planning to put my title there. After brainstorming with a friend I decided to add a sun and some clouds. Cheesy, yes?! I hand stitched around the sun and adhered it to my page with foam adhesive. The clouds I left as they were, didn't back them, just to have a bit of airy feel to them.
 
For my title I used the alpha thickers from the same collection. I was a bit hesitant to add my journaling where it is now, because the whole layout was kind of straight and this spot was tilted. But I took a deep breath and started writing...I actually like how it turned out.
 
I don't do such themed layouts often anymore, but I thought it fits my photo, since my son was just a baby back then.
I hope you found some inspiration here today! Thank you for stopping by! X

Wednesday, October 5, 2016

Right Now

Hello scrappy friends, it's Zinia here again and I have a fun mixed media layout to share with you, using a bunch of gorgeous cut files from the Cut Shoppe.


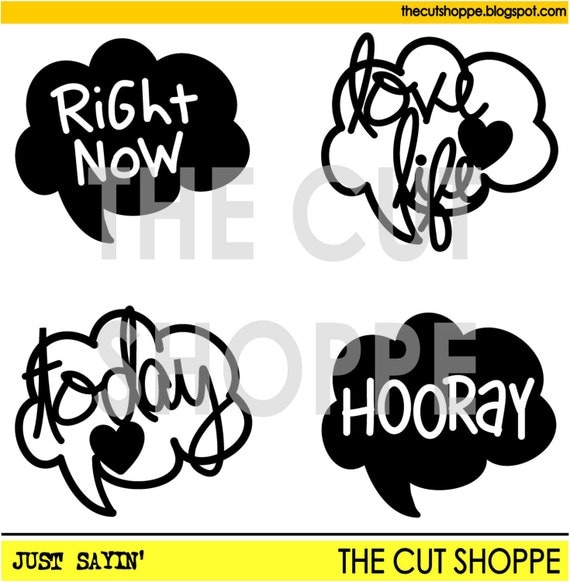
I used cloud shapes from three different cut file sets to create a big cluster in my Silhouette Studio and cut it out of white cardstock.

I backed the open spots with papers from different collections, focusing on pink and teal shades.


Behind this lovely cluster I decided to create a beautiful mess. I grabbed my watercolor palette and started spreading colors around. I also added some pink and white splatters to make my background look more interesting.


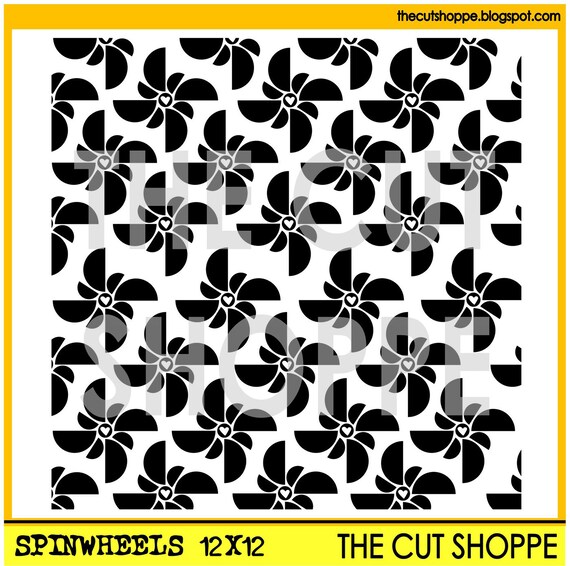
One the watercolors were dry, I decided to add something more to the background so I grabbed a stencil I created by cutting the Spinwheels cut file out of a laminate sheet and used a mix of gloss gel, glitter and ink.

I really love using this technique cause the gel dries clear allowing the glitter to shine through.


The embellishing part of this layout was probably the hardest. I had a hard time deciding what bits to use. I went for some chipboard pieces and stickers from the Crate Paper Cute Girl collection, as well as some stickers from the Amy Tangerine Oh Happy Life.


I'm really happy with the way this layout turned out. I absolutely love all the bright colors and the whimsical look of the clouds.

I hope you will go ahead and create something fun too, Until next time, happy scrapping.


Saturday, July 9, 2016

Fly

Hello! It's Mandy with you today and I am so excited to be here sharing my first layout as a design team member for The Cut Shoppe! I've been a fan of Ashley's cut files for a long time, so I am absolutely thrilled to now be on the design team!

The layout that I'm sharing today features a sweet photo of my two girls out enjoying the sunshine. My eldest daughter was lifting my baby girl up, and with the sky in the background, it made me think that she looked like she was flying! So that became the title for my layout... "Fly"


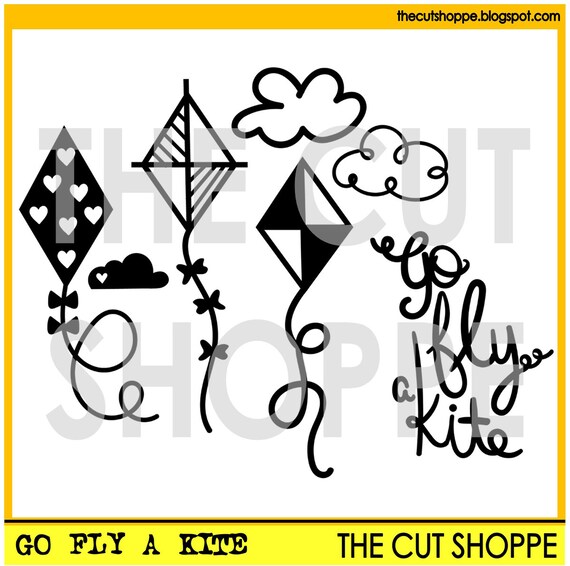
I used the Go Fly a Kite cut file set for my title. I didn't want the whole phrase, just the word 'fly', so I just traced that word in my Silhouette software. I like to try and think of different ways that I can use my cut files to get more out of them!

The Go Fly a Kit cut file set includes 7 kite themed images for your scrapbooking and papercrafting projects.

I also used the Happy Clouds cut file set to cut the clouds for my layout.

The Happy Clouds cut file set includes 5 cloud themed images, that can be used on your scrapbooking and papercrafting projects.

As my photo had lots of different shades of blue in the sky and in my daughters' clothing, I wanted to carry those blues onto my layout. To do this, I first created a watercolour background using Distress Inks in aqua and blue. I used the popular 'packaging technique' to apply my inks. I cut the clouds from white cardstock and I tucked some in behind my photo and others I added thin strips of foam tape to the back of to give them extra dimension.


The blues and aquas also carried through into my embellishing. I created a pretty cluster of embellishments on the bottom right hand corner of my photo, using items from lots of different collections including Maggie Holmes Shine, Amy Tangerine Better Together, Crate Paper Hello Love, as well as a tassel and flowers from D-lish Scraps. I love how well they all came together!


I intitially just cut my title on white cardstock, but I felt like it didn't stand out enough from the background, so I used the offset function in my Silhouette software and cut it out again from one of the same patterned papers that I used to layer behind my photo. I also added foam tape to the back of it. By doing this, it helped to make it stand out a little more while still keeping the light and airy feel.


Lastly I added my journalling, which is actually a poem. This poem really spoke to me and I felt that it was perfect for this photo.

Thanks so much for joining me today! I'll be back later this month with another layout to share with you! Until then, happy scrapping!

Tuesday, June 28, 2016

Heceta Head

Hello and goodbye. Today I bid you fond farewell. It's been a fabulous year creating with The Cut Shoppe files. I simply love them all and can't wait to see what is released in this next year.

I love going to the coast, it's my happy place. One of my favorite places to go is Heceta Head, with this pretty lighthouse and fantastic tide pools. It's in a protective little cove and just feels like home to me. The Land Ho file was just perfect for this shot of my husband and me next to the lighthouse. I even gave the scribble waves a try and they cut out perfectly! Tall Type always makes a statement and I love the beach house effect I was able to get using the wood, backed with distressed sea foam blue. The Kitschy Cursive was the perfect companion alpha. I few clouds from from Happy Clouds finished off the piece.


I hadn't meant to use so many files on my page, but with so many awesome files to be found in the shop, how can you stop at just one when there are a number of designs to help tell your story? Stop by today and find some inspiration!

See you around!