Showing posts with label Silhouette Portrait. Show all posts

Monday, September 9, 2019

Guest Designer | Kathleen Graumuller

We are super excited to welcome our September Guest Designer, Kathleen Graumuller!  Kathleen's layouts are always beautifully done, and we couldn't wait to see how she used our Cut Files!  She created two amazing layouts, to share with us, today!

https://www.instagram.com/scatteredconfetti/

Hey everyone, it's Kathleen aka Scattered Confetti here and I am very excited (and grateful!) that Ashley asked me to be a guest on The Cut Shoppe Blog! 

Ashley was kind enough to let me select a few Cut Files I wanted to play with and I have to say, I was spoilt for choice and I had so many ideas right away!  I actually have two layouts to share with you today, because I was just really inspired by the Cut Files.


https://thecutshoppe.com.co/products/the-flower-power-background-cut-file-is-available-in-8-5x11-and-12x12-sizes-for-your-scrapbooking-and-papercrafting-projects?_pos=1&_sid=d9d5d27b3&_ss=r


If you've been following me for a while, you probably know that I absolutely love anything floral.  So it shouldn't come as a surprise that I used a flower Cut File (this one is Flower Power) for one of my projects ;).  I only own a Silhouette Portrait so I'm especially happy that Ashley offers her background Cut Files in 12x12 and 8.5x11.


I backed all the flowers with patterned papers from Pinkfresh Studio's Just a Little Lovely collection and then added my photo and just minimal embellishing.  I think the Cut File is already such a big statement that this layout doesn't need much more!

For my next project I used the Open Letter Alpha Cut File.  I love a good font that's suitable for larger and smaller titles.  And this one is great for backing with patterned paper, which is what I'd usually do with a title.  For this one however, I had a different idea!


https://thecutshoppe.com.co/products/the-open-letter-alpha-is-a-hand-drawn-alphabet-that-can-be-used-on-your-scrapbooking-and-papercrafting-projects?_pos=1&_sid=4a8d329f3&_ss=r


First I used some spray paints in Yellow, Orange and Pink to create a mixed media background.  I used the packaging technique to get a watercolor effect.  I wanted the color to be the backdrop for the letters.

Next I cut all the letters in the same size (about 1.75 in height) from white cardstock and arranged them in four rows so that I would be able to spell out I Love You.  I simply substituted the "O" for a heart that I made myself in the Silhouette software.


To make those three letters stand out, I used the inside pieces and colored them with the same spray paints that I used for the background.  Then I adhered them with foam squares for more dimension.

For some final touches I used a few pieces from the Just a Little Lovely collection and some Nuvo Drops.  I really didn't want to add much more so I wouldn't cover up the beautiful colors or the Cut File pieces.

That's it from me today!  I hope you enjoyed these projects and they inspire you to get creative with Ashley's beautiful Cut Files.  Thanks a lot for having me, Ashley!

Thanks so much for joining us Kathleen!!  Both layouts are so gorgeous!!  Make sure you are following Kathleen on Social Media!  You can find her on Instagram @scatteredconfetti, to keep up with all of her amazing work! 

https://www.instagram.com/ashleyhorton75/
 

Saturday, March 18, 2017

Lucky Guy

Hello scrappy friends! It's Zinia here sharing a layout I create with some of the most recent designs from The Cut Shoppe store.


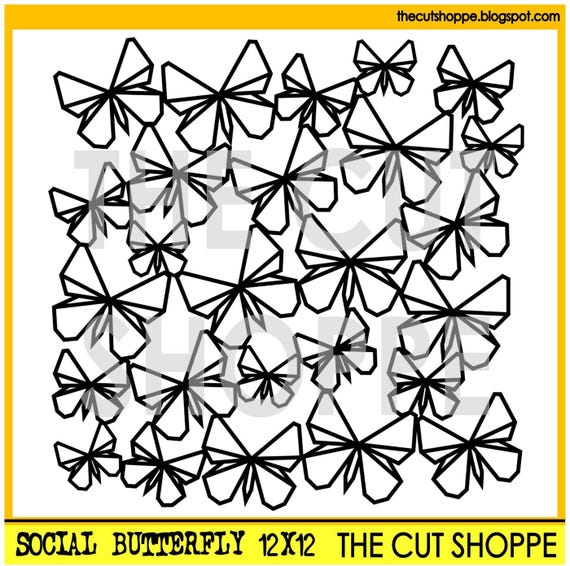
I decided to play around with the Social Butterfly cut file. I really love how fun and whimsical this design is. Also it worked perfectly with the bright spring colors from some of latest collections that I wanted to use with it.


I edited out part of the design to create an empty are for my photo and title and I cut it out of white cardstock.

I used papers from Dear Lizzy "Lovely Day" and Shimelle "Little by Little" collections to back the butterflies. I only used adhesive at the middle of the butterfly shapes to let the wings pop a bit off the page.


I kept my embellishments really bright and playful. I got some animal shaped ephemera and layered stickers from the "Lovely Day" collection and a few chipboard flowers from Pink Paislee "Oh my Heart". I went for a balck and white photo to help it pop between all those bright colors.


So that's it. I really hope you enjoyed this layout. I will see you again soon with another project. Till then, happy scrapping!


Wednesday, September 14, 2016

Hello Sunshine

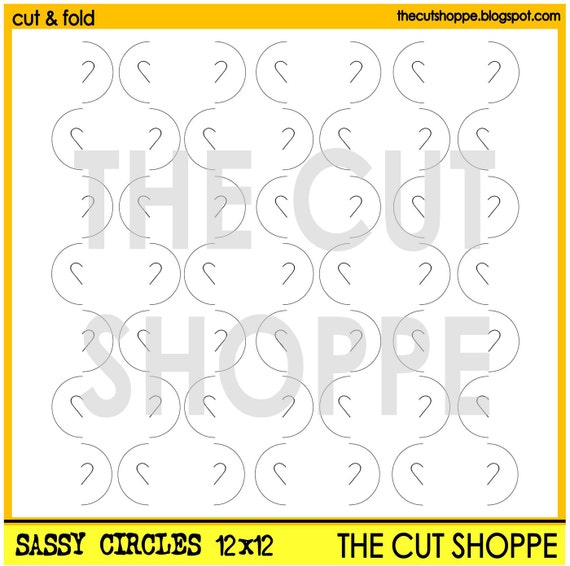
Hello everyone it's Zinia here again and I have another layout to share with you using the beautiful Sassy Circles cut file from the Cut Shoppe.


I was initially going to make this an A4 size layout (similar to 8.5x11) since I cut it using my portrait machine but as I was going I decided to mount that page on a 12x12 paper and make it work! So to all portrait owners, you can still cut beautiful backgrounds for your 12x12 pages, you just need to be a bit more creative with it.


I used some sort of wrapping tissue paper to create some ruffles at the sides of my A4 page to help it stand out. I backed the open spots with some papers from the Amy Tangerine "Rise & Shine" collection and then I started embellishing.


I created a cluster at the top left corner of my page using bits from different collections I had laying around.


I decided to punch out some tiny circles, color them and spread them around like confetti to break the white of the background.


I really hope you enjoyed and got inspired to create something beautiful with your cut files. Until next time, happy scrapping.