Hey there! It's Kira and I am back with another layout in my Life Crafted album. Here's a look at my completed layout:
I started this layout by typing up a story about my dog Folsom. After typing it, there was a small space at the bottom where I knew I could put some embellishing.
Since the story is about Folsom's love of playing fetch, I decided to punch green circles (like tennis balls) and then I used the All Caps Alpha to cut out the word "ball" in pink patterned paper. I adhered these letters using foam adhesive.
On the reverse page, I printed a great picture of Folsom running with his tennis ball. I used a frame from the Dear Lizzy She's Magic collection to frame the photo, then added a pink tiny word sticker to carry some of the pink over the the right side.
I wanted to continue the idea of the green tennis balls, so I punched a fifth circle out and built up an embellishment cluster over top. Then using some embroidery thread, I hand stitched a "bounce line" leading to the ball.
Thanks for stopping by!
xo, Kira
Showing posts with label life crafted album. Show all posts
Tuesday, February 18, 2020
Wednesday, February 5, 2020
DEN fun with Kira
Hey there! It's Kira and I am back with another layout in my Life Crafted album. If you are unfamiliar with these albums, they are from Citrus Twist Kits and are about the size of a standard travelers notebook. But they are in a six ring binder form, and include page protectors and pocket pages. Here's a look at the layout I created today:
Today I am telling the story of what career I had when I got my dog Folsom, and why I chose a new career because of him. I typed out my journaling on white cardstock and cut it down to 4.25x8.25. There was a space at the bottom of the page where I placed a sticker and did a little hand stitching.
In this album, I've been loving the look of bits of ephemera punched and stuck in throughout. And there were some cute pieces in the Dear Lizzy She's Magic collection that I thought worked perfectly like this first class tag:
I used another die cut, which looks like a postcard, as well. But the back looked very plain, which is where The Cut Shoppe's Ready Set Go cut file comes in!
With a little Cricut magic, I was able to cut one of the cute little airplanes out on patterned paper, and created my title for the page "DEN fun" (which is the airport code for Denver, where I was based during this time).
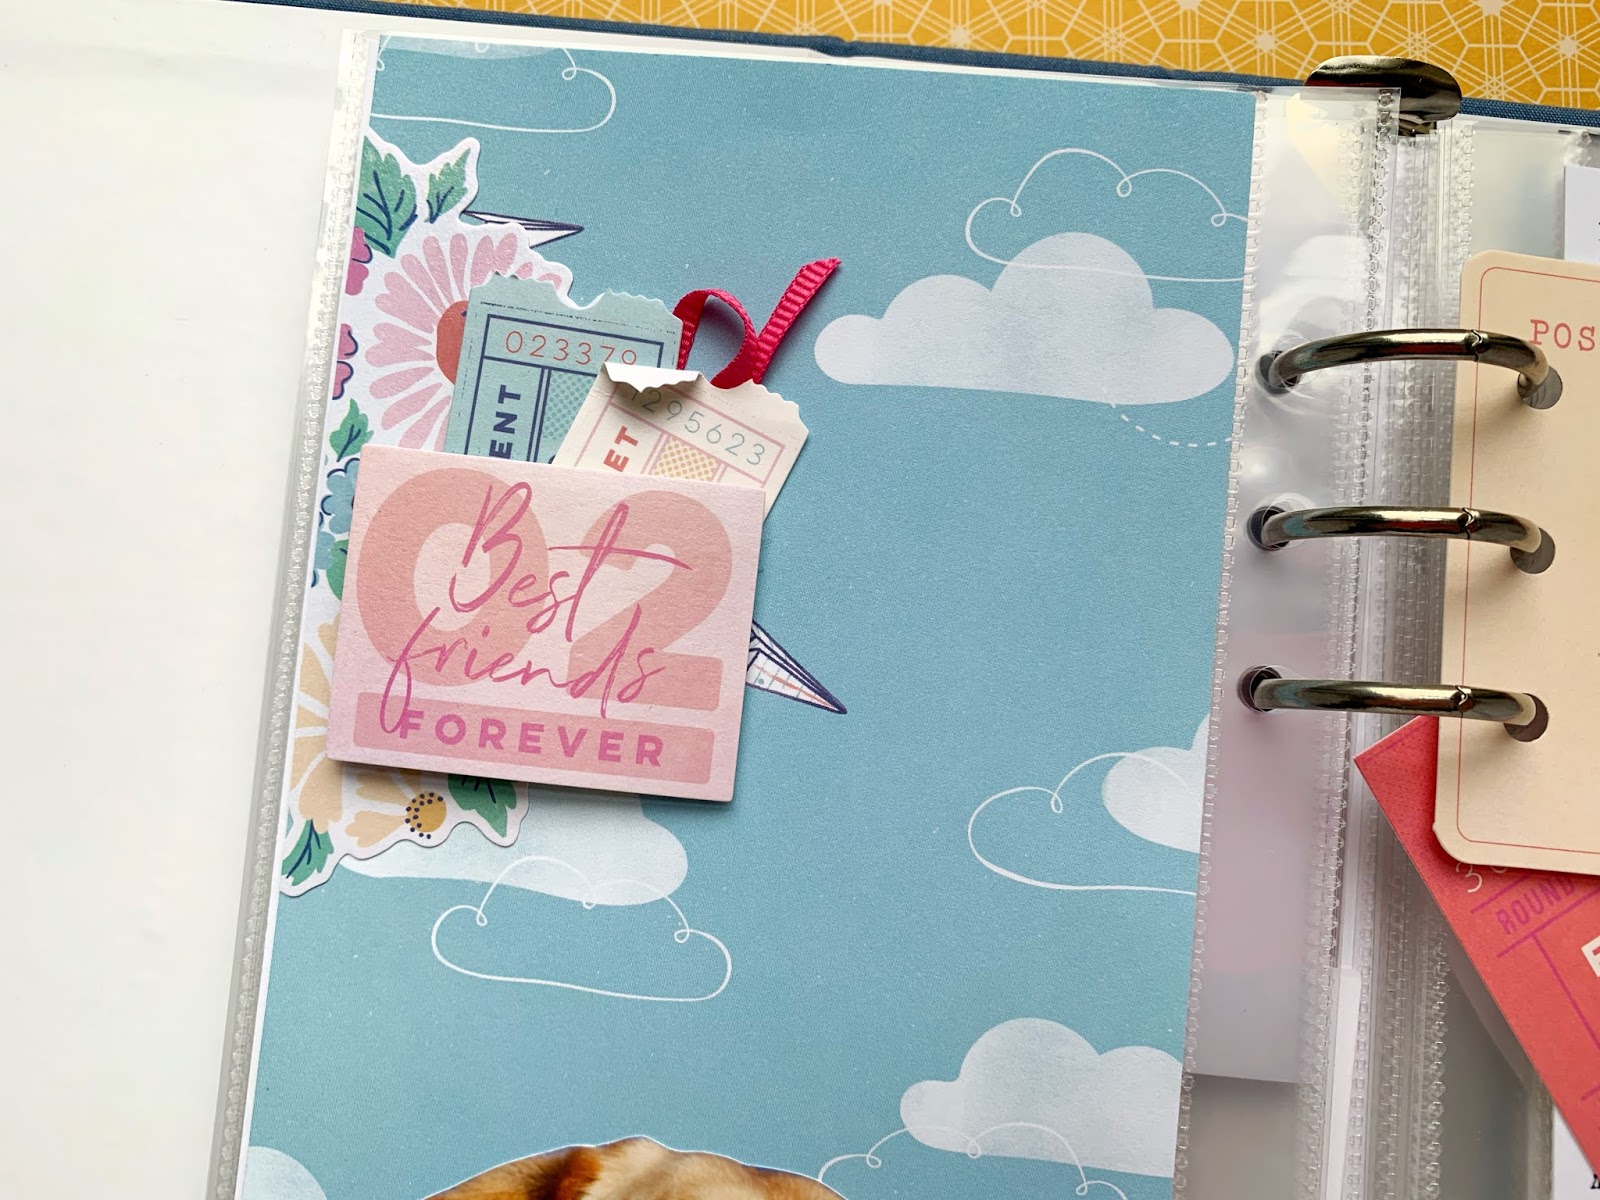
On the reverse page, I fussy cut a photo of Folsom, and adhered it to a patterned paper with blue skies, clouds and paper airplanes, which seemed fitting.
The page seemed a little simple though, so I added in an embellishment cluster above the photo, on the left hand side of the page.
And that's it! Thanks for stopping by!
xo, Kira
Friday, January 31, 2020
Love with Kira
Hey there! It's Kira, and I am back with another layout in my Folsom album. Here's a look at my completed layout:
I started this layout writing a letter to my youngest son. Him and Folsom were thick as thieves, but my youngest is still so young, I worry he won't have memories of that. So I wrote a letter to remind him of how close they were. I typed it on the computer and printed it on white cardstock, then trimmed it down to 4.25x8.25.
There was about 1.5" at the bottom of the page to add an embellishment. I used the Cupid's Arrow cut file to create some DIY embellishments.
I cut a heart off one of the arrows, then adhered a punched flower, topped with an enamel dot. I finished off the embellishment by wrapping it with bakers twine. I attached it to the white space on the bottom of the page.
I created another arrow embellishment by attaching a puffy sticker to the "o" of "love", and then wrapping it with bakers twine. I adhered it to the photo with some tiny staples.
I wanted to add a little more color to the layout, so I punched some holes in a tag, and built an embellishment cluster on top. I created a toothpick flag, layered it on top of a flower die cut, and used the negative space from the arrow cut file to attach a heart.
Thanks for stopping by!
xo, Kira
I started this layout writing a letter to my youngest son. Him and Folsom were thick as thieves, but my youngest is still so young, I worry he won't have memories of that. So I wrote a letter to remind him of how close they were. I typed it on the computer and printed it on white cardstock, then trimmed it down to 4.25x8.25.
There was about 1.5" at the bottom of the page to add an embellishment. I used the Cupid's Arrow cut file to create some DIY embellishments.
I cut a heart off one of the arrows, then adhered a punched flower, topped with an enamel dot. I finished off the embellishment by wrapping it with bakers twine. I attached it to the white space on the bottom of the page.
I created another arrow embellishment by attaching a puffy sticker to the "o" of "love", and then wrapping it with bakers twine. I adhered it to the photo with some tiny staples.
I wanted to add a little more color to the layout, so I punched some holes in a tag, and built an embellishment cluster on top. I created a toothpick flag, layered it on top of a flower die cut, and used the negative space from the arrow cut file to attach a heart.
Thanks for stopping by!
xo, Kira
Subscribe to:
Posts (Atom)