Monday, March 9, 2015

Love This + a Process Video!

Happy Monday, friends!  Missy here.  I'm so excited to share my layout with you today!  I have created my very first process video to go along with it...I hope you enjoy it :)

I used these two awesome cut files on my layout:  The Love Club and Round Up.


Here is my layout.  I used the Up in the Clouds collection from Pinkfresh Studio.  It's so pretty and dreamy, and the colors are just gorgeous.  I created a mixed media background with gesso, watercolors and gelatos before adding all my paper and embellishment layers.  I used the Round Up circles as layering pieces and the Love This cut file as my title.


I love the dimension here.  These circles are perfect for layering or as stand-along elements.  I used some gelatos to give them a little bit of color and then sort of used them as a side frame.  I did add in some vellum under all the papers and photos.  I added journaling strips to the bottom...there's no easy way to write on top of modeling paste :)


I used lots of thread on this layout...some is just tangled and some is in a circle shape.  I added stitching, washi tape, word phrase stickers and cute wood beads.


Here's a shot of the top...more layers, thread, stitching...I couldn't resist adding some gold Color Shine!


Finally, here's a look at the title cut as well as the watercolor background.  I did a little bit of outlining in gold pen to make the triangles stand out a little bit more.


Here's my process video...I'm still working on my lighting and editing, so hopefully you'll think it's okay.  I'm so excited to share my process with you all!


Thanks so much for watching, looking and hanging out here with me today!  Be sure to visit the shop to check out all of the awesome available cut files!

Saturday, March 7, 2015

You & Me

Hello everyone, and happy weekend! I have a layout to share with you using the gorgeous Spread Your Wings cut file.


 I love how elegant the butterflies are!


To create this layout, I cut the butterflies out from a multi-colored patterned paper. I made it smaller, then cut it again from a printed vellum. I layered them on top of each other in order to make it look more 3D and fluttery!


I added splatters of black mist, and then a few pieces of patterned paper. I wanted the butterflies to be the focal point of the page. I can't wait to use this cut file again! Thanks for stopping by, and have a wonderful day!


Friday, March 6, 2015

Remember That Song?

Happy Friday!
Remember that song "Fooled Around And Fell In Love" by Elvin Bishop? I think it was from 1975 and I am pretty sure it was in the movie Boogie Nights. Great! Now that you are singing that and will be for the rest of the day (you are welcome!) I will fill you in on what it has to do with today's layout and cut file!

When I saw Ashley's "Spread Your Wings" cut file I just knew I already had the absolute perfect photograph for it! I really wanted to use watercolors on these butterflies to mimic the colors of the lovely Monarch. First, I started cutting the butterflies and then I stopped my machine. Why hassle with painting them AFTER they were cut out? Sometimes you just have to fool around!!


I fooled around with my watercolors on a fresh sheet of white cardstock, textured is my preference. Once it was dry, I spattered it with black watercolor paint, smudged it a little here and there and put it in my Cameo as I would a regular sheet of cardstock. I cut out my butterflies, trimmed a few off to get the look I was working towards and glued it to another sheet of white cardstock.


I added the bits and pieces to bring it all together and finished it with a little shimmer spatter and a few cork hearts. This really is a beautiful cut file however you plan to use it.

My boys are pretty much the coolest kids I know and living in the woods they are pretty comfortable with nature. This past summer we were just standing outside chatting with the neighbors and this Monarch just flew up, landed in his hands, and stayed there for quite some time. Thank goodness for iPhones and their "pretty darn great" cameras!

I literally FOOLED AROUND with this technique and cut file AND FELL IN LOVE with how this turned out. I can see myself using this technique many times in the future.

**Quick Tip** Once your watercolors are dry, spin your page a few times before deciding which direction to put it in the machine. Mine is not the original orientation I painted it in.


Be sure to check out all the new files at The Cut Shoppe!


Thursday, March 5, 2015

What a Wonderful World

Hi guys!  It's Ashley, and I have a new layout to share with you today, using the new Spread Your Wings cut file, as well as a Process Video for the layout!  Spring is right around the corner, and this cut file will definitely make you think of warmer days and Green things blooming!!  :)  I took a little bit of a different approach, and instead of going with all pastels or bright colors, I decided to mix in a lot of Black.  I have a thing for Black on my layouts!!


https://www.etsy.com/listing/224956433/the-spread-your-wings-cut-file-can-be?ref=shop_home_active_1

I cut the Spread Your Wings cut file two times, using White cardstock.  I used one of them as a mask to add Black Color Shine to the left hand side of the layout, and the second I added to the right hand side of the layout.  I really liked the contrast it added to my page, using the bold Black with the Pink and White.

I have a Process Video for today's layout, if you would like to take a look at the process for creating the page!


There are also two other new sets in The Cut Shoppe today, so make sure you stop by to check them out!

https://www.etsy.com/shop/TheCutShoppe?show_panel=true

Supplies:  Spread Your Wings cut file:  The Cut Shoppe; Patterned Paper, Wood Tags, Wood Beads, Rub-Ons & Puffy Stickers:  Pinkfresh Studio; Flair Button:  A Flair for Buttons; Color Shine:  Heidi Swapp; Enamel Dots:  Freckled Fawn, Wood Veneers:  Elle's Studio; Thickers:  American Crafts; Die Cut Machine:  Silhouette Cameo

http://www.ashleyhortondesigns.com/

Tuesday, March 3, 2015

Love You Like Crazy

Hello! Happy Tuesday! It's Heather here to share a layout I made with the awesome Rosey Posey floral cut file. I just love flowers, and the thought of spring makes me really happy!! 

I decided to paint the Rosey Posey cut file with some gesso first, then later I added acrylic paints to color the flowers and leaves. You can't really tell from the pictures, but the flowers have a little bit of dimension from the gesso. A little bit of an impasto look (heehee putting my Art Appreciation college class to work here). 


Originally my thought was to leave the diecut in one piece and layer patterned papers and a photo on top, but then I got the idea to cut the florals in half and layer them to make it look like a bit bunch of flowers. It took me a little while to decide to cut the flowers because I didn't want to ruin them! 

The white woodgrain pattern on this page is actually a transparency, which you can see here. 


Thanks for stopping by the blog today, and I hope this gave you a fresh idea for using the beautiful Rosey Posey cut file! 


Monday, March 2, 2015

Guest Designer Els Brige

It's time to introduce a new Guest Designer, and we are so excited to have Els Brige joining us today!  I am fortunate enough to work with Els on the A Flair for Buttons Design Team.  She worked with some of the cut files from The Cut Shoppe during our team up with A Flair for Buttons last year, and I was blown away by what she created!  And she has some gorgeous layouts to share with us today!  First, let's get to know a little more about Els!

https://bestamped.wordpress.com/

I live with my husband and two kids in a small town in Belgium. By daytime I work as a psychologist, by night you can find me in my craftroom. Back in 2008, shortly after my daughter was born, I got into cardmaking, and soon after also took the plunge to scrapbooking. I found a way of documenting the many fun memories of our family life. Since then, I’m totally addicted to stamps, paper, scrapbooking and cardmaking. I had great fun playing with Ashley’s amazing cut files, I think I could get addicted to my Silhouette this way;) Thanks, Ashley, for having me!


https://www.etsy.com/listing/222281822/the-love-club-cut-file-consists-of-4?ref=shop_home_active_3

https://www.etsy.com/listing/191218042/this-xo-background-cut-file-is-available?ref=shop_home_active_18

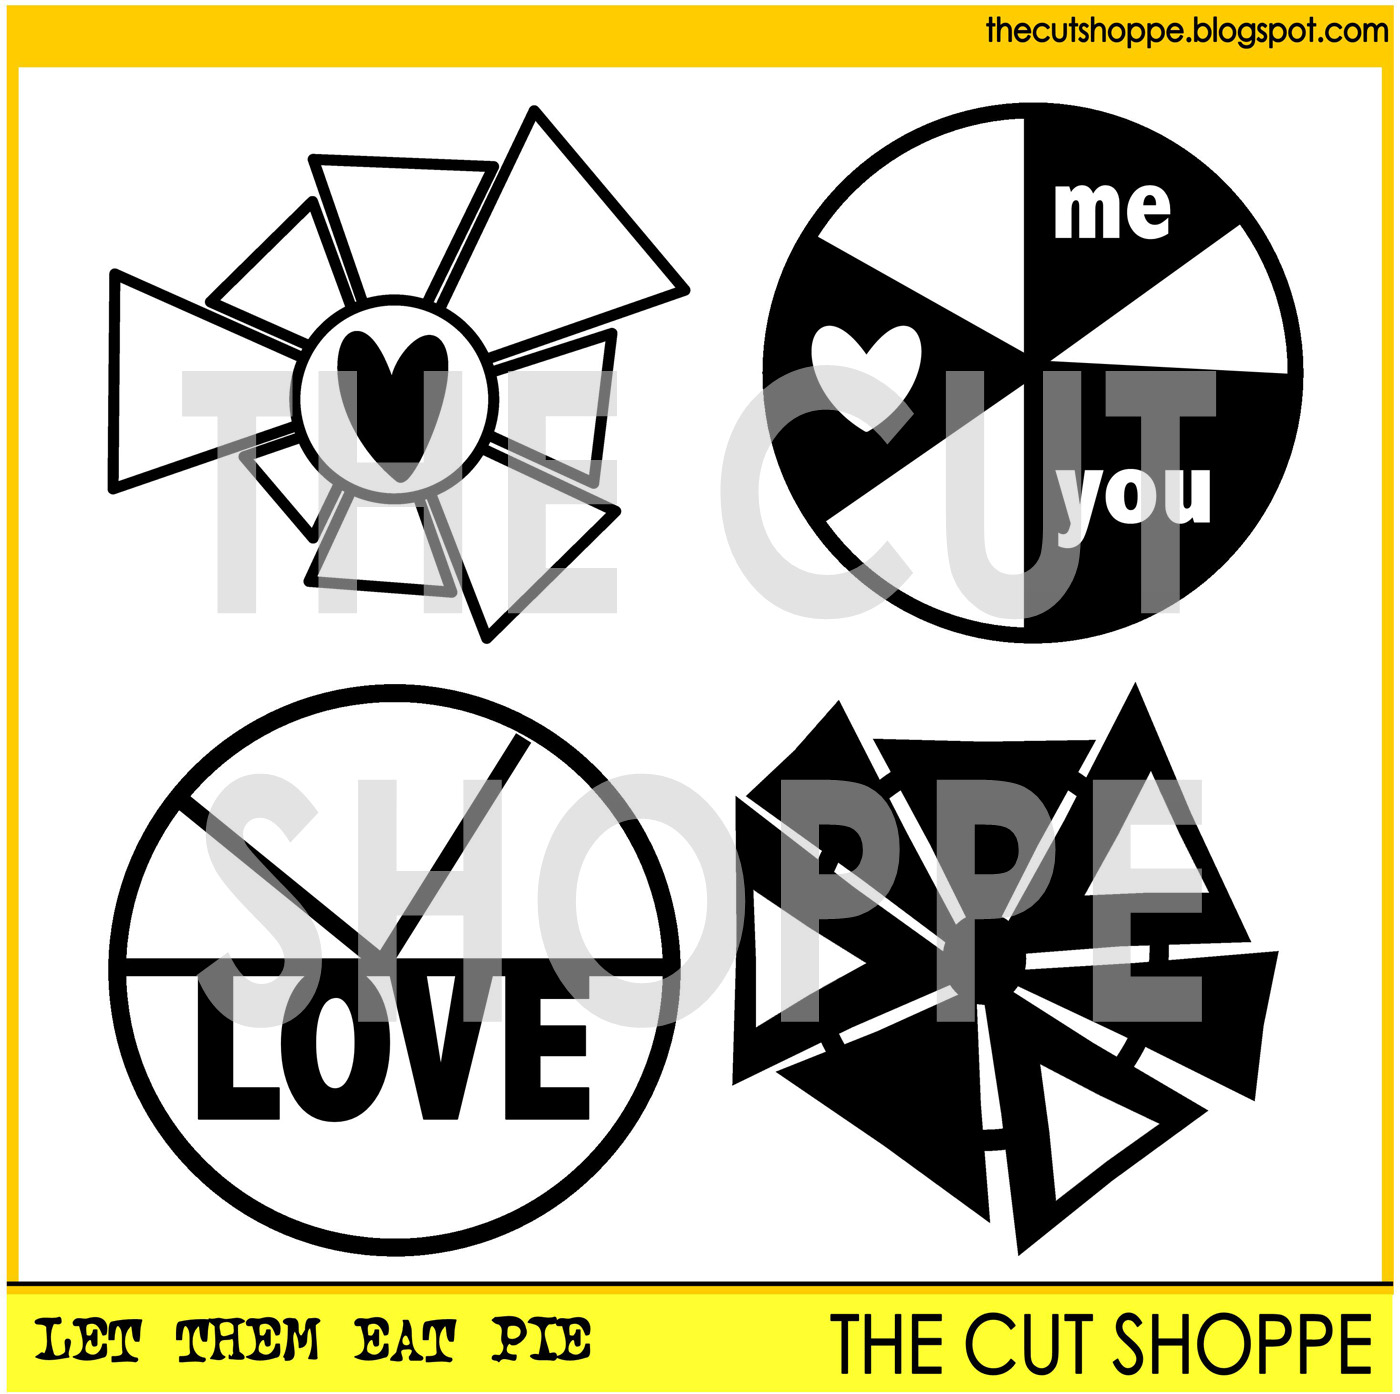
https://www.etsy.com/listing/219448436/the-let-them-eat-pie-cut-file-consists?ref=shop_home_active_8


Love This | The ‘Love This’ title from the The Love Club cut file was just perfect to match up with this picture of my daughter. I paired it up with some of the Let Them Eat Pie shapes. The background of this layout is colored with watercolors, so that the white die-cuts can stand out against the background. I finished this one up with a few XO cuts from the XO Background cut file, probably my favorite background design.  ;)


You Are Here | I just couldn’t resist the Right On Target cut file. I love this type of file, that truly grabs your attention. I positioned the pictures of my boy a bit to the side, so that the star in the center of the target wouldn’t get completely covered. Yet I placed them close enough, so that they would benefit from the attention grabbing die-cut. For this layout, I also used a few flair that Ashley designed for a joined blog hop with A Flair For Buttons. I love how they match the playful feel to  this layout.


https://www.etsy.com/listing/201036766/the-right-on-target-cut-file-can-be-used?ref=shop_home_active_24
 
It was an honor to be here today, Ashley!

Thank you so much Els, for sharing your amazing talent with us!  You can follow and find more of Els beautiful work on her Blog, Be Stamped!

http://www.ashleyhortondesigns.com/
 

Sunday, March 1, 2015

March Cut It Out Challenge & February WINNER!!

We are already into the third month of this year, and it's time for a new Cut It Out Challenge for March!  Before we get to the details of the March challenge, we have a Winner to announce for our February challenge!  There were so many great entries this month!  Thanks to everyone who played along!

CONGRATS JEN STOKES!  

http://scrapsbyjen.blogspot.ca/

Jen, please email thecutshoppe@yahoo.com to receive your $10 Gift Certificate!

Now, let's great ready for the March Cut It Out Challenge!


Here are the details for playing along this month!


*Create a layout or project using AT LEAST ONE of the Cut Files, that can be purchased from The Cut Shoppe Etsy store.

 *Come back to the Blog, and link up on the Mr. Linky Tool.

*Make sure you link up, by midnight CST on Tuesday, March 31st.
 
*And for a little added fun, if you can work it in, why not add a little GREEN to your entry this month!!
 
We can't wait to see what you create!