Showing posts with label butterflies. Show all posts

Saturday, June 8, 2019

Adored | Tarrah McLean

Hi Cut Shoppe friends!

It's Tarrah McLean back with you and today I have new layout to share using the gorgeous Flutterby cut file.


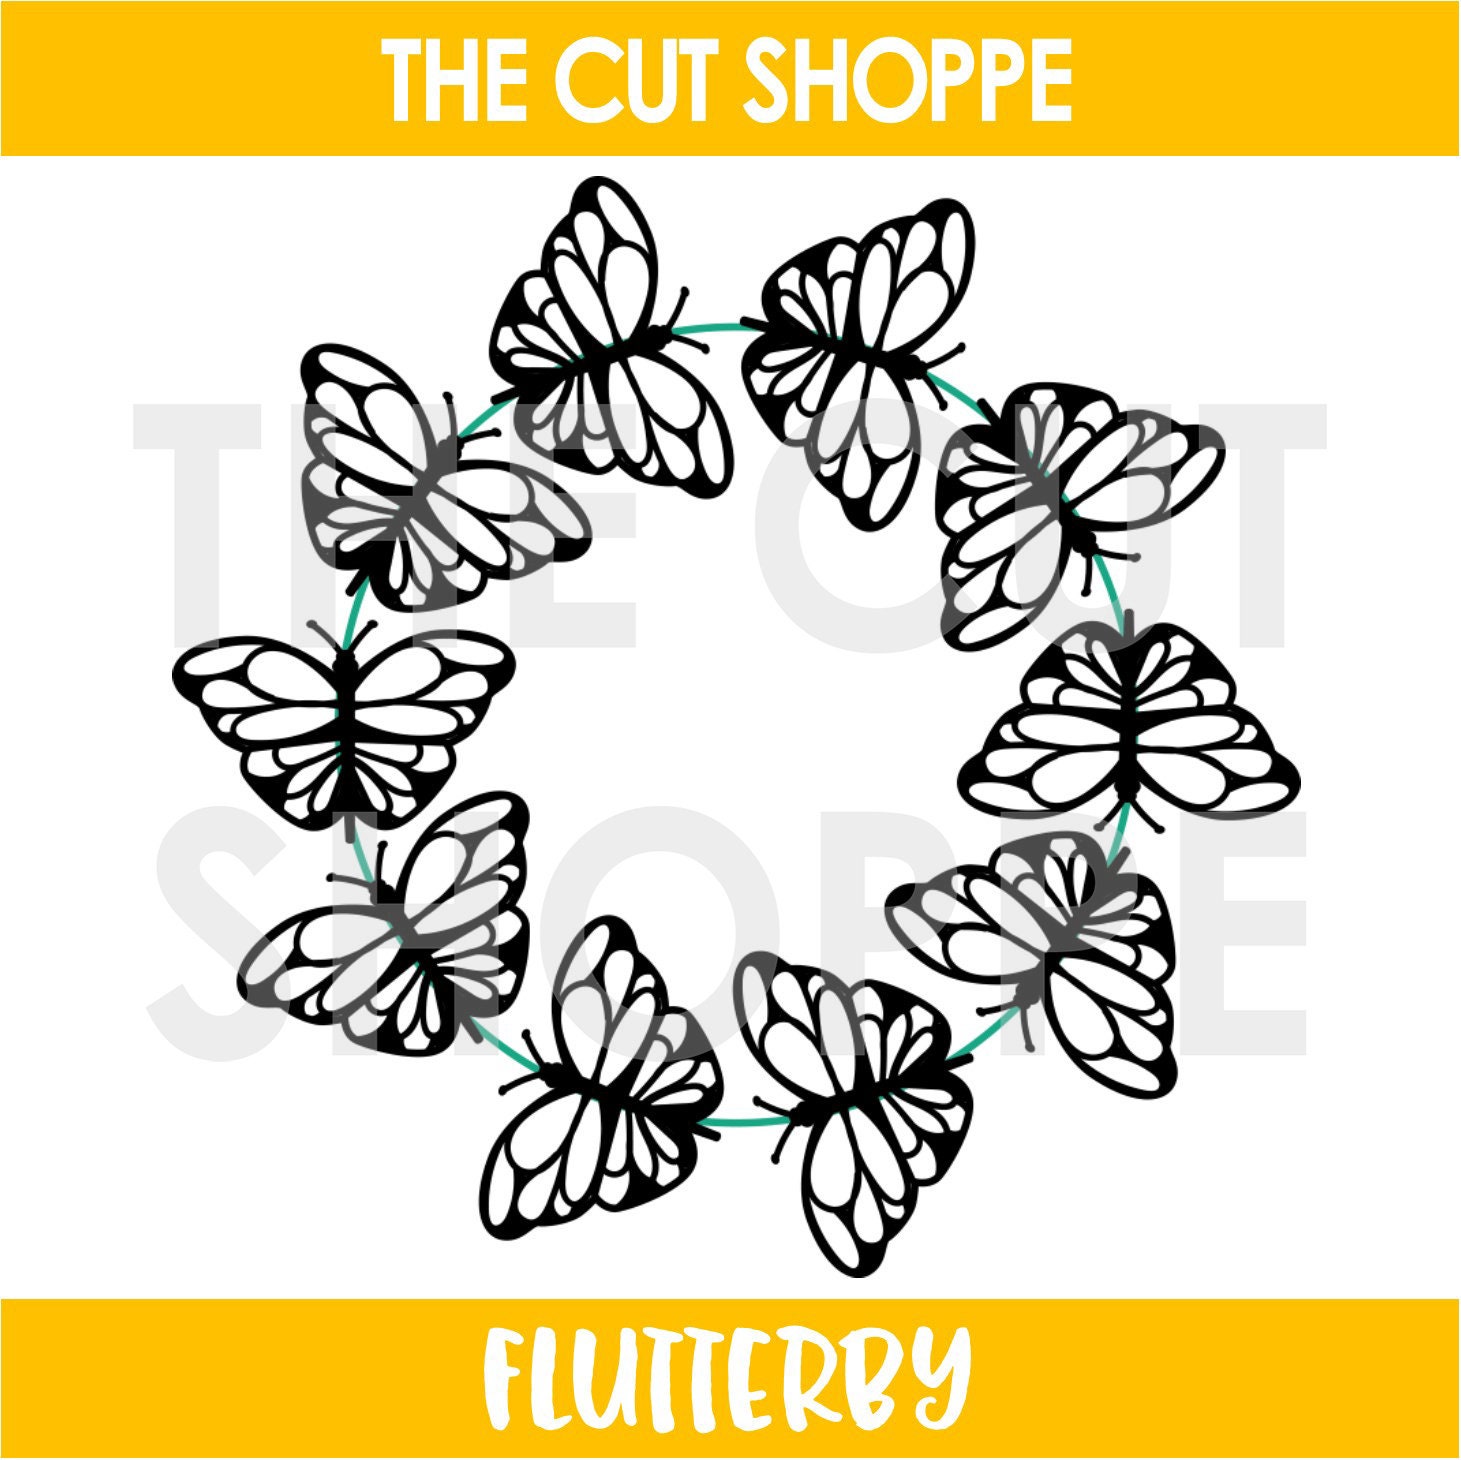
Flutterby

I cut the Flutterby design out from white textured cardstock and then chose some of my favourite papers from a 6' x 6' paper pad and backed all the butterflies with the different papers. Once it was backed, I adhered it down to another piece of white textured cardstock, leaving the wings of the butterflies so that they could be bent up. I love the dimension and shadows this creates.

I then machine stitched around the circle and through the centres of the butterflies to add dimension and texture. My photo was matted on white cardstock and I placed it to the bottom right of the layout. I tucked in some of the embellishments on the right hand side of the photo. 

On the left of the photo, I added a tag with some twine. I also added a few phrase stickers to help tell the story of the layout both above the tag and also under the photo. I added some of the die-cut butterflies and a wood veneer one over the top of the cut file design ones plus I took a flair button from my stash and added that too. 

Lastly I added a few pastel coloured enamel dots to enhance some of the colours and a wood veneer title overlapping the photo.

Thank you for stopping by today! 

Happy creating!


Thursday, May 30, 2019

Delightful | Iris Fox

Hello lovelies! Iris here with a sweet layout that I made about my mama.  One day we were looking through old photos and she told me she'd been a model for a photographer.  I hadn't known that and thought it was so cool!  So I'd scanned the photo and had been hanging onto it until I found the perfect products to scrap it with.  And then along came the DELIGHTFUL cut file from The Cut Shoppe.


I cut it about 8x9, to have a great big title to back with all the pretty papers (which are from the Felicity Jane "Megan" kit). My mom's photo is 4x6, so everything together fills the canvas nicely.

I backed the cut file first with vellum to soften the prints, then distributed the patterned papers so that lighter and darker ones alternated.  Before I adhered it to the background I did a little mixed media - gesso, watercolor in a light pink, and some warm grey splatters.
I clustered embellies in a few key areas to move the eye diagonally - at the top where the D is, since it's a solid letter with lots of white space; where the cut file overlaps the photo in the middle; and at the bottom right corner of the photo.  The way the L ends under the photo and the embellishments are across from it gave me a natural place to put my journaling, which I did also in a warm grey.  I wanted to keep everything on this layout soft.

The pastels, butterflies, and all the vellum touches were just so delightful, I knew I wanted to use them with the DELIGHTFUL cut file!! ;)

Go visit The Cut Shoppe to snag this file.  I can see it being versatile with lots of different color ways and patterns.

And if you'd like to see how I put this together, visit my Youtube channel.

Lots of love,


Wednesday, May 22, 2019

lake life | orange gearle

Hi! Orange Gearle here with a TN layout using the Campfire Stories cut file. Here is a look at my project:


Here is a look at the full cut file:


I used just the circle "lake life" part of this file and backed it with a pink patterned paper from Maggie Holmes Sunny Days collection. I also added a green heart sticker from the cardstock sticker sheet in the same collection.


I used papers mostly from the 6x8 paper pad because I like the smaller patterns for the TN size. 


I typed my journaling directly on the white card stock background using my type writer. I added a few more stickers to complete the layout.  Here are a few more close ups. 


I made a video of my process if that is something that suits your fancy!  


Thank you so much for stopping by -- see you again soon! XO o.g.


Monday, April 22, 2019

girl power | orange gearle

Hi! Orange Gearle here with a layout using the Floral Wreath cut file and some pretty papers by Paige Taylor Evans. Here is a look at my layout!


Here is the file that I used:


When I cut the file, I cut the full wreath, but I also cut and pasted a few extra flowers so that I could have a few single flowers to use as embellishments! 


I backed the cut file and the extra flowers with pink, blue, and orange papers. Then I added some more flowers from the floral die cuts.


I used a couple of butterfly punches to add some butterflies to my layout as well. 


I did a little mixed media behind the wreath. I first put some gesso on my card stock, then I added some Shimmerz paints over the top for a watercolor look.


I really like how this one turned out, this was such a fun file to work with! I also made a process video if that's something that suits your fancy!


Thanks so much for stopping by! See you again soon! XO o.g.


Thursday, April 18, 2019

Happy Times | Tarrah McLean

Hi Cut Shoppe friends,

It's Tarrah McLean back with you and today I am sharing a new layout with you using the gorgeous new Butterfly Wings cut file!

Butterfly Wings

As the Butterfly Wings cut file is quite a large design, I wanted to try one of the busy papers from the Cocoa Vanilla Happiness collection behind it to see how it would look. I just LOVE how that paper looks behind the white outline of the cut file.

Once I had the cut file backed, I added craft foam on the underneath side and added it to the pink background paper. I wanted the butterfly to pop up from the background paper to create shadows and dimension.

I have scrapped a photo of my niece, it was perfect to use for this layout as she looks as though she is holding out her arms to look like wings. I placed it right in the centre of the cut file because of this reason! I did matt the photo using a dark blue paper and also layered some other papers and embellishments underneath the photo. I added the butterfly die-cuts scattered around to enhance the butterfly design even more. 

My title was added overlapping the photo on the left hand side and a couple of sentiments were added at the bottom of the cut file also. 
Lastly some white mist and the date stamp were added.

I hope I have inspired you to check out The Cut Shoppe store for some amazing cut file designs! There is something in store for everyone!  

Happy creating!

Friday, March 22, 2019

Floral Wreath Spring Inspiration | Amanda Baldwin


Hi TCS Friends! 

Amanda here, sharing a super pretty Spring layout with the gorgeous new Floral Wreath cut file!
Teamed with the beautiful and bright Cocoa Vanilla Studio Happiness collection, this layout is a floral dream!
Here's what I created,
"Happy Times"


Oh isn't this gor-jus?!!
The new Floral Wreath is simply stunning! 
I have cut the wreath in white cardstock, and backed it with two of the Happiness 6 x 8" Paper Pad papers. 
Here's a better look at the Floral Wreath......


LOVE!!!!! Absolute floral perfection!

Here's a closer view of my layout.....


To create soft dimension & interest to my wreath, I fold some of the flower petals upwards. I also embellish some of the flower centers with fussy cut butterflies, die cuts, sequins and even a flair button! 


So very pretty! The sequins are the 'Dragon Tales' mix from Spiegelmom Scraps, and they add just the right amount of sparkle to this girly page! 


So my photo isn't lost among all those bright & beautiful florals, I print it in black & white, and also mount it with a die cut frame. Perfect!


I layer my title, happy times, over the wreath too! 


And for finishing touches, I surround the Floral Wreath with hearts and more of those gorgeous sequins! 
And there you have it! 
Spring perfection! 

I hope you feel inspired to use this cut file in your creating! 

Thanks so much for visiting, 


Saturday, March 16, 2019

Best day | Sasha Biyanova

Hey everyone!!!

It's Sasha here today with my new layout using the Flutterby cut file! These butterflies are perfect for plotter!!! 


I used them as a decor fot the birthday wall and then - after all the birthday parties - made this beautiful layout.


I mixed white butterflies with patterned as they were at the wall. And added some watercolors behind the photo. Actually that was my first step - to put spray on the paper)


Surely I wrote a story about birthday! And this layout is not the last about celebrating because I have a lot of photos and I love these butterflies))


And, of course, I should show you the wall))) I think this cut file perfect not only for layout but also for decorating))


I hope you were inspired and checked The Cut Shoppe for interesting designs!

Happy crafting!

Monday, December 3, 2018

Flutterby Butterfly Love | Amanda Baldwin


Hi TCS Friends!

Welcome back for more cut file inspiration!
Amanda here, and today I am sharing a very pretty page with our fabulous Flutterby cut file! 
I just love butterflies, & pop them in a wreath and well, I'm one happy creator! 
Here's what I've made with this file today.....
"Hello, Sunshine"


Sigh! Isn't this just lovely?!
The Flutterby digital cut file is just so intricate and oh-so-beautiful!


Absolutey divine! 
You can find this incredible file in The Cut Shoppe Etsy Store HERE. 

Let's take a closer look at my layout....


I've teamed that amazing Flutterby file with the beautiful Pebbles Jen Hadfield: Along The Way collection & I think you'll agree that this is perfect combination! So.much.pretty!
I love the white on white look, & regularly cut our files in white cardstock to use on white backgrounds. I really like how this creates a clean and fresh look to layouts, and allows the cut file to be supported with bright pops of color - without being too busy on the eye!


I've backed half of the butterflies with that soft pink polka dot paper, gluing them perfectly into place. 


The other butterflies are backed a lil differently! I have traced the remaining butterflies with pencil onto that pretty golden yellow paper, cut them out and semi attached them to the Flutterby cut file. I love how they create that layered wing look! 


I've also dressed the Flutterby cut file with lots of pretty embellishments including die cuts, stickers and dots. 


To ensure my photo isn't lost amongst all those beautiful butterflies, I pop it into a frame before layering it onto the Flutterby file. Pretty!
Such a gorgeous layout for my gorgeous ballerina! 
I think you'll agree that the Flutterby digital cut file is a must have! 

I hope my layout has inspired you to add the Flutterby to your TCS collection today!

Thanks so much for visiting,