Showing posts with label Flutterby. Show all posts

Saturday, January 18, 2020

Flutterby | Kylie Kingham.

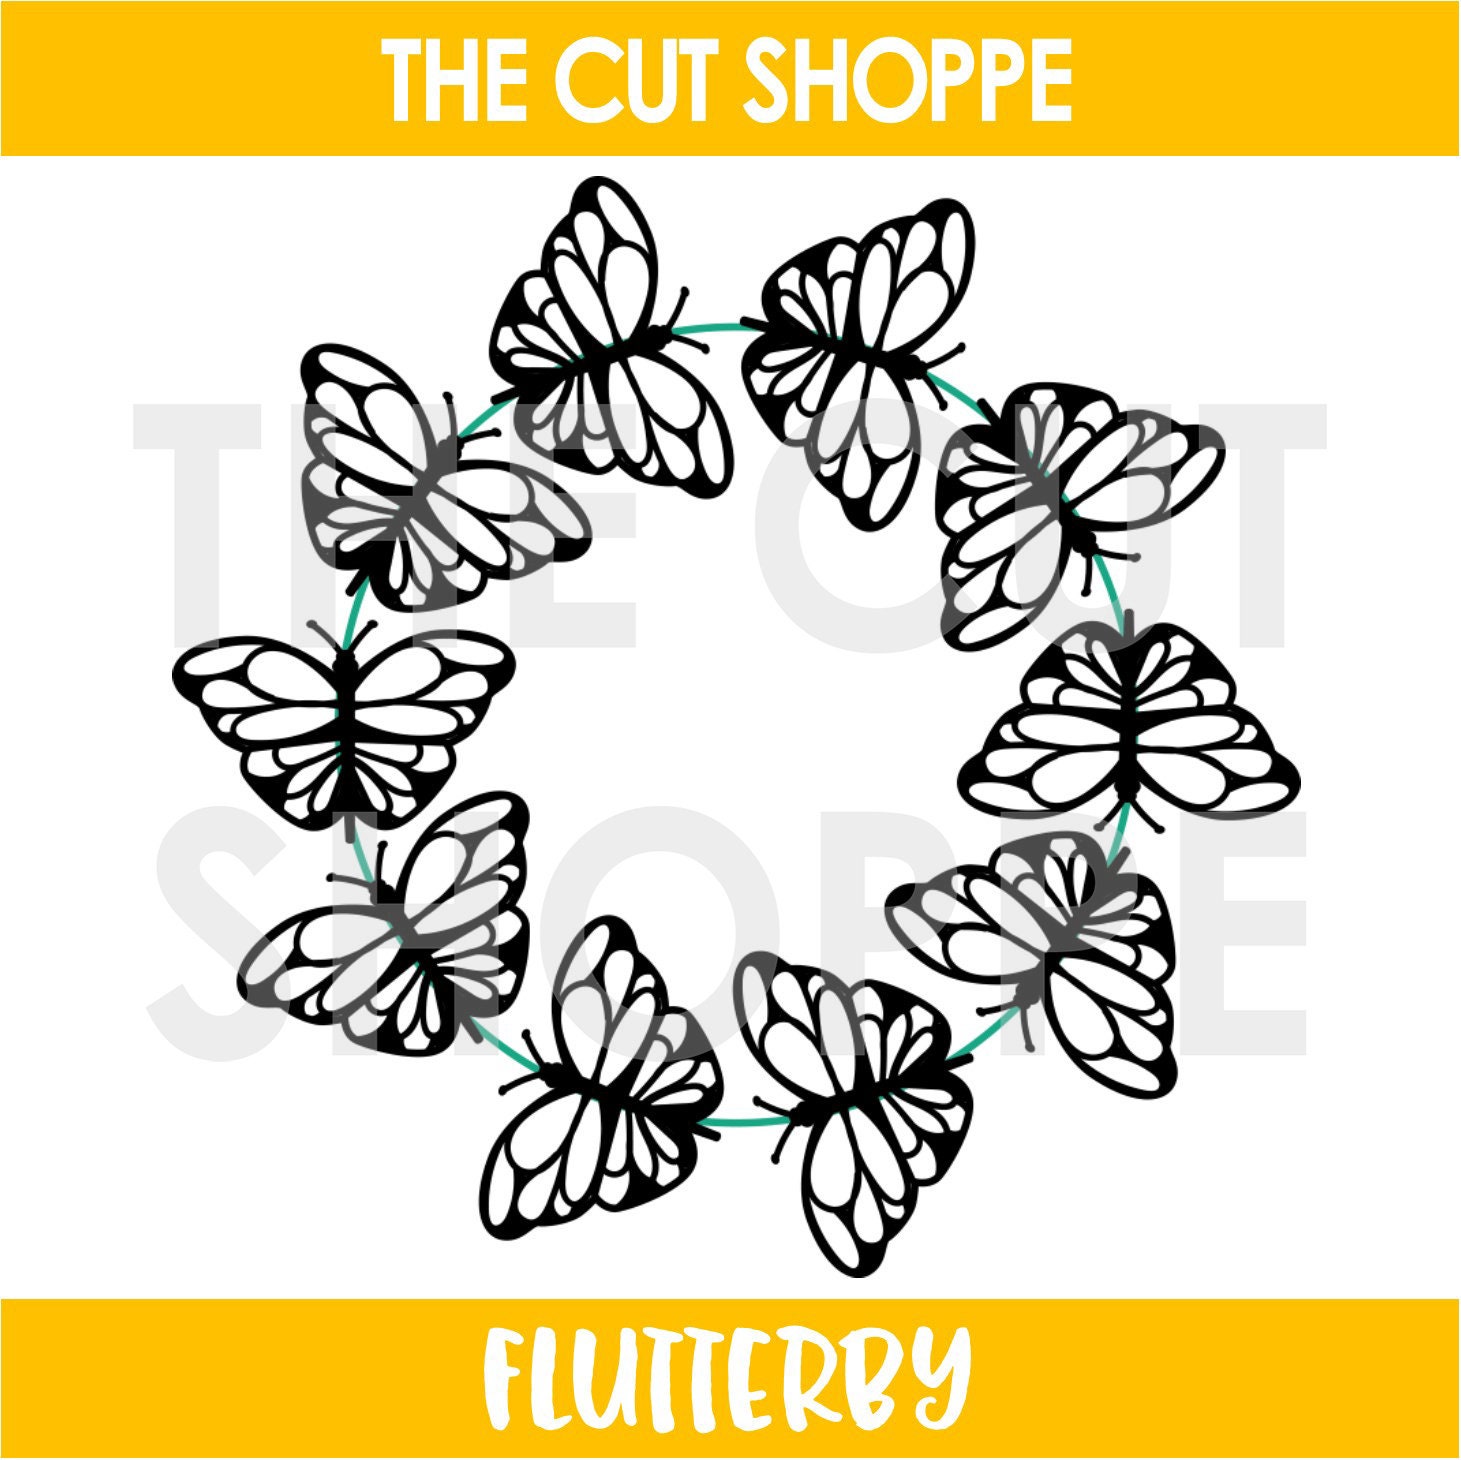
Hello friends! It's Kylie back with you today to share a new layout I have been working on. Even though it's Summer here in Australia I wanted to create a very 'Spring' themed layout and decided to work with the gorgeous Flutterby cut file. It features a beautiful, circular wreath of Butterflies.


A white square was added to my floral background paper and for texture I added some back stitch as a border. I selected 4 different papers to back my Butterflies using the pretty 'Paisley Days' collection from Kaisercraft. It had a lovely 'vintage' feel about it. 


Once my Butterfly wreath was backed I adhered it to my background with foam tape, so that it added a nice dimension to my completed design. I kept embellishments minimal so not to distract away from the gorgeous Butterflies. Some simple floral enhancements were added surrounding my photo as well as some sub title elements as well.


For balance, I added another cluster of embellishments to the opposite side to my photo. I layered the flowers and adhered some with foam tape, again to build a sense of dimension. A small phrase tag was nestled amongst the blooms and finished with a small string bow.


Once completed I was super happy with how bright and fun my layout was.


Thanks for stopping by the blog today! Don't forget to check The Cut Shoppe's website for more fabulous cut file designs.
Until next time,


Saturday, June 8, 2019

Adored | Tarrah McLean

Hi Cut Shoppe friends!

It's Tarrah McLean back with you and today I have new layout to share using the gorgeous Flutterby cut file.


Flutterby

I cut the Flutterby design out from white textured cardstock and then chose some of my favourite papers from a 6' x 6' paper pad and backed all the butterflies with the different papers. Once it was backed, I adhered it down to another piece of white textured cardstock, leaving the wings of the butterflies so that they could be bent up. I love the dimension and shadows this creates.

I then machine stitched around the circle and through the centres of the butterflies to add dimension and texture. My photo was matted on white cardstock and I placed it to the bottom right of the layout. I tucked in some of the embellishments on the right hand side of the photo. 

On the left of the photo, I added a tag with some twine. I also added a few phrase stickers to help tell the story of the layout both above the tag and also under the photo. I added some of the die-cut butterflies and a wood veneer one over the top of the cut file design ones plus I took a flair button from my stash and added that too. 

Lastly I added a few pastel coloured enamel dots to enhance some of the colours and a wood veneer title overlapping the photo.

Thank you for stopping by today! 

Happy creating!


Saturday, March 16, 2019

Best day | Sasha Biyanova

Hey everyone!!!

It's Sasha here today with my new layout using the Flutterby cut file! These butterflies are perfect for plotter!!! 


I used them as a decor fot the birthday wall and then - after all the birthday parties - made this beautiful layout.


I mixed white butterflies with patterned as they were at the wall. And added some watercolors behind the photo. Actually that was my first step - to put spray on the paper)


Surely I wrote a story about birthday! And this layout is not the last about celebrating because I have a lot of photos and I love these butterflies))


And, of course, I should show you the wall))) I think this cut file perfect not only for layout but also for decorating))


I hope you were inspired and checked The Cut Shoppe for interesting designs!

Happy crafting!

Monday, December 3, 2018

Flutterby Butterfly Love | Amanda Baldwin


Hi TCS Friends!

Welcome back for more cut file inspiration!
Amanda here, and today I am sharing a very pretty page with our fabulous Flutterby cut file! 
I just love butterflies, & pop them in a wreath and well, I'm one happy creator! 
Here's what I've made with this file today.....
"Hello, Sunshine"


Sigh! Isn't this just lovely?!
The Flutterby digital cut file is just so intricate and oh-so-beautiful!


Absolutey divine! 
You can find this incredible file in The Cut Shoppe Etsy Store HERE. 

Let's take a closer look at my layout....


I've teamed that amazing Flutterby file with the beautiful Pebbles Jen Hadfield: Along The Way collection & I think you'll agree that this is perfect combination! So.much.pretty!
I love the white on white look, & regularly cut our files in white cardstock to use on white backgrounds. I really like how this creates a clean and fresh look to layouts, and allows the cut file to be supported with bright pops of color - without being too busy on the eye!


I've backed half of the butterflies with that soft pink polka dot paper, gluing them perfectly into place. 


The other butterflies are backed a lil differently! I have traced the remaining butterflies with pencil onto that pretty golden yellow paper, cut them out and semi attached them to the Flutterby cut file. I love how they create that layered wing look! 


I've also dressed the Flutterby cut file with lots of pretty embellishments including die cuts, stickers and dots. 


To ensure my photo isn't lost amongst all those beautiful butterflies, I pop it into a frame before layering it onto the Flutterby file. Pretty!
Such a gorgeous layout for my gorgeous ballerina! 
I think you'll agree that the Flutterby digital cut file is a must have! 

I hope my layout has inspired you to add the Flutterby to your TCS collection today!

Thanks so much for visiting, 


Wednesday, September 26, 2018

Sweet Girls | Kelly Janes

Hey there, friends! Kelly here today to share a new 12x12 layout using the Flutterby Cut File.


I started in Cricut Design Space by slicing one of the butterflies from the wreath. I duplicated the butterfly and then used the contour feature to make the butterfly a solid shape. I then duplicated both the intricate butterfly & the solid butterfly so I had 3 of each. I cut the intricate butterflies on patterned paper and the solid butterflies on vellum.


I layered the patterned paper butterflies over the vellum & added stitching down the center. I love how the wings just naturally lift...it adds so much dimension! I added a few more fussy cut butterflies, flowers & buttons to finish off the layout!


Remember to visit The Cut Shoppe Etsy Store to check out all of the cut files & digital collections!


Monday, July 30, 2018

Guest Designer | Samantha Klaebe

We love seeing how all of you are using the Cut Files from The Cut Shoppe!  And when you share on social media and tag us, sometimes it can even earn you a Guest Designer spot!  Today, Samantha Klaebe is joining us as our July Guest Designer.  Sam submitted to our last DT call inquiring about a guest spot, and we loved her cards so much, we just had to have her share on the Blog!  Before we take a look at Sam's cards, let's get to know a little bit more about her.


Hello I’m Samantha. I’m from South Australia, Australia. Any spare time I have, you’ll find me in my craft room creating cards! I’ve always been a creative person – so I find real joy in making cards not necessarily for anyone but because it allows me to express myself creatively and even emotionally. It’s very relaxing at the end of a crazy day to just sit down (in the quiet) and concentrate on nothing else but colour combos and stamp placement. If I’m not in my craft room then you‘d find me chasing after my young family of three.

I enjoyed using Ashley’s cut files and creating these cards this month. Thank you for having me and I hope you enjoyed my cards too.


Now let's take a look at Sam's cards!  First up, is a fun pineapple card, using the Summer Vibes cut file. 


Sam's second card features the Flutterby cut file, and we love the way she altered it from it's larger size, to make it work for her card.


How awesome are both of her designs??!!  It just goes to show, that our cut files can be used for all of your craft related projects!

Thanks so much for joining us this month, Samantha!  You can follow Sam's Blog and find more of her inspiring work by visiting My Little Paper World

Sunday, April 22, 2018

Yay! Layout with Neftali

Welcome crafty lovers, it is Neftali Zambrano here for the first time on The Cut Shoppe Blog! I am so honored to be here along with the awesome talent that surrounds me on this team. I hope that my layouts and project this term inspire you all to get to your crafty havens and get creative with some super awesome cut files! So, let's begin! 

I'm here today to share my first layout, and because I am so happy to be here, I decided to keep on with the celebrations of getting on the team and I decided to create a layout celebrating it! 

Here it is:


I went all out using so many fun techniques for this layout, so keep reading! 

I started off by choosing the Flutterby cut file from this month's first release. I've noticed many of us using it this time, but how could you not? If there's butterflies and a wreath all in one, I'm sold! 

I cut it to fit an 8 1/2 by 11 sheet and added some fun silver texture paste from Vicki Boutins new line on top of the whole cut file, giving it a subtle silver sheen.

I then set up the base for my layout on white cardstock by using some watercolors to add some bright pops of pink, yellow, and teal in a circle shape to sit my wreath on. 


After that was done and dry, I stitched each butterfly carefully onto the page. This not only helped me stick down the cut file, but it also added a bit of texture to each of the butterflies' bodies. I just curved up each one's wings after I stitched them down to give them that awesome raised look!


I had some fun using a new stamp set I'd just picked up at a craft store to create the floral pieces you see on the image below. I kept to the same color scheme by stamping with two shades of pink, yellow, and a soft mint color.

I added the florals in two clusters: one to the top right of my photo, and one to the bottom left of the photo.


Some final embellishments that I added were some Paige Evan's wood veneers from her very first collection (remember that?), a bit of thread to add a bit more texture, and finally some bits of stamping in two spots around my photo.


The final step was to back my layout onto the prettiest Paige Evan's patterned paper from her Turn The Page collection, and some stitching. I added my title, "YAY!" In some cute Amy Tangerine puffy thickers right below my image.

And so, friends, that is how I created this awesome layout celebrating making it onto this awesome team! I am very excited to have grabbed this idea to make a layout using the DT announcement photo from so many gals in Instagram. 

I hope that you enjoyed my very first project using the Flutterby cutfile from the shoppe! I will be back in just a couple of days to share more crafty inspiration with you all. Thanks for stopping by, until next time!


Saturday, April 21, 2018

Hello, Lovely | Donna Espiritu

Hello, pretty peeps! Donna here with a layout using the Flutterby cut file. This is a sure hit among DT members so make sure you check it out at The Cutshoppe Etsy Store.

I cut the file and used a white cardstock then backed it with a patterned paper. I mounted it with foam tape for dimension.
Before adhering the photo in place, I splattered a mixture of pink, yellow, coral, white and black mists. Then I embellished in clusters/layers with some stickers and ephemera.

I also mounted some stickers/ephemera with foam tape for a bit of dimension.

I super love how my layout turned out.


This is the cut file I used:

Thanks for dropping! Stay inspired and happy crafting.