Showing posts with label wreath. Show all posts

Monday, December 3, 2018

Flutterby Butterfly Love | Amanda Baldwin


Hi TCS Friends!

Welcome back for more cut file inspiration!
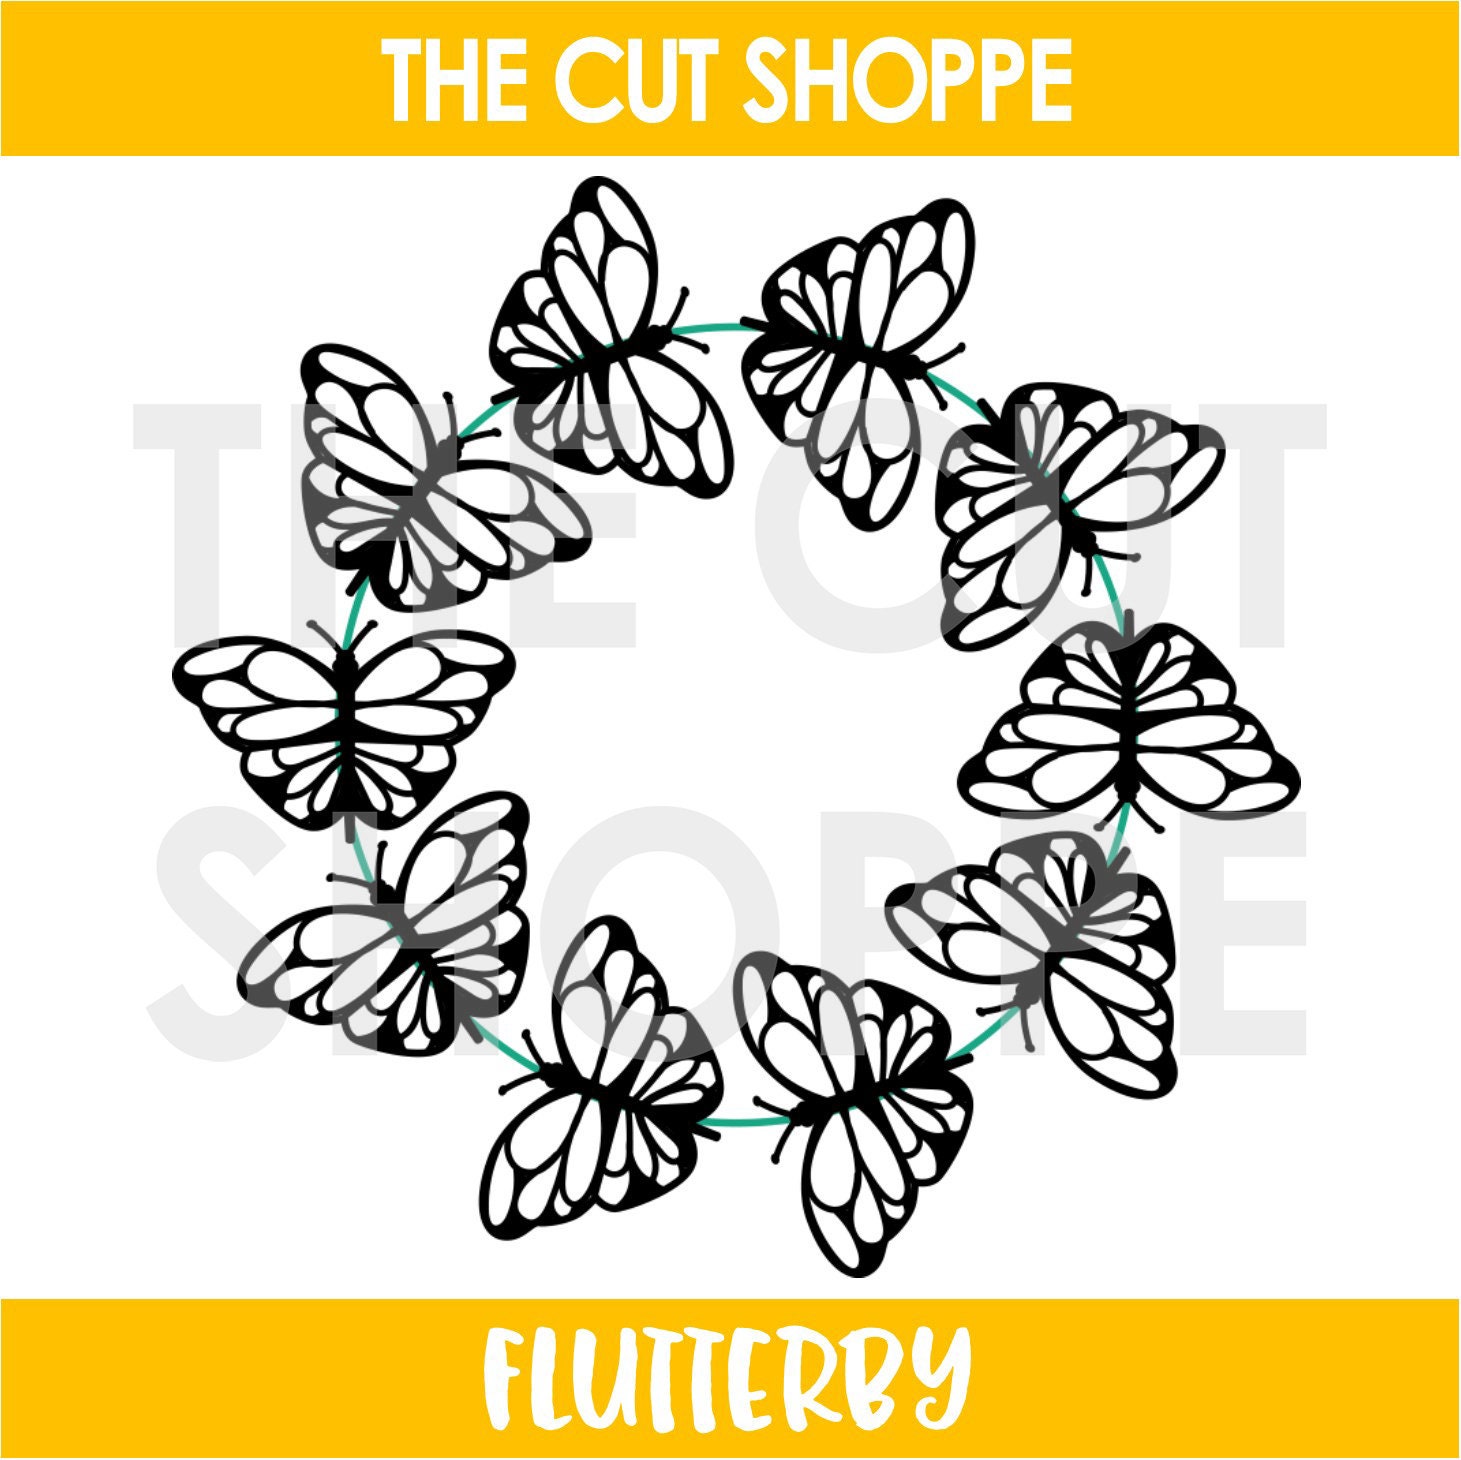
Amanda here, and today I am sharing a very pretty page with our fabulous Flutterby cut file! 
I just love butterflies, & pop them in a wreath and well, I'm one happy creator! 
Here's what I've made with this file today.....
"Hello, Sunshine"


Sigh! Isn't this just lovely?!
The Flutterby digital cut file is just so intricate and oh-so-beautiful!

Absolutey divine! 
You can find this incredible file in The Cut Shoppe Etsy Store HERE. 

Let's take a closer look at my layout....


I've teamed that amazing Flutterby file with the beautiful Pebbles Jen Hadfield: Along The Way collection & I think you'll agree that this is perfect combination! So.much.pretty!
I love the white on white look, & regularly cut our files in white cardstock to use on white backgrounds. I really like how this creates a clean and fresh look to layouts, and allows the cut file to be supported with bright pops of color - without being too busy on the eye!


I've backed half of the butterflies with that soft pink polka dot paper, gluing them perfectly into place. 


The other butterflies are backed a lil differently! I have traced the remaining butterflies with pencil onto that pretty golden yellow paper, cut them out and semi attached them to the Flutterby cut file. I love how they create that layered wing look! 


I've also dressed the Flutterby cut file with lots of pretty embellishments including die cuts, stickers and dots. 


To ensure my photo isn't lost amongst all those beautiful butterflies, I pop it into a frame before layering it onto the Flutterby file. Pretty!
Such a gorgeous layout for my gorgeous ballerina! 
I think you'll agree that the Flutterby digital cut file is a must have! 

I hope my layout has inspired you to add the Flutterby to your TCS collection today!

Thanks so much for visiting, 


Sunday, October 7, 2018

Love Fall | Kelly Janes

Hey there, friends! Kelly here today and I'm so excited to be returning to The Cut Shoppe Design Team for another term! Today I'm sharing a new fall layout using the Fall Foliage Cut File & the Leaf It to Me Cut File.


I started in Cricut Design Space by inserting the large leaf with the heart from the Fall Foliage Cut File. I duplicated the the leaf and used the contour feature to hide the heart on one leaf and to hide the leaf on the other so I only had the heart remaining. I then resized the heart to a little larger than 2". I rotated the leaf so it was at an angle and repositioned the heart so it was centered in the leaf. I then sliced the heart through the leaf. I then resized four of the intricate leaves from the Leaf It to Me Cut File so they would fit along the larger leaves from the Fall Foliage Cut File.


I used Design Space to draw 3 circles around the layout and added hand stitching to the circles to create a wreath. I positioned all of the leaves in the upper left & lower right corners of the layout. I added mixed media under the leaves for more interest and color. I placed my photo behind the heart and to draw more attention to the photo I added white machine stitching around the heart shaped photo. I then added multiple die cuts & gold alphas for my title.


I love the way this layout came together! Fall is my favorite season to scrapbook and I'm so inspired by all of The Cut Shoppe Cut Files and Fall colors!!


Sunday, April 22, 2018

Yay! Layout with Neftali

Welcome crafty lovers, it is Neftali Zambrano here for the first time on The Cut Shoppe Blog! I am so honored to be here along with the awesome talent that surrounds me on this team. I hope that my layouts and project this term inspire you all to get to your crafty havens and get creative with some super awesome cut files! So, let's begin! 

I'm here today to share my first layout, and because I am so happy to be here, I decided to keep on with the celebrations of getting on the team and I decided to create a layout celebrating it! 

Here it is:


I went all out using so many fun techniques for this layout, so keep reading! 

I started off by choosing the Flutterby cut file from this month's first release. I've noticed many of us using it this time, but how could you not? If there's butterflies and a wreath all in one, I'm sold! 

I cut it to fit an 8 1/2 by 11 sheet and added some fun silver texture paste from Vicki Boutins new line on top of the whole cut file, giving it a subtle silver sheen.

I then set up the base for my layout on white cardstock by using some watercolors to add some bright pops of pink, yellow, and teal in a circle shape to sit my wreath on. 


After that was done and dry, I stitched each butterfly carefully onto the page. This not only helped me stick down the cut file, but it also added a bit of texture to each of the butterflies' bodies. I just curved up each one's wings after I stitched them down to give them that awesome raised look!


I had some fun using a new stamp set I'd just picked up at a craft store to create the floral pieces you see on the image below. I kept to the same color scheme by stamping with two shades of pink, yellow, and a soft mint color.

I added the florals in two clusters: one to the top right of my photo, and one to the bottom left of the photo.


Some final embellishments that I added were some Paige Evan's wood veneers from her very first collection (remember that?), a bit of thread to add a bit more texture, and finally some bits of stamping in two spots around my photo.


The final step was to back my layout onto the prettiest Paige Evan's patterned paper from her Turn The Page collection, and some stitching. I added my title, "YAY!" In some cute Amy Tangerine puffy thickers right below my image.

And so, friends, that is how I created this awesome layout celebrating making it onto this awesome team! I am very excited to have grabbed this idea to make a layout using the DT announcement photo from so many gals in Instagram. 

I hope that you enjoyed my very first project using the Flutterby cutfile from the shoppe! I will be back in just a couple of days to share more crafty inspiration with you all. Thanks for stopping by, until next time!


Saturday, May 27, 2017

Mixed Media Wall Art

Hello everyone! It's Zinia here to share with you a page I created using a lovely cut file from The Cut Shoppe store.


My initial idea was to create a mixed media scrapbook layout but the mixed media part got a bit out of control and I loved it so much that I didn't want to add more things. So I decided to use it as a wall art piece and use it to decorate my craft room.


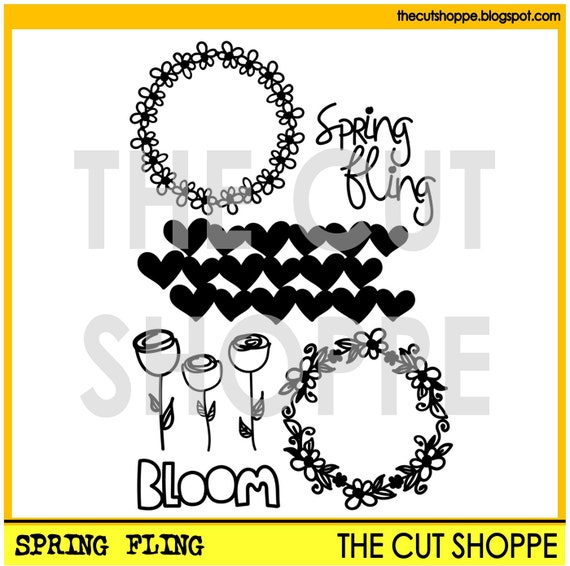
I cut out a wreath from the Spring Fling cut files set and stuck it on a piece of white cardstock using foam adhesive to give it more dimension. Then I started playing around with all sorts of paints to create an abstract background.


I started with my neutral and dark colors and spread them around the page. I also used some texture paste to add a few more details.

Then I brought in my bright colors and added fun splatters, drips and scribbles. I kept adding my mixed media paints following the shape of the wreath to accentuate it.


I really hope you enjoyed this and got inspired to use your cut files in more creative and artistic ways.

Friday, March 3, 2017

You & Me

Hello!! It's Melissa here and I'm so happy to be back with you in a new month with a new layout!!  For this one I used one of the cut files from the Wreathed in Love set.  They are just gorgeous and I love scrapping with wreaths.  I used the remnants of my Cocoa Vanilla Studio "Love Always" collection, which is so beautiful!  The photo is of my son and our second daughter at a Wildlife Park a couple of years ago.  She was loving walking after him!


I made a little cluster at the top of the page to balance the photo and cluster.


I left the cut file plain, I did consider water colouring it but I decided it had more effect with the beautiful embellishments on top.


The silver sequin heart was totally hoard-able, so I was so happy to get it on this layout! 


Here is the stunning cut file set.


Thanks so much for looking!  I'll be back later in the month!


Wednesday, October 19, 2016

You Stole My Heart

Hello scrappy friends, it's Zinia here and today I want to share with you a wreath design I created using a super cute cut file from the Cut Shoppe etsy store.


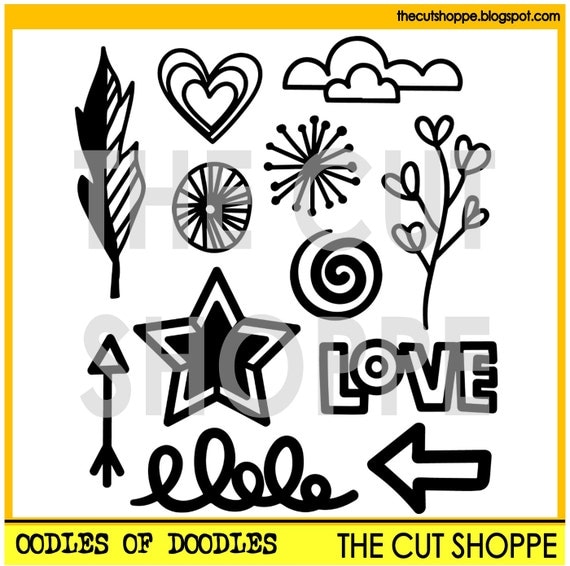
So I grabbed a bunch of 6x6 paper sheets mainly from Paige Evans' "Take me Away" collection and I started cutting a some of the shapes from the Oodles of Doodles cut file.  I picked different shapes in different sizes for every paper I cut to have some variety of die cuts to work with.


Once I had all my pieces cut I arranged them on my page. To make my wreath more "rich" I decided to fussy cut some flowers that came in one of the 12x12 papers from the "Take me Away" collection. I started committing to the arrangement by sticking down the flowers first and then slowly adding the die cut pieces. 

It was a bit hard to balance all the different shapes, sizes and patterns but I took my time and made sure to spread everything evenly. 


To add some more interest around the wreath, I sprinkled with some Heidi Swapp Color Shine in Sweet Mint and Gold. 

For my title I used the gold phrase thickers from the "Take me Away" collection paired with the small gold alphas from the Maggie Holmes "Gather" accent stickers sheet.


With all the business of the wreath, I didn't really need to do a lot of embellishing. I added a few gold phrase stickers and a few more little bits just help the design look more balanced.


I'm really excited about the way this turned out. I enjoyed the whole process of placing all the little die cut pieces and adding the final touches with the extra embellishments.

I really hope you enjoyed this as well and you got inspired to create something beautiful with your cut files from the Cut Shoppe etsy store. Until next time, happy scrapping :)


Wednesday, April 13, 2016

Fairy Garden | Spring Fling


Aimee here sharing a spring layout. Using the Spring Fling Cut File

Spring Fling

I recently planted a little fairy garden in my backyard. I have been wanting to do this for sometime, and I am so glad that I did!

I seriously could stare into this little garden all day & daydream.


To create the layered look of the spring wreath I cut the wreath from a sheet of 12x12 red polka dot paper {fine & dandy from Dear Lizzy}.


After that cut I released the compound/ungrouped the wreath and threw out the main construction of the wreath.


This left me with just the petals and the veins of the leaves.


I separated them and then cut them from a patterned paper {the petals} and a plain paper {the leaf veins} {papers from a 6x6 paper padBetter Together from Amy Tangerine}.


Although piecing the petals and leaf veins together was time consuming, I love the effect. I t really makes the wreath pop.


To finish up my layout I layered my photo on some brightly colored papers {papers from a 6x6 paper pad Better Together from Amy Tangerine} some paper flags from Elle’s Studio. And of course some puffy stickers {from sticko}


Do you like to spend time piecing paper together?