Showing posts with label leaves. Show all posts

Saturday, November 16, 2019

A World of Octobers - Audrey Yeager

Hello everyone!  I am excited to share this fall themed page with you with this adorable cut file called "World of Octobers".


World of Octobers


I began by cutting most of the title from white cardstock, but separating out the word "October" and the leaf and cutting those separaetly.  I covered the background with white gesso and then went over the page with some mixed media sprays.


After that was day, I backed each letter with a different colored patterned paper.


I fussy cut some leaves from other patterned paper, and matted my photos. 


I cut the title from a deep purple cardstock, added a few sequins and other stickers, and I was finished!


You can see the entire process in the video below!  Thanks for watching!


Sunday, October 7, 2018

Love Fall | Kelly Janes

Hey there, friends! Kelly here today and I'm so excited to be returning to The Cut Shoppe Design Team for another term! Today I'm sharing a new fall layout using the Fall Foliage Cut File & the Leaf It to Me Cut File.


I started in Cricut Design Space by inserting the large leaf with the heart from the Fall Foliage Cut File. I duplicated the the leaf and used the contour feature to hide the heart on one leaf and to hide the leaf on the other so I only had the heart remaining. I then resized the heart to a little larger than 2". I rotated the leaf so it was at an angle and repositioned the heart so it was centered in the leaf. I then sliced the heart through the leaf. I then resized four of the intricate leaves from the Leaf It to Me Cut File so they would fit along the larger leaves from the Fall Foliage Cut File.


I used Design Space to draw 3 circles around the layout and added hand stitching to the circles to create a wreath. I positioned all of the leaves in the upper left & lower right corners of the layout. I added mixed media under the leaves for more interest and color. I placed my photo behind the heart and to draw more attention to the photo I added white machine stitching around the heart shaped photo. I then added multiple die cuts & gold alphas for my title.


I love the way this layout came together! Fall is my favorite season to scrapbook and I'm so inspired by all of The Cut Shoppe Cut Files and Fall colors!!


Saturday, September 8, 2018

Grateful | Tarrah McLean

Hi there Cut Shoppe friends,

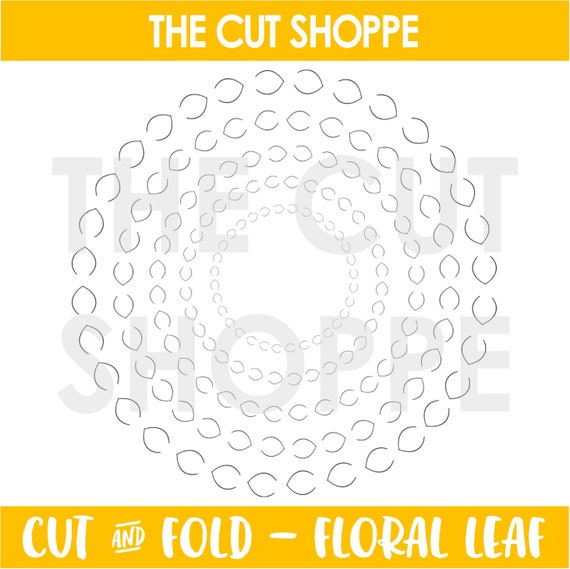
It's Tarrah McLean back with you and today I am sharing a Fallish themed layout using the gorgeous new Cut and Fold Floral Leaf cut file!

The Cut and Fold Floral Leaf cut file

I decided to cut the cut file from white cardstock so that the colour underneath would pop through. I love how the pretty pink colour shows through after I folded the leaves back and stitched them down.

I used bits and pieces from both the Cedar Lane and Twilight collections by Pink Paislee from my stash for this page. The wood veneer leaves are also from my stash! 

I wanted to showcase loads of the gorgeous design of the cut file so I kept the focal point in the centre by placing my photo here and embellishing mainly just around the photo.

I added a little bit of black and gold mist to finish off!

Thanks so much for stopping by The Cut Shoppe blog today!

Happy creating!


Tuesday, October 17, 2017

"Sweet Moments" | Enza Gudor

Hello, everyone. Enza here, and today I'm sharing a Fall-themed layout with you. I used two cut files: All About Fall background and Autumn Acres.


I knew I wanted to create a shaker pocket in the middle of the page. I drew a circle in the Silhouette program and combined it with the All About Fall background image. The “crop” option under the Modify tab allows you to merge the two images together, so to have a shaped version of the cut file. I then offset the outer circle to create a border. In order to have enough space for sequins and wood veneers to move freely in the pocket, I created a separate circular border that matched the measurements of the cut file and cut it three times. By stacking the individual cuts I was able to achieve the dimension I needed. A piece of acetate was glued in between the first two top layers.

Before adhering the prepared cut file onto my background paper, I backed some leaves with different patterned papers from the Crate Paper Carousel collection.

At this point I realized I wanted to make my layout feel more autumnal. The Autumn Acres cut file came in handy for that. I picked one of the leaves in the set and cut it in different sizes from a variety of patterned papers in yellow, pink, and teal hues. I then layered them all around the cut file, in kind of a messy way. I think it looks more natural that way ;)

A title and a few embellishments finished the layout.

I love how this page turned out. Make sure to check out The Cut Shoppe Etsy store and pick up some awesome cut files to document your memories.

Until next time. Have a lovely day!


Sunday, October 8, 2017

"Explore" with Kira

Hello crafty friends!  I am so excited to be here with my first layout on The Cut Shoppe design team!  I have to be honest with you though...it was REALLY hard to chose a cut file to use for this layout.  I literally wanted to use them all!


I was feeling some strong autumn vibes when I was creating this though.  So I narrowed it down to "leaves", which was still a very tough decision because there are a few leaf themed cut files in the shop.  The Autumn Acres cut file though?!  It spoke to my autumn-loving-pumpkin-patch-visiting soul.


I decided to cut two of the same shaped leaves, and did them in slightly different sizes (about a 1/2" difference).  And the most obvious thing to do at this point would be to go through my scraps to back the leaves with pattern paper.  But instead I went to Hobby Lobby and bought $45 worth of new paper to create my perfect color palette.  I wanted something autumn-ish, but in a more non-traditional sense.  My current favorite autumn color palette is cobalt blue, aqua, deep reds with pops of orange and yellow.


Each leaf "section" was backed in a different color/pattern and some were even left open so the background paper could peek through.  My photo (which is a picture of my son at the apple farm last year, pointing at an old vintage truck in the middle of a field...I mean, how much more "fall" can you get?!) is nestled under one of the leaves and on top of the other in a sort of diagonal design.


The title is an acrylic piece that says "explore" from Bella Blvd.  I used some burnt orange embroidery floss to create the look as if it is stitched on the page.  At this point I felt like my layout was almost complete, the leaves had really done most of the work for me as far as embellishing goes.  I used a couple phrase stickers and then decided to add in a few more leaves.


The small leaves on the left side of the page are from another cut file you can purchase in the shop.  It's called Funky Florals.  (Full disclosure:  my original idea was to use the florals and leaves from this cut file and I had backed a ton of them and then changed my mind about 2 hours in...as any sane person does.  Ugh.)  Anyway, I used a few of the leaves I had already backed with pattern paper and created the illusion that they were falling from the autumn trees.


I finished the layout off with some gold Heidi Swapp color shine and a date stamp.  Thanks for stopping by and checking out my very first layout as part of this amazing design team!

Until next time,