Showing posts with label home decor. Show all posts

Thursday, June 20, 2019

Welcome Home

Hey there! It's Devra  here today and I have a fun project to share.  I wanted to make my son came feel special when he arrived hime from his first year in college.   I used a couple of cut files to create a cool banner!

As I've already mentioned, I love using products in different ways. No standard banner shape for me today!  Why not do something unexpected? I used the star from the Boys Rule cut file to create the base. I backed it with white so it could be seen better. The Open Letter Alpha is one of my favorite fonts in the shop. It's so whimsical and perfect choice for me here. I added family and home sentiments from my stash to lightly embellish each piece. See how easy this was? I love how versatile cut files can be.


Thanks for stopping by today. Check out these cut files and more in The Cut Shoppe. We love to see what you make. Join our Facebook group to share and find inspiration.   See you next time!


Saturday, September 1, 2018

September Facebook Challenge with Kira


Have you had a chance to join our Facebook group yet?!  Every month we are hosting a challenge and you have the chance to win some FREE cut files from The Cut Shoppe.  This month I decided that we all needed to get a little creative and use our cut files for some off the page projects.  So I am calling this challenge "Off the page, On the wall"...but don't feel limited by the wall, take your cut files anywhere!


On to my project...we moved into our house in November, and it was an estate sale, so we got first dibs at anything in the house, that we could request in the price of the house.  The first thing I knew I wanted were these two milk cans I found in the garage.  I mean, come on!  These are so on trend right now and I couldn't wait to transform them into a cool piece of home decor.

And then they sat in our garage since November.

So what better time to bring them back out than for this challenge?! I started by washing it down, inside and out.  There wasn't much rust, but there was some chipping paint, so I scrapped and sanded down as much as I could.


Then I used some spray paint primer, specifically designed for metal, and added a few coats to the can.


The primer didn't not cover the can cleanly, so in the area I knew I wanted to use the cut file, I sprayed in an off white color.


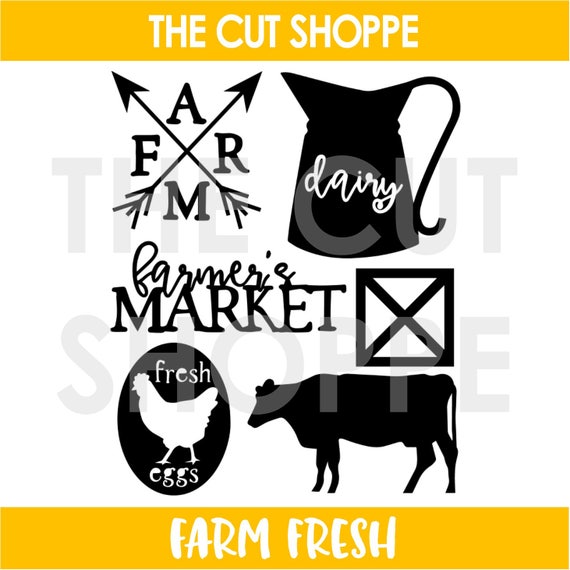
I used the Farm Fresh cut file, sizing "Farm" to 11.5" wide.


I cut the cut file out on some vinyl, and centered it on my can.


Then, using some red spray paint, I painted the entire can, including over the cut file.  Once the red was dry, I peeled off the vinyl.


And there you have it, a super cute, custom piece of home decor!  I hope you join our Facebook group and join in on this challenge!


xo, Kira


Monday, July 23, 2018

Christmas in July with Kira

Hey everyone!  I can't help myself when I see a fun trend going on in the crafty world...I just HAVE to join in.  So when everyone started posting about their fun Christmas in July projects, I was feeling a bit left out.  Since I usually complete my entire holiday album in December, I don't have a lot of Christmas photos to scrap in July, but I thought I could make some cute Christmas decor instead!


Have you used The Cut Shoppe cut files for home decor yet?!  If not, I am going to show you step by step how easy it can be!

First, gather your supplies:
 - project surface (I used this 18" x 5" wood plaque)
 - paint and paint brushes (I stuck with white and black but clearly you could make this project as colorful as you'd like!)
 - vinyl (I am no vinyl expert and know there are tons of choices out there, I used American Crafts black mat vinyl which I purchased at my local Tuesday Morning)
 - a cut file or two!
 - a die cut machine (I own/use a Cricut, but I know Silhouette has all the same capabilities in this department)
 - contact paper or blue painters tape


I started by painting my wood plaque.  I used regular acrylic paint and painted the background white and the "frame" black.  It's best to do this first so you can let it dry while you cut your vinyl.

Next, choose your design.  I used the Wintry Mix cut file as my main focus on this piece.  I had a hard time deciding between a few of the designs on this cut file because they're all so cute!  I eventually went with the mountains.  I sized them to 4" tall so they would fit on my plaque.  This only made them about 8" wide though, and needed to fill in some space.  So I used the Brush Up Alpha to spell out the phrase "Let it Snow". 


Once I had the sizing how I wanted it, I cut everything out on the vinyl.  You'll place your vinyl color side up on your mat to cut, and choose the appropriate setting on your machine. 


 Once the images are cut out, you'll need to "weed" the image, leaving it looking like this:

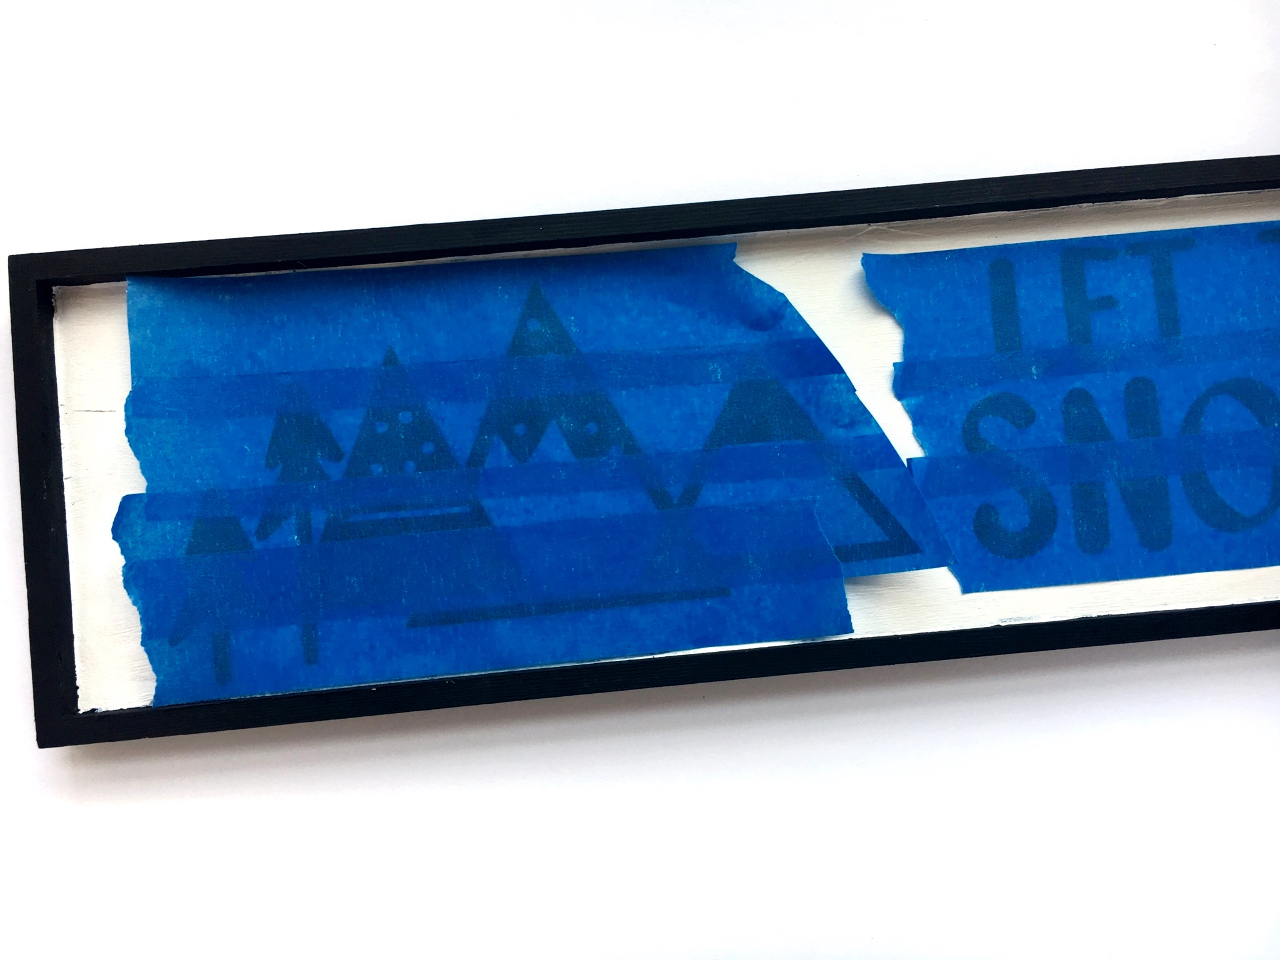
Then you'll use contact paper, or blue painters tape (whichever you have on hand, they both work great!) to transfer the images to your project base. 


If you use painters tape, layer each strip over the other so it forms a single sheet of tape.  Rub over the top of the tape so that the vinyl adheres to the tape and lift it from the vinyl backing. Then place the image on your project base. 

Once all the images are where you like them, rub down so that everything sticks in place.  When removing the tape, go slowly so you don't accidentally ruin placement or tear the vinyl.

 And there you go!  A custom piece of Christmas decor!


I had made a mistake on my first cut so I had an extra little tree from the Wintry Mix cut file.  I decided to place it to the right of "Let it Snow". 


I am super happy with how this came out and can't wait to display this with the rest of my holiday decor this winter!  Thanks for stopping by!

xo, Kira


Wednesday, March 28, 2018

DIY Easter Banner | Elsie Robinson

Hey TCS fans, it's Elsie here! I love decorating my house for the holiday's, and with Easter this upcoming weekend I thought I would get into the spirit and create a 'hoppy easter' banner to hang in my home.

For this banner I used the Open Letter Alpha cut file. Any alpha cut file would work well for this banner, but I love this alpha in particular because I could back each letter with some pretty patterned papers!

I used papers from the Dear Lizzy Stay Colorful collection, as I love all of the bright, spring colours and patterns. 

And then I made the (slightly) crazy decision to hand-stitch around each letter...!


I love the texture stitching adds and this banner is something I will bring out year after year to decorate my house with, so I didn't mind spending the time hand-stitching. An alternative would be to use a sewing machine or not to include stitching at all! But I love how cute and whimsical the hand-stitching looks!


The banner looks great with just the patterned paper letters, but I couldn't resist adding embellishment clusters onto each letter. This was a fun way to use up lots of scraps and stickers that I had leftover from previous layouts, so it was a good stash-buster!

I hope you all have a Happy Easter, and are inspired to create your own Easter banner with some of the many alphas The Cut Shoppe store has to offer!


Saturday, May 27, 2017

Mixed Media Wall Art

Hello everyone! It's Zinia here to share with you a page I created using a lovely cut file from The Cut Shoppe store.


My initial idea was to create a mixed media scrapbook layout but the mixed media part got a bit out of control and I loved it so much that I didn't want to add more things. So I decided to use it as a wall art piece and use it to decorate my craft room.


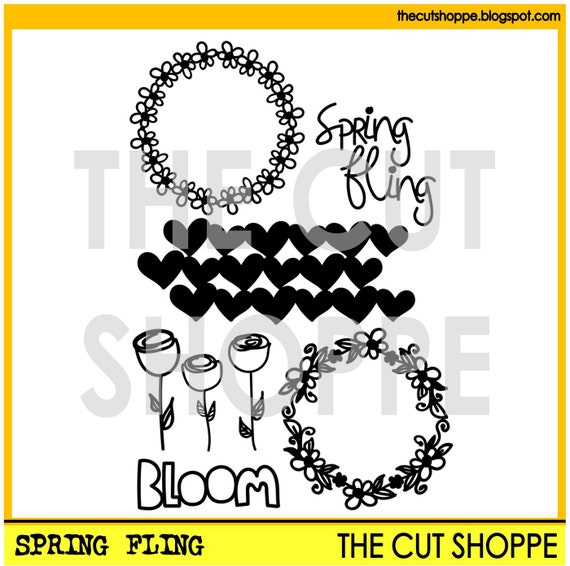
I cut out a wreath from the Spring Fling cut files set and stuck it on a piece of white cardstock using foam adhesive to give it more dimension. Then I started playing around with all sorts of paints to create an abstract background.


I started with my neutral and dark colors and spread them around the page. I also used some texture paste to add a few more details.

Then I brought in my bright colors and added fun splatters, drips and scribbles. I kept adding my mixed media paints following the shape of the wreath to accentuate it.


I really hope you enjoyed this and got inspired to use your cut files in more creative and artistic ways.

Wednesday, April 12, 2017

Home Sweet Home


Hello friends!  Candace here with you to share with you a new project using the Moving on Up cut file. I loved the wood sign that I made at Christmas so much that I decide to make a new sign to hang outside my front door.


I started my project by purchasing a plain wood sign and antique white paint I found at Walmart.  Next, I cut the "Home sweet Home" sentiment from the Moving on Up file out of vinyl. 


I pulled the letters out of the vinyl and left the negative space to paint on the wood.  I applied the vinyl to the wood and burnished it down to help with excess paint going under the vinyl.


After letting the paint dry I pulled the vinyl off and sanded the letters a bit to add to the distressed look of the sign.  To finish off the sign I added black twine to the top and bottom along with a little bow.  

I love the new sign!  I love that I can use any file from the shop an create custom home decor!  Give this a try in your home and let us know how it goes! 

Have a beautiful day!

Saturday, December 17, 2016

Home Decor-Joy


Hi friends!  Candace here with you to share a December decor project using the free cut file this week, Joy Wreath.  If you missed it the other day you can pick it up here


As soon as I saw this cut file I knew I wanted to use it for a holiday decor project.  First I separated the wreath from the Joy sentiment in my Silhouette software.  Next, I cut the Joy out of an extra piece of vinyl I had in my stash.  After adhering the vinyl to a piece of wood I made sure to burnish the file to make sure there were no spaces between the vinyl and wood.  


I used a sponge brush to sponge on the paint.  Because of the texture of the wood I had to use a sponge instead of a regular brush to dab on the paint.


After I finished applying the paint to the wood I let the paint completely dry for about and hour.  Once I double checked to make sure that the paint was dry I gently peeled back the vinyl.  To add a little more interest I gently sanded across the word in certain spots to distress the wood a bit more.  For a final touch I added a bit of distressed red twine to the top and bottom of the wood tied in the back.


I love the final project!  It is perfect to match the decor in my home along with my dark red wall in the kitchen!  I would love to see what home decor projects you create with the lovely files in the shop!  

Thanks for stopping by!  Have a beautiful holiday!

Candace


Friday, January 23, 2015

Pineapple Art Print


Hi everyone,

I hope your Friday is off to a great start!  Gina here, and I am excited to share a new project with you using the Prickly Pineapple cut file.


To create my art print I cut out the Prickly Pineapples cut file using my Silhouette Cameo.  Then I used it as a mask.  I painted over it with watercolor paints onto watercolor paper using a water brush. Once it was dry I framed it.  This simple art print will make a sweet addition to any room.


Supplies: Prickly Pineapples Cut File: The Cut Shoppe; Other: watercolors, watercolor paper