Showing posts with label Zinia Amoiridou. Show all posts

Saturday, May 27, 2017

Mixed Media Wall Art

Hello everyone! It's Zinia here to share with you a page I created using a lovely cut file from The Cut Shoppe store.


My initial idea was to create a mixed media scrapbook layout but the mixed media part got a bit out of control and I loved it so much that I didn't want to add more things. So I decided to use it as a wall art piece and use it to decorate my craft room.


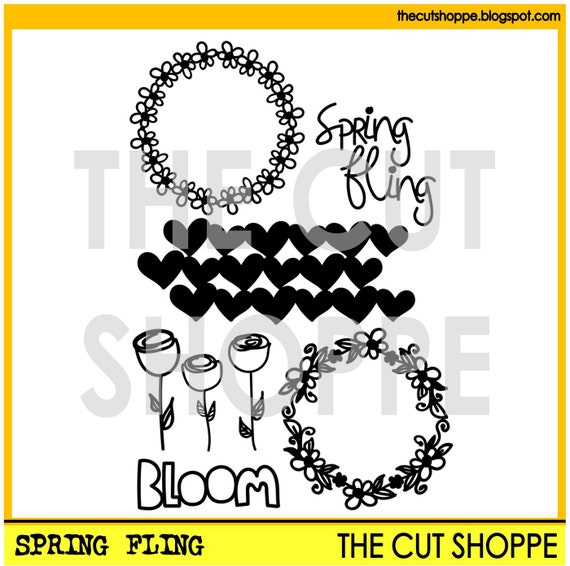
I cut out a wreath from the Spring Fling cut files set and stuck it on a piece of white cardstock using foam adhesive to give it more dimension. Then I started playing around with all sorts of paints to create an abstract background.


I started with my neutral and dark colors and spread them around the page. I also used some texture paste to add a few more details.

Then I brought in my bright colors and added fun splatters, drips and scribbles. I kept adding my mixed media paints following the shape of the wreath to accentuate it.


I really hope you enjoyed this and got inspired to use your cut files in more creative and artistic ways.

Saturday, May 20, 2017

Mermaid Art Journal Spread

Hello everyone! It's Zinia here to share with you a page I created using a lovely cut file from The Cut Shoppe store.

Last month I shared with you a really fun and colorful art journaling spread I created using cut files from the Cut Shoppe and you seemed to enjoy it. So I decided to do some more art journaling for you.


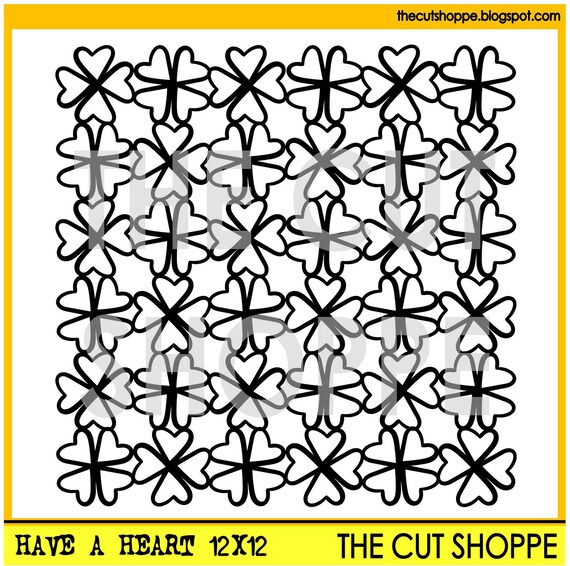
So I had a few leftover pieces of the Have a Heart cut file from my last project and I thought they would be perfect as accent of an underwater seascape. So I decided to make a mermaid art journal spread since it's MerMay. 


I started by creating a fun background with a lot of texture and color variation. I used my favorite Jane Davenport acrylic paints and some stencils.


Once I was happy with my background, I blocked out some area with white gesso and painted my mermaid. I kept her cute and simple to match with the whimsical style of the page.


Then I added the cut file pieces at two opposite corners of the page along with some pink circles and doodled around them to help them blend in with the rest of the elements.

I really hope you enjoyed this and got inspired to use your cut files in more creative ways.

Saturday, April 29, 2017

Best Ever

Hello everyone! It's Zinia again to share with you a fun layout I created using a lovely cut file from The Cut Shoppe store.

A while ago I cut out the Have a Heart background design for a layout but I didn't get to use it in the end. So while I was organizing my desk I rediscovered it and decided to make something fun out of it.


Instead of using it as a background, I cut out the heart clusters and used them as flower embellishments. I folded them to give them extra dimension and stuck some adhesive wooden buttons from Shimelle's Little by Little collection in the middle of each piece.


I kept the design fairly simple. I used a chevron piece of paper across the page and then scattered my flowers all over the place.


I filled in the gaps with more floral stickers and die cuts as well as some butterflies from the Maggie Holmes Chasing Dreams collection.


This layout is full of vibrant colors, fun designs and dimensional elements that are ready to fly off the page.

Saturday, April 15, 2017

Colorful Art Journal

Hello everyone! It's Zinia here to share with you a page I created using a lovely cut file from The Cut Shoppe store.

This time I created something different than usual. I decided to play with the cut files in my art journal and make a fun spread.


I picked one of the leafy cut files and cut if a few times out of white cardstock. I varied the size a little bit to make the composition look more interesting.


I build up layers of color on my background and once I was happy with it, I used the negative cut from my silhouette mat as a stencil and painted some leaves in darker color.


Then, I added the cut pieces on top and added some splatters to bring everything together.

I really hope you enjoyed this and got inspired to use your cut files in more creative ways.


Saturday, February 18, 2017

Limited Edition

 Hello scrappy friends! It's Zinia here sharing a layout I create with some of the most recent designs from The Cut Shoppe store.


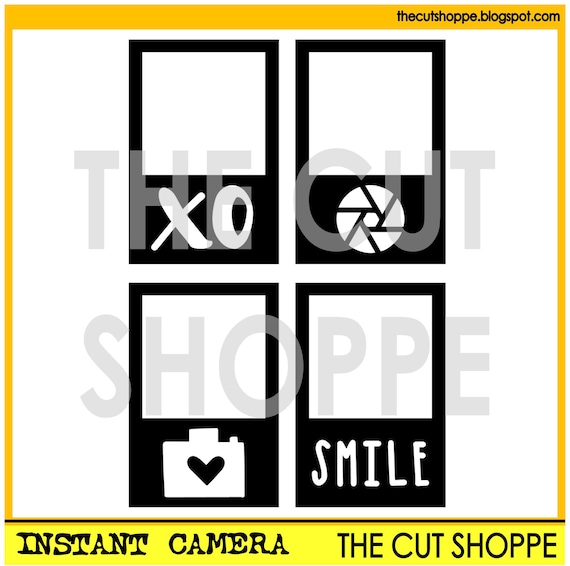
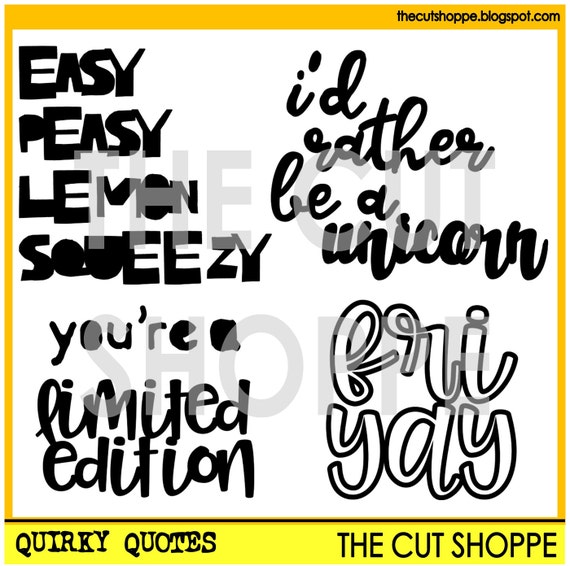
The cut files are used are Instant Camera and Quirky Quotes. I wanted to make a grid using the lovely frame designs but I cut my paper pieces a bit too small and I failed aligning them properly in my Silhouette mat. So I had to re-think the whole design and find a creative way to use my pieces cause I didn't want to waste that pretty paper.


I ended up layering the frames on the side of the page creating a big cluster of photos and embellishments. I used different little pieces to hide the badly cut sides so that nobody could tell there was a mistake behind these lovely layers.


I used a mix of the American Crafts Hazelwood collection and some of my favorite Maggie Holmes lines. They worked out really well with the pastel colors and the pops of bold details.


So that's it. I really hope you enjoyed this layout and the little tricks I used to cover my "failed" cuts. I will see you again soon with another project. Till then, happy scrapping!


Saturday, January 21, 2017

Sweet

Hello scrappy friends! It's Zinia here with a layout I create using some of the recently released cut files from the Cut Shoppe Etsy Store.

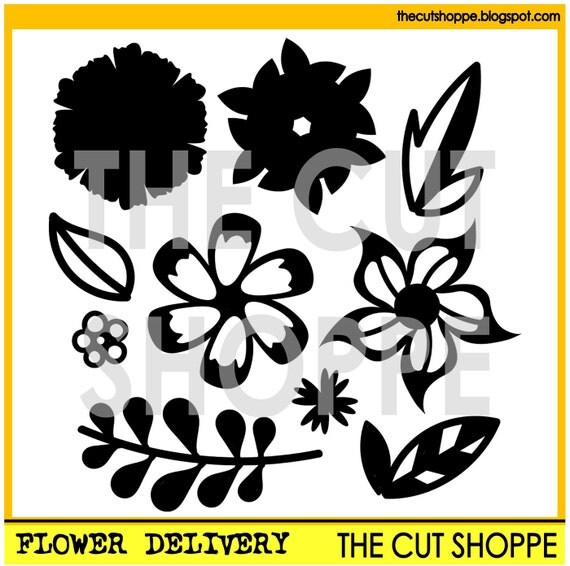
The cut file I'm talking about is called Flower Delivery. It's definitely my new most favorite design and I have a feeling I'll keep using it in a bunch of layouts.


I'm always obsessed with floral designs but this cut file has something special about it. I love how you can layer the different designs on top of each other to create unique effects.

For this layout, I decided to work with my December Hip Kits and use a colorful pattern paper from the Paige Evan's "Take me Away" collection. I cut out a bunch of flowers from that paper and then I cut some of the solid images out of vellum.


I used my watercolors to paint the vellum pieces and once they were dry, I stapled them with the designs I cut out of the pattern paper.


I covered the top of my page with another pattern paper and then using the same colors, I let some of my watercolors drip down on the white part of the page. Once it was dry, I scattered my layered flowers on the border between the two papers to create a dimensional bouquet. 


I stuck my photo on the upper part of the page and embellished it a little with a few gold accents and a couple of phrase die cuts.


So that was it! I really hope you enjoyed this and got inspired to create a beautiful paper bouquet on your layouts too. Until next time, happy scrapping.


Saturday, January 7, 2017

Playground

Hello scrappy friends! It's Zinia here with another layout using one of the most recent cut files from the Cut Shoppe etsy store.

A couple of days ago Ashley released a bunch of new cut files among them was "The Half of It" background design.


I started by editing the cut file in Silhouette Studio. I used the offset tool to create a border and turn the holes of the cut file into a "lace". I increased the size of the gap till most of the lines were touching so the cut file would stay all in one piece.


Once it was cut, I decided to try something different. I usually back my cut files with pattern paper and then use a piece of cardstock as my base. In this case, I chose a pattern paper to be my background and backed my cut file using colorful pieces of cardstock.


I stuck the cut file on my base using some foam dots and then I painted the open areas with white ink.


To embellish the page, I chose some bits from my December Hip Kits. I fussy cut some flowers and also picked a few words from the exclusive cut apart sheet and ephemera pack.


I also used a couple of products from the Paige Evans "Take me Away" collection as layers behind my photo and also to embellish.

It was a rather time consuming layout considering the time spent to back the cut file with cardstock but it was fun. I really hope I helped you get inspired to create something with your cut files. Until next time, happy scrapping :)

Thursday, December 8, 2016

Here Comes The Sun


Hello everyone! It's Zinia here with another layout for The Cut Shoppe & Pretty Little Studio product swap. I actually chose my products for the swap early to make sure they will arrive to me in time (international shipping can be very unpredictable) so their beautiful Christmas collections weren't available back then.

So today I'm going to show you how you can use a holiday cut file to create a non-holiday themed layout. The cut file I used is Under the Mistletoe (which is available for free) paired with a stencil I created with Tiny Triangles.


I started with a light blue piece of cardstock and added some gesso on a small area. I wanted to create a lighter background for my embellishments and photo to go on.


I cut the Tiny Triangles background from a laminate sheet and used it as a stencil to add some modeling paste. I colored the paste with some Shimmerz paints to create and ombre from orange to yellow.


On top of that I started creating a cluster with my cut files. I cut the design twice in different sizes and layered the pieces together near the gessoed area. 

I added my photo on top of the cut files and embellished with a few other bits. I didn't want to go overboard cause I really loved how the bold title stood out without other distracting elements. I also wanted to keep the colored paste visible.


I picked a few small embellishments like the leaf stickers and some little die cut hearts. I also cut out some hearts from a printed piece of vellum.

That was it! I really hope you enjoyed this page. I had a lot of fun putting it together and hopefully I helped you get inspired to create something with your cut files. Until next time, happy scrapping :)