Showing posts with label background cut files. Show all posts

Monday, July 29, 2019

Fresh look | Sasha Biyanova

Hey, everyone!!!

It's Sasha here with my new layout using the LEMONADE STAND cut file. I gave a chance to everyone in the instagram story to choose the cut file I would use in my next layout. And this is the result!


Most of the people chose the LEMONADE STAND cut file from the last release:


I created the layout about my new hairstyle! The subtitles are on the Russian language and means: "Love" and "I am an artist"))


And I used the OPEN LETTER ALPHA cut file to create my own title - Fresh look:


It looks very funny and fresh)))))


Hope you were inspired!
Thank you for stopping by!
Happy crafting!

Sunday, April 7, 2019

Shine Like the Stars | Iris Fox

Hello! Iris Fox here with my very first layout as a design team member and I couldn't be more excited!!  I used the Lucky Stars cut file that came out last month.  Stars are one of my favorite icons and so it was great timing.


I started out by cutting the cut file with my Silhouette Cameo at just under 11 inches from white cardstock.  Initially I had it in mind to use as a stencil and I pulled out a grey textured cardstock for my background.  As I lay the cut file on, I decided to combine stenciling and the actual cut file.  So I tore it in half, and on the top half I spritzed white mist through the stencil to get the stars on the background.


I backed some of the stars with a buttery yellow cardstock.  I matted my photo with a couple pieces of vellum so you can still see some of the stars behind them, and also I placed my photo slightly off center so that not all the center stars would be blocked. I built a couple of clusters on either side of the photo with die-cut, chipboard, label, star-shaped paper clip, and I tucked thread under the title die-cut circle for extra texture and contrast. Almost everything is from Felicity Jane, except for the title die-cut which is Dear Lizzy. 


Along the top left and bottom right, I used torn strips of vellum and star washi to add some interest in blank spots.  They are topped with chipboard circles and star elements.  


To tie things together, I stuck a strip of the star washi under the date label, and then I sprinkled star sequins around all the embellishment clusters. 


I love the combination of textures and materials, and the softness of the misting above contrasting with the sharp lines of the cut file below.

Stop by The Cut Shoppe to check out this and all the other fabulous cut files. 
And stop by my channel to see the process video. www.youtube.com/c/whimsyfox/videos

Thanks for visiting today, and I'll see you here again soon! xxx


Tuesday, April 2, 2019

Hello Summer | Kelly Janes

Hey friends! Kelly here with a new layout using the And Love Cut File.


I actually used my Cricut to cut this cut file out of cork. There is a cork setting under the Custom option. It cut perfectly! I didn't have any issues at all!


After the large ampersand was cut, I positioned it on a yellow patterned paper and added a lot of summer themed embellishments to go along with my photo of freshly picked strawberries! This photo just screams summer and I can't wait for the warm weather to return!


Remember to visit The Cut Shoppe Store to check out all of the cut files! Happy Crafting!


Wednesday, March 20, 2019

Hello There | Kelly Janes

Hey friends! Kelly here today to share a new layout using the All the Angles Cut File.


I cut the cut file on white cardstock and then backed the open areas with a bright and bold patterned paper. This is one of the things I love about a background cut file...It's the perfect way to use up some of those bold patterned papers we have in our stash!


After I had the cut file backed, I added machine stitching around the cut file. I then moved onto embellishing. I used a majority of fussy cut flowers along with a couple die cuts and a few stickers for added pops of color.


Background cut files are some of my absolute faves! There are so many great options in The Cut Shoppe Store so be sure to check it out! 


Monday, February 18, 2019

Frozen Today | Kelly Janes

Hey friends! Kelly here with a new winter themed layout using the Snow Day Background Cut File. This is my favorite go-to cut file for snowflakes!


I started in Cricut Design Space by slicing a single cut file from the background. I then resized the snowflake and duplicated it many times. I wanted to have a wide variety of sizes of snowflakes to scatter across my layout.


I cut all of the snowflakes on white cardstock, and I then grabbed a light blue colored cardstock to use as my background so the snowflakes would stand out. I grabbed my photo (which is a lot larger than I typically use!) and positioned it in the the lower right hand corner of my layout.


I then scattered the snowflakes diagonally across the layout and created a few embellishment clusters to create a visual triangle. I only added adhesive to the center of each of the snowflakes and then used my finger to ruffle the edges of the snowflakes to create added dimension.


I'm thinking this will be my last winter themed project this season. I'm ready for warmer weather so I think I'll live vicariously through my Spring/Summer collections and photos! Who's with me?! Remember to visit The Cut Shoppe Store to check out all of the cut files! There is something for each and every season!


Saturday, February 9, 2019

Love Like Us

Hey there and good morning! It's Devra here today sharing this layout featuring the new In My Notebook cut file. All I can tell you is this one piqued my curiosity and I had to play with it right away. I'm so glad I did!

Well, my first thought was, "what do I love, what do I like?". Nope, that wasn't working for me. I scratched that right away and went with a more 'heartfelt' theme using a family photo instead.  I mixed a bunch of Valentine collections from Pebbles and Crate Paper to cut the file as well as back the words LOVE and LIKE. I even used the open space to the left of the photo to add some journaling strips. I feel like that space was made for journaling!


I cut the word US using the Open Letter Alpha and did the same thing, backing it with paper. I think it works pretty well!


This is a fantastic cut file! I encourage you to try it! Check out all of our other cut files in The Cut Shoppe , as well as some great new Valentine cut files. You'll be glad you did. Share what you make with us in our Facebook group. We love to see your creativity!  See you next time!


Tuesday, January 8, 2019

Exhale

Hey there! It's Devra here today sharing a layout I made using the Freebie FriYay Diamond in the Rough  cut file

I've been eyeing this cut file for a while, really wanting to stitch it. I decided it was time to use it! All I had to do was figure out the rest!
I resized the cut file to 10"x10" hoping the 'holes' would be smaller. No such luck. I doubled the embroidery floss which helped fill the space and add more color. I like that there are still gaps between each stitch. Layering a whole sheet of paper behind it fills in the gaps nicely. 


This background came out so beautifully, I didn't want to cover it up. I layered a few pieces of paper under one photo, adding minimal embellishments so it would be a focal point of the page.


Thanks for stopping by today. Have you checked out the new shop yet? You can shop for all of our cut files there. Share your projects with us in The Cut Shoppe Scrap Spot Facebook group.  See you next time.


Monday, December 17, 2018

New Traditions | Kelly Janes

Hey friends! Kelly back today with a new Christmas themed layout using the Freebie Friyay Sparkle & Shine Cut File


I haven't been feeling overly festive this year when it comes to my scrapbook layouts. I think it's partly because I LOVE scrapbooking Fall & am always a little sad when the season ends and I'm in full on December Daily mode that my 12x12 layouts take a bit of a backseat. 


I've been going through older photos and came across this photo of my kiddo when we first got our Elf on the Shelf. I debated on whether or not to use the color photo or a black & white version, but settle on the color photo (which is always my first choice when possible). I cut the Freebie Friyay Sparkle & Shine Cut File from a piece of patterned paper and removed one of the, what I'm going to refer to as, branches to make room for my photo & title.


I stitched down all of the "branches" from the cut file and went onto embellishing. Enamel dots are currently one of my faves and I just don't know when to stop! Ha! 

I hope you're all finding time to get crafty this month and don't forget about the Freebie Friyay Cut Files that will be posted EVERY FRIDAY this month on the blog! You'll find even more holiday themed cut files in the Etsy Store so be sure to check there also!

Merry Christmas!


Wednesday, November 7, 2018

Brush Them Chompers

Hey there! It's Devra here today. I have a confession. I did it again. I used multiple cut files. Maybe that's my thing? Anyway, my other confession, is that I had no real plan when I began this page,

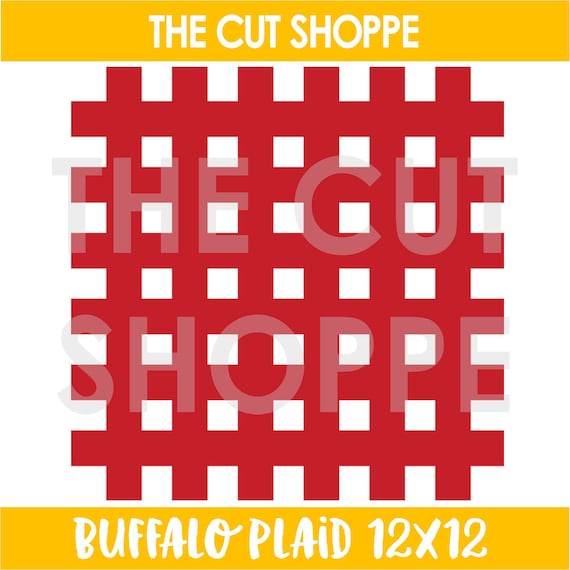
I knew I wanted to use the new Buffalo Plaid  cut file. I really wanted to stitch it. So I converted the cut line into stitching lines. That's when my plan tarted to come together.  I hadn't intended on filling it with paper, but it was too plain. I offset the file internally, and voila, that part was done.

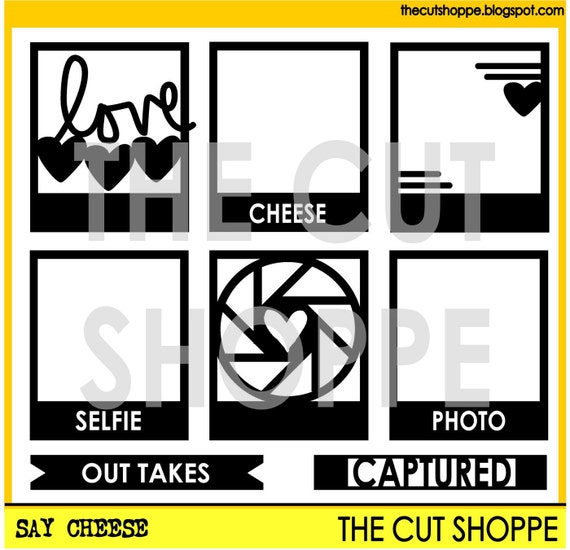
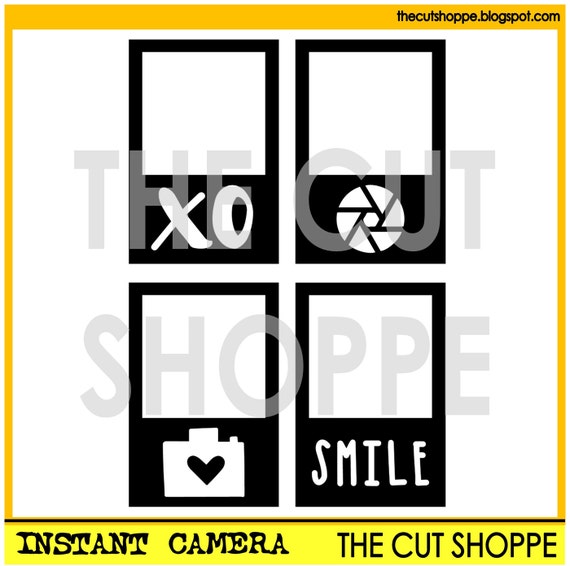
Now that I had a plan, I chose photos, which led me to paper, and frames!  I love frames!  I also like to be kitschy.  The 'smile' frame from the  Instant Camera and 'cheese' frame from Say Cheese  fo with my photos so well I had to use them!  The colors are bright and bold, the frames around my photos are perfect and in the end this no plan thing worked out well!


Thanks so much for looking today. I hope I've inspired you to try multiple cut files on one project. See you next time.