Showing posts with label Pebbles. Show all posts

Friday, June 28, 2019

Sweet Summer Time | Erica Thompson

Have you signed up to receive The Cut Shoppe Newsletter yet? Well what are you waiting for? Yesterday a new newsletter went out and included was the Sweet Summer Time cut file! Who loves free cut files? I know I do!
I pulled out the Oh Summertime collection from Pebbles that I picked up at A Cherry on Top! I love the bright colors and fun summer images in this collection.
 I added some fun yellow Shimmerz to a white piece of cardstock and also some sprinkles of aqua and pink for little pops of color behind the cut file.
The photos are of our youngest Liam Jay and his first time having a shaved ice from Tropical Sno! He had a cinnamon flavored one and he loved it! Such a fun summer treat! I embellished around the cut file with ephemera and stickers from the collection and a pink epoxy flair from Scrappin Happy Studio. Here is a look at my completed layout using the Frebbie cut file available in our newsletter!
You can sign up for the newsletter on The Cut Shoppe Blog! Thanks so much for stopping by today!

Monday, December 3, 2018

Flutterby Butterfly Love | Amanda Baldwin


Hi TCS Friends!

Welcome back for more cut file inspiration!
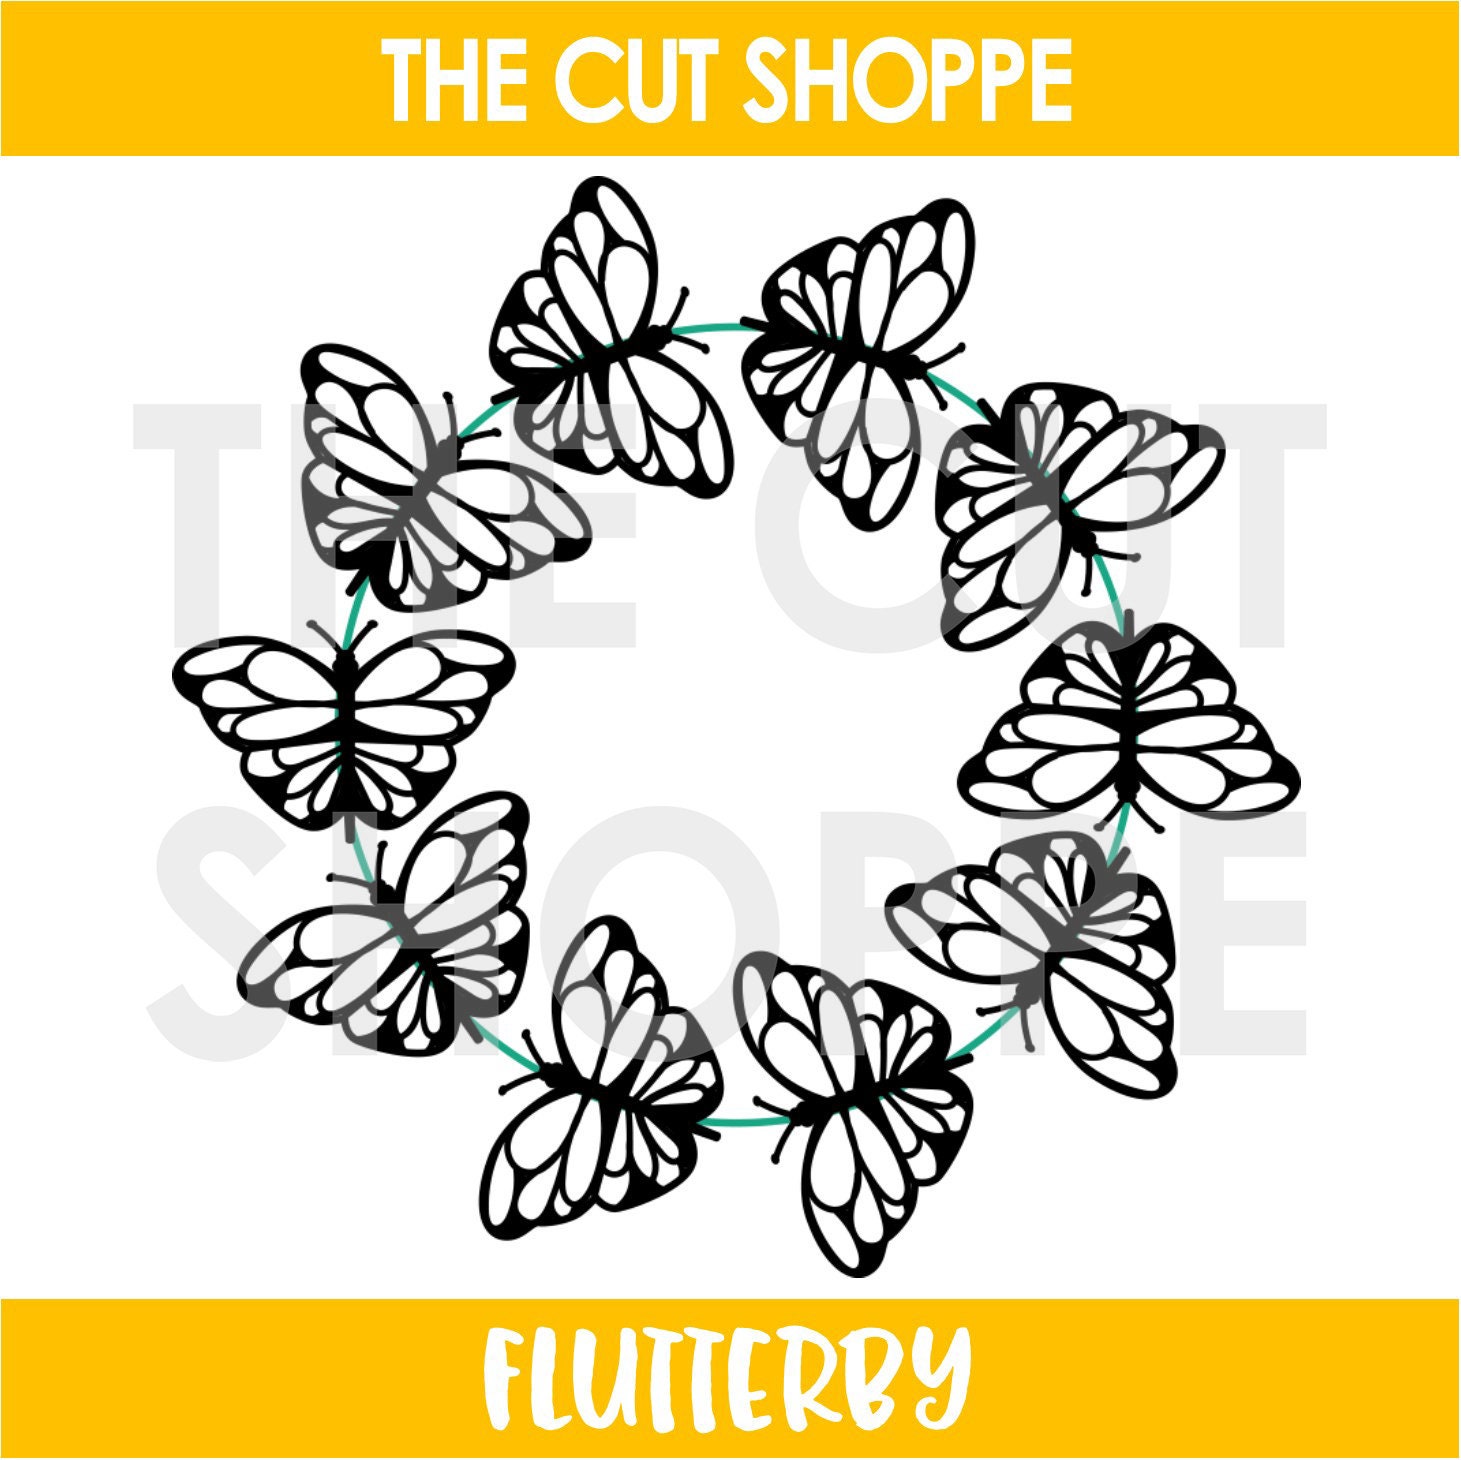
Amanda here, and today I am sharing a very pretty page with our fabulous Flutterby cut file! 
I just love butterflies, & pop them in a wreath and well, I'm one happy creator! 
Here's what I've made with this file today.....
"Hello, Sunshine"


Sigh! Isn't this just lovely?!
The Flutterby digital cut file is just so intricate and oh-so-beautiful!


Absolutey divine! 
You can find this incredible file in The Cut Shoppe Etsy Store HERE. 

Let's take a closer look at my layout....


I've teamed that amazing Flutterby file with the beautiful Pebbles Jen Hadfield: Along The Way collection & I think you'll agree that this is perfect combination! So.much.pretty!
I love the white on white look, & regularly cut our files in white cardstock to use on white backgrounds. I really like how this creates a clean and fresh look to layouts, and allows the cut file to be supported with bright pops of color - without being too busy on the eye!


I've backed half of the butterflies with that soft pink polka dot paper, gluing them perfectly into place. 


The other butterflies are backed a lil differently! I have traced the remaining butterflies with pencil onto that pretty golden yellow paper, cut them out and semi attached them to the Flutterby cut file. I love how they create that layered wing look! 


I've also dressed the Flutterby cut file with lots of pretty embellishments including die cuts, stickers and dots. 


To ensure my photo isn't lost amongst all those beautiful butterflies, I pop it into a frame before layering it onto the Flutterby file. Pretty!
Such a gorgeous layout for my gorgeous ballerina! 
I think you'll agree that the Flutterby digital cut file is a must have! 

I hope my layout has inspired you to add the Flutterby to your TCS collection today!

Thanks so much for visiting, 


Friday, November 30, 2018

Thankful cards | Victoria

Hi friends, Victoria today sharing with you my last project for The Cut Shoppe.

I love to make cards to say thank you to my loved ones.
Those kinds of cards that just pop into their letter box and light up their day!


I made those cards with the Thanks & Giving cut file.
I just cutted them in a card size, that can fit easily into an envelope.


I chose the collection "Along the Way" from Pebbles to make those cards.
I used a few embellishments like stickers, ephemeras, flair buttons and foam thikers.


It's really simple to do, and I love the result !

Hope you'll like it!

Victoria


Thursday, November 15, 2018

Grateful mini album | Victoria

Hello friends, Victoria today sharing with you my last mini album made with a cut file from The Cut Shoppe.

Thanksgiving is coming, so I wanted to do a little project to remember the spirit of this event.

I decided to make a mini album wich only countains quotes that can help to focus on what really matters in our lives.


I made the cover of this mini album with the cut file Thanks & Giving. 
For the cover, I used the cut file as it is.
For the inside pages, I only cuted the outside of the design, so the pages can keep the shape of the cover.


I chose the collection "Along the way" from Pebbles to decorate my mini album. 
The ephemeras of this collection have a lots of inspirational quotes. It was perfect for this project. 


I used a lot of embellishments : stickers, flair buttons, enamel dots, foam stickers, ephemeras…


Hope you'll like it!

Have a nice day,


Tuesday, October 30, 2018

Give Thanks | Victoria

Hi friends, Victoria here today to show you my last project for The Cut Shoppe.

November will be here very soon, and it's the perfect time to feel thankful and grateful for the beautiful things in our lives.

Here's a layout I made, using the Thanks and Giving cut file from the shop.


I used the new collection from Pebbles / American Crafts : "Along the way".
I choose a white cardstock for my background and a black patterned paper for the cut file.


Then, I made a background with my distress oxydes ans some Shimmerz Spray. I tries to pick the same colors as in the collection.


Then, I added few embellishments : die cuts, stickers and enamel dots.
I also placed another patterned paper behind my cardstock to add a little dimension to this layout.


Hope you'll like it!


See you soon,


Monday, October 15, 2018

Halloween Banner Victoria

Hi friends, Victoria here today, and I can't wait to share with you my first project as a design team member for The Cut Shoppe.

Fall is a season I cherish, especially because it means Halloween ! And I love to decorate my house for this occasion. Let's see the spooky banner I made with an awesome cutfile from the shop!


Here's the "Pumpkin Carving" cut file that I used :


You can find it HERE.

To make this banner, I just cutted with my silhouette the pumpkin cut file in severals patterned paper.
I chose the Spooky Boo collection from Pebbles.


Then, I decorated the pumpkin with a few embellishments : stickers, enamel dots, die cuts…
I punched holes on them and placed my twine.
And it's ready to go !


Thank you so much for stopping by!
See you soon,


Tuesday, July 17, 2018

Really? | Kelly Janes

Hey there friends! Kelly back with you today sharing a new 12x12 scrapbook layout using the Summer Vibes Cut File.


I loved the diagonal design of this text print patterned paper that I used as my background, and I knew I wanted my layout to go in the same direction. So I tilted my photos along with the embellishments to fit the flow of the paper, but I felt something was still missing.


I went through my cut file collection and came across the Summer Vibes Cut File. I cut two large palm leaves from a striped patterned paper and tucked them alongside the photos. I love the extra pop of color and how the leaves help fill up the page. I LOVE the summer feel of this layout!


Thanks for spending part of your day with me!! Remember to head to The Cut Shoppe Etsy Store to check out all of the cut files & digital collections!


Saturday, February 10, 2018

"I Like You" with Enza

Hello everyone! Enza here to share a new layout that is all about hearts and love. I paired the All Heart Remix cut file with the Forever My Always collection by Pebbles.

This layout started in a different way than what it turned out to be. When I cut it, I just wanted to use it as it is, and back it with different patterned papers. Then I thought it would be fun to just back half of it and use it as a semi-circle design with photo and embellishments on the opposite side. I was going to go with this second idea, but then I decided to cut it in half, keep the portion I had already backed up, and finish the circle with the foam words you see on the layout. I could not make it work!!! The words were too big and it just looked funny. I tried a few more options, until I decided to just use it as a decorative piece in two opposite corners of the page. Ah! I was finally happy! ;)

I opted not to back the portion in the top left corner, and only adhere two backed hearts and a couple of stickers onto it.

The round shape of the cut file offered me the perfect spot for those foam word stickers I really wanted to use. The rest was all about finding a placement for photos and embellishments.


I love how this layout turned out. Sometimes it's just a matter of trying different things before settling on the final design.
Thank you for stopping by. Have a great day!