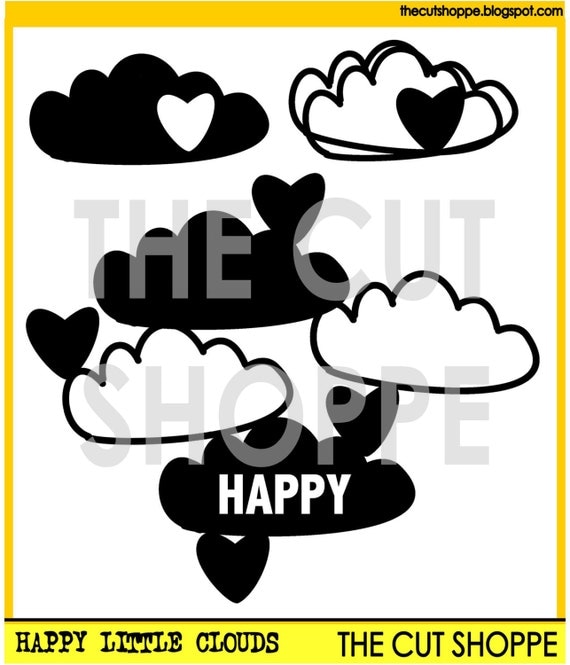
I started in Cricut Design Space by using the contour feature to hide the solid cloud (on the upper left of the cut file set) so the heart would be standing alone. I then duplicated that heart image and welded the hearts to the two open clouds in the main cut file image included in this set. Next I welded the single open cloud (on the upper right of the cut file set) to the main cut file image.
I added a little blue mixed media to the clouds before peeling the cut file off the cutting mat. I cut the cut file numerous times and adhered them together to create dimension. This was easier than trying to squeeze pop-dots in the thin areas of the cut file.
I placed vellum behind the open cloud images to mute out the background patterned paper. This layout is about our cat named Cloud so I liked how the embellishments from the butterflies, to the kites, and cloud cut file just fit the theme of the layout so well!
Now you can take a look at my YouTube Process Video that also includes a Cricut Design Space tutorial.
I started off by inking a sun
burst onto some white cardstock before stitching over the rays & adding
some yellow & gold splatters. I then backed my clouds with vellum &
attached them to the page adding some wood veneer clouds as well. I water
coloured my cut out alphas while they were still on the cutting mat, so much easier
that way, & drew a outline around each one to help it stand out. My photo
is added to the bottom right on top of a cluster of papers, some tags & a
doily. I grounded the whole layout by putting some strips of paper at the
bottom of the layout, sewing them down & adding the rest of my title. I
finished the layout with some stamped sentiments, a flair button & some
enamel hearts
Hope my page has brought a
bit of sunshine today, until next time xoxo
I cut some feathers out & used the negative piece as a
stencil to ink my page first & them laid the cut feathers over the top
after inking them. I cut a ring out of card & bound it, all the way round,
with embroidery thread. Inside the ring I punched holes & threaded more
embroidery thread to make a star pattern. I attached that to the page &
added more thread to look like the feathers were hanging from the ring, so
making a dream catcher.
I cut out some clouds from the happy little clouds file
& sweet dreams & inked around the edges & also went around with a
black pen to make them stand out. I backed one of the clouds with some vellum
& the others I used an acetate card from the Pinkfresh Studio Happy Things
collection. I made a photo mat with some papers from the happy things 6x6 paper
pad & added my photo on top. My title I inked in 3 different colours &
again I drew around it with a black pen. I finished off the layout with a few
splatters of mists & some star sequins.
Thanks so much for taking a look today & I’ll be back
with you towards the end of the month,xoxo
Hello, it's Cara here with my last post as a Design Team member. It's a fantastic team, thank you so much Ashley for having me.
For my last page I decided to use the Happy Little Clouds cutfile. I fell in love with those sweet little clouds and it is still one of my favourites :D
Before I added the mint coloured clouds, I used the top left cloud of the cutfile to make stitching holes in my background paper to make the string art cloud with floss.
Thanks so much for the great run Ashley! It's been a pleasure. If you'd like to keep up with me, my website is thehootingpirate.com and I'm @caravincens on instagram and periscope! Or you can come catch me teaching at True Scrap Planner LOVE September 19. I'd love to see you there! :D
Friday, January 16, 2015
Hello, it's Cara today with a new layout for you :D
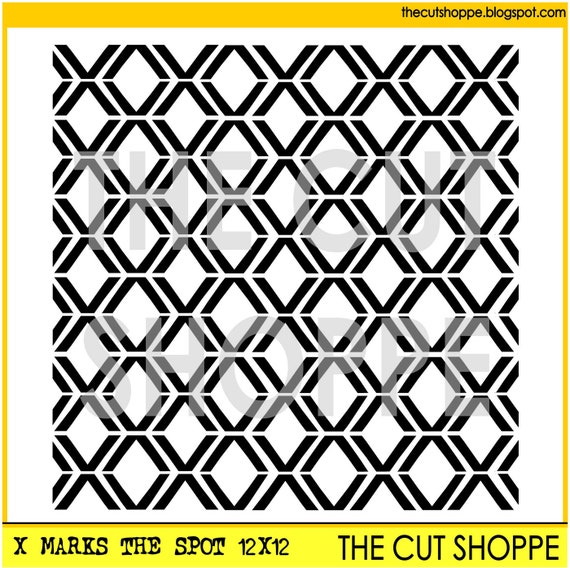
I was inspired by that lovely 'Celebrate' so I cut it as BIG as I could on sparkly red cardstock. :D I only cut the X marks the Spot background on the bottom 3rd of my background paper and layered strips of patterned paper underneath.
Then, I found a left over cutesy cloud on my desk from my last project and added it in. It's in the Happy Little Clouds set. Basically, it's only job on here to to be stinkin' cute!!