Hey friends! Marsha here today sharing a layout in my new "October Memories" traveler's notebook. I love seeing all of the October Daily projects being shared in the creative community but know I will never be able to keep up with daily documenting. I decided to print some of my October photos from years past and document them in a new album I'm calling "October Memories." It sounds like fun, right?
For my layout today, I used the Halloween Things cut file from The Cut Shoppe.
I chose to use the Simple Stories Happy Haunting collection and the digital TN papers from the Traci Reed Ghouls Like You collection. I thought these collections worked perfectly with the cut file and the fun photo of my husband and me taken a few years ago at a Halloween party.
To begin the page, I cut out the cut file using a star patterned paper. I backed each word with a different paper from the TN collection. I love how the cut file pops using these patterned papers! Next, I used some of the ephemera pieces to embellish the page.
For the other side of the spread, I printed my journaling on a piece of white cardstock. I added my photo and used more ephemera pieces and chipboard to embellish the page.
To finish off the layout, I added a bit of stamping using some star and dot clear stamps.
Thank you for stopping by today! I will see you again soon to share more projects using the awesome cut files from The Cut Shoppe Store!
Showing posts with label Happy Haunting. Show all posts
Tuesday, October 8, 2019
Tuesday, September 24, 2019
Happy Haunting | Marsha Farris
Hey friends! Marsha here today sharing a traveler's notebook layout using the Happy Haunting Cut File and the Boo Who Digital Stamp. Halloween layouts are so much fun to create, and there are so many fun Halloween designs to choose from at The Cut Shoppe!
Today, I am documenting a photo of my son and nephew taken a couple of years ago. They have always loved dressing up in Luke's old costumes, and I was excited to create a page using this cute photo of them!
For this spread, I began by printing some of the digital stamps onto vellum. I love using vellum on hybrid layouts, because it allows for easy layering over photos and other elements on the spread. Next, I trimmed the "Happy Haunting" stamp and layered it over a piece of patterned paper from my stash, adding some machine stitching to adhere it to the page. I used some stickers from the Crate Paper Hey Pumpkin collection to embellish the page.
For the other side of the layout, I cut out the cut file using a dot patterned paper. I added my photo and used a circle punch to cut out one of the stamps I printed on vellum. I layered it over my photo and added a tag behind the photo. I printed another one of the digital stamps onto white cardstock, trimmed it out, and layered it over the bottom of the photo.
Thank you for joining me today! I can't wait to see what you create using the cut files and digital stamps from The Cut Shoppe!
Today, I am documenting a photo of my son and nephew taken a couple of years ago. They have always loved dressing up in Luke's old costumes, and I was excited to create a page using this cute photo of them!
For this spread, I began by printing some of the digital stamps onto vellum. I love using vellum on hybrid layouts, because it allows for easy layering over photos and other elements on the spread. Next, I trimmed the "Happy Haunting" stamp and layered it over a piece of patterned paper from my stash, adding some machine stitching to adhere it to the page. I used some stickers from the Crate Paper Hey Pumpkin collection to embellish the page.
For the other side of the layout, I cut out the cut file using a dot patterned paper. I added my photo and used a circle punch to cut out one of the stamps I printed on vellum. I layered it over my photo and added a tag behind the photo. I printed another one of the digital stamps onto white cardstock, trimmed it out, and layered it over the bottom of the photo.
Next, I added an ephemera pumpkin to the page, layered one of the vellum stamps over it, and added some machine stitching to adhere it to the page. I printed my journaling onto a label and added it to the bottom of the layout. For the final finishing touch, I added some stamping around the page using black ink and some clear stamps from my stash.
Thank you for joining me today! I can't wait to see what you create using the cut files and digital stamps from The Cut Shoppe!
Wednesday, November 16, 2016
Halloween with Irit
Hey! Irit here with a new layout using some of the lovely Halloween cut files from The Cut Shoppe. I know Halloween is over, but I'm still scrapping the photos! Here's my layout-
I welded some of the circles from the Wicked Good file and my title. As you can see, I'm all for non traditional color schemes!
Outlining cut files adds great detail and interest!
Make sure you maximise the use of your files, here I used the positive and the negative of those cute brooms cuts!
Thanks for visiting and have a great day!
Monday, October 31, 2016
Trick or Treat
Hi everyone, happy Halloween! It's Monique here today sharing a fun (and not scary at all) Halloween layout! Ever since I laid eyes on Ashley Horton's "Ghost Town" collection I've been wanting to give it a try and what better occasion than October 31st?! I used a photo from my daughter during her foreign exchange high school year in 2014 when she joined in a "Trunk or Treat" project at school with her friends.
The Ghost Town collection I used for my layout is a digital/printable scrapbook collection also designed by Ashley Horton and you can find in The Cut Shoppe Etsy Store as well. The colors and designs of this collection are really unique and I was so happy I got the opportunity to use it.
I also used the Halloween Wood Veneer Set designed by Ashley. This set consists of 9 Halloween wood veneers. The largest piece is 2 inches wide, the others are smaller. Aren't they awesome?!
Except for the Ghost Town collection and the Halloween wood veneers I also used the Happy Haunting cut file.
I just love the large cut file on the left and thought that cut from black cardstock it would be a perfect fit for my layout. I used a laser printer to print the Ghost Town collection and because I can't print 12"x 12" just yet, I printed everything measuring 8"x 8". The light blue strip of paper behind the cut file is an 8"x 8" paper cut in half and then adhered on the right, overlapping in the middle.
The collection also contains a digital/printable Cut Apart Sheet, digital/printable Sets of Ephemera Pieces, journaling cards and an alpha & number symbol set, which are a really fun addition to the papers!
This was my project for today. I really hope you liked it. Don't forget to check The Cut Shoppe Etsy Store for more Halloween cut files and product.
Thank you so much for stopping by our blog! Wishing you a thrilling Halloween!
Thursday, September 11, 2014
With Great Power, Comes Great Responsibility
It's not Halloween yet, but it's fast approaching! The new Cut File sets and Printable added to The Cut Shoppe today all have a Halloween theme! I'm sure we all have past Halloween photos to catch up on, so these new sets would be perfect for your layouts and Pocket Scrapbooking pages. And if you love to create cards, you can use the new shapes and Printables to create a seriously spooky set!
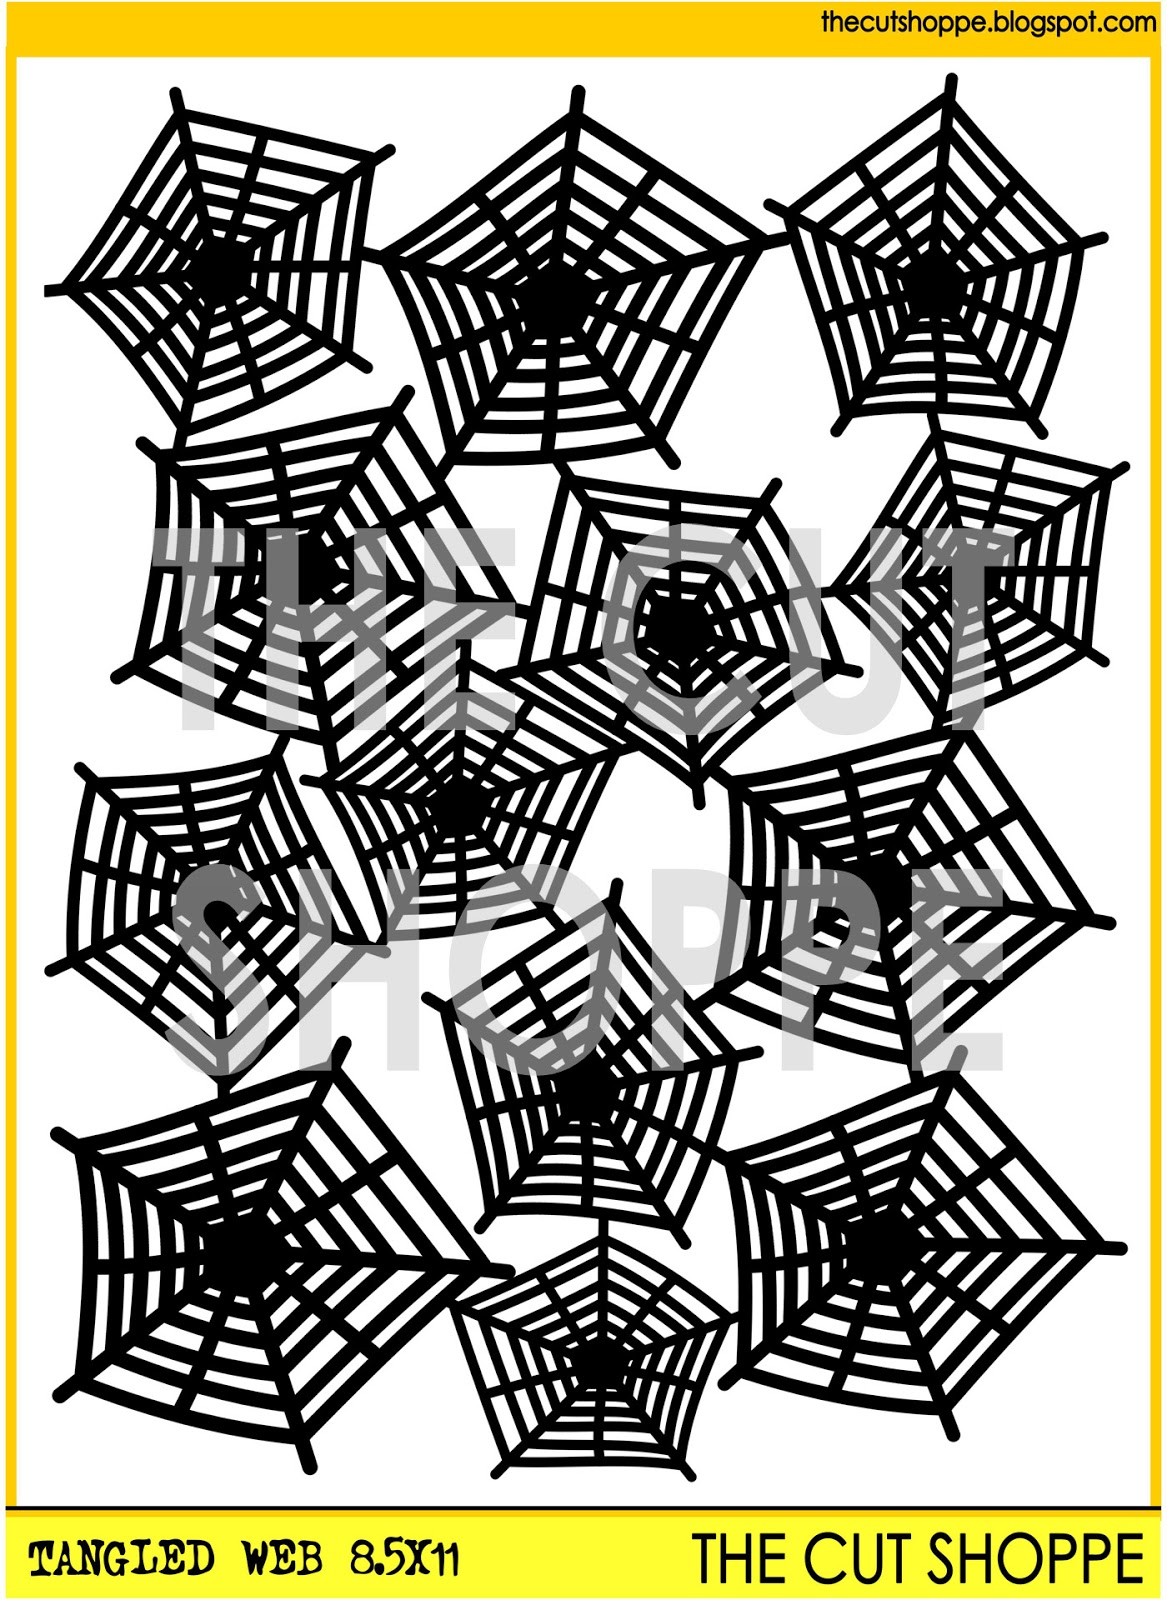
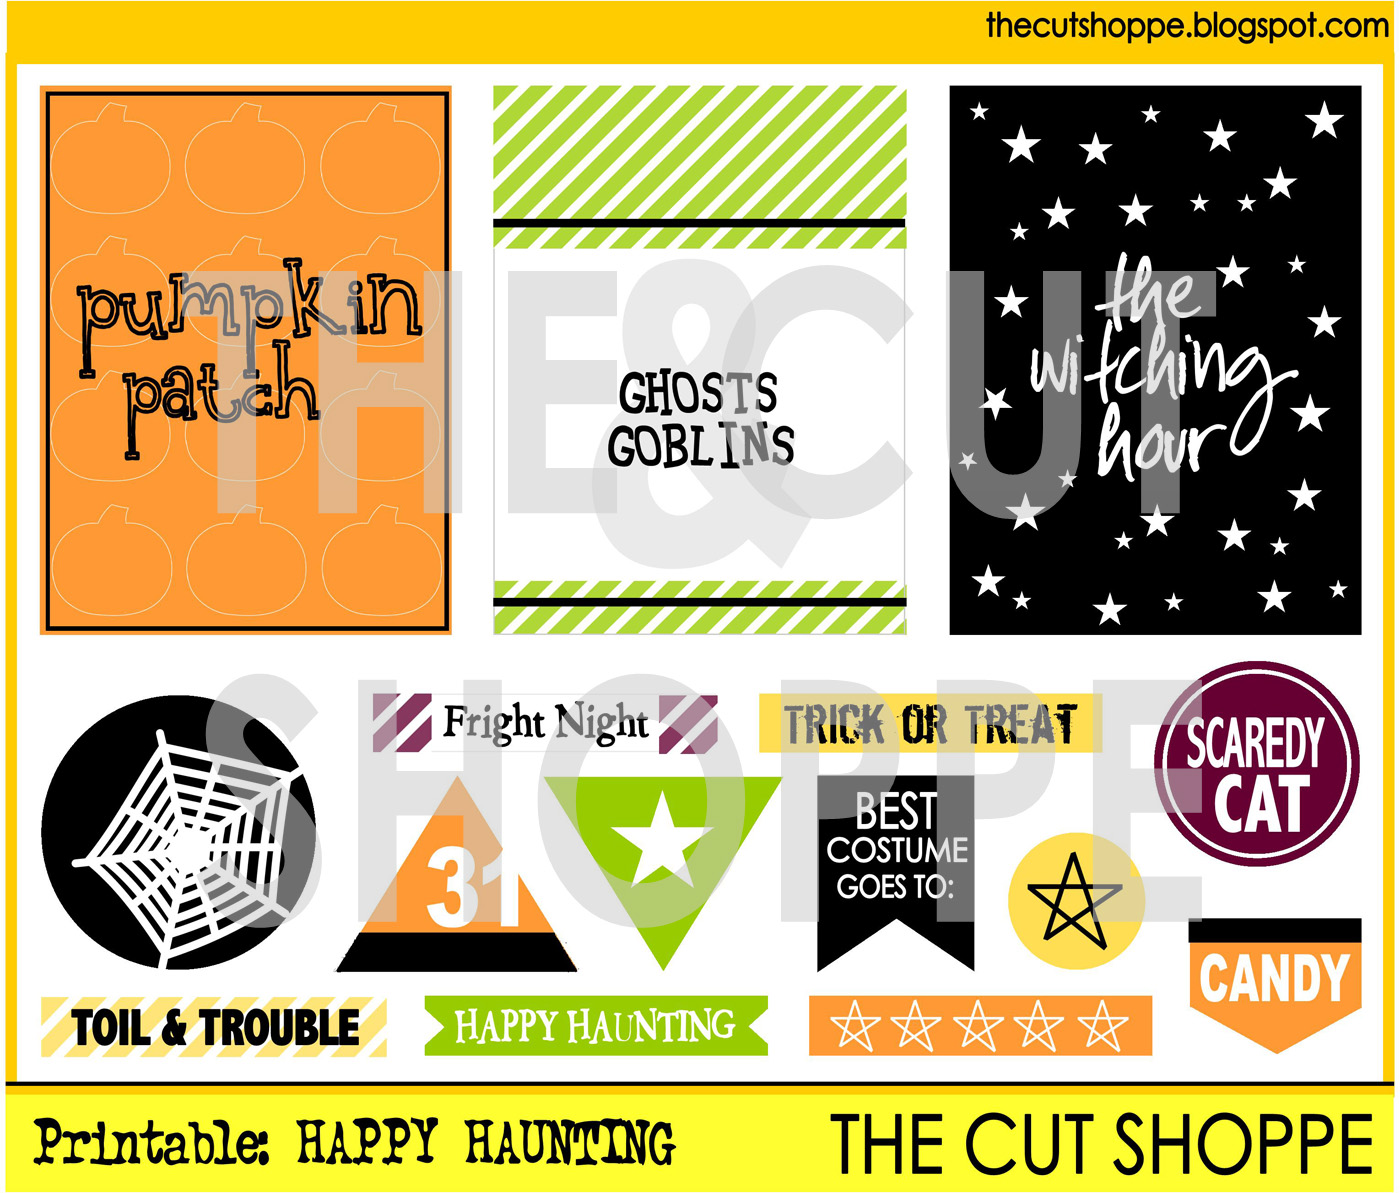
I LOVE to make Halloween layouts, and I had so many photos from last year, that still needed a layout home. Our little guy dressed up as SpiderMan, so I couldn't resist using the Tangled Web 8.5x11 background cut file on my layout, along with some Printables from the Happy Haunting set!
I wanted to use the 8.5x11 background cut file, and leave some White space on the left hand side of my layout, for the title. I layered my photo over the background and added two of the Printables on each side of the photo and embellished with stickers. I added some enamel dots to the centers of each of the spider webs, for a shiny effect, and finished my layout by stitching part of the web, from the spider!
While you're visiting The Cut Shoppe today, you can get these new Cut Files:
And don't forget to sign up for our FREE Weekly Newsletter HERE! Newsletter subscribers get weekly updates on what's new in the Shop,
all of the info that's happening with The Cut Shoppe, and SPECIAL
OFFERS for Newsletter Subscribers! Make sure you sign up!!
I LOVE to make Halloween layouts, and I had so many photos from last year, that still needed a layout home. Our little guy dressed up as SpiderMan, so I couldn't resist using the Tangled Web 8.5x11 background cut file on my layout, along with some Printables from the Happy Haunting set!
I wanted to use the 8.5x11 background cut file, and leave some White space on the left hand side of my layout, for the title. I layered my photo over the background and added two of the Printables on each side of the photo and embellished with stickers. I added some enamel dots to the centers of each of the spider webs, for a shiny effect, and finished my layout by stitching part of the web, from the spider!
While you're visiting The Cut Shoppe today, you can get these new Cut Files:
Subscribe to:
Posts (Atom)