Showing posts with label diy gift. Show all posts

Wednesday, August 21, 2019

Teacher Gift with Kira

Well, it's that time of the year again.  Kids are heading back to school!  Or in the case of some, heading to school for the first time.  I have my very first kindergartner!  I can barely believe it!  Since I wanted to start this school year off right, I decided to create a little teacher appreciation gift for our first week of school.  I included some snacks, a bath bomb, a stamp set and this:


This is a super easy project to make, and requires very limited supplies.  I started with a Jillibean Soup rustic white frame.  I removed the white board from it and painted it black to give it the look of a chalkboard. 


Then I used my Cricut and some cut files from The Cut Shoppe to plan out my design.  I used the Write On Alpha for "Mrs. Pena".  I sized it to 7.5" wide so it would take up the majority of the frame's width. 


I used the pencil from the School Rules cut file below the teacher's name and sized it to about 7" wide.  I cut the cut files out from white vinyl and placed it on the black board. 


Then I replaced the frame and ta-da!  The perfect teacher's gift! 


Thanks for stopping by!


Thursday, December 20, 2018

Christmas Card Cork Board with Kira


Merry ~almost~ Christmas!  It's Kira and I am back with a fun, off the page project.  I had originally thought about doing a cute Christmas sign, because I firmly believe that you can never have too much Christmas decor around the holidays.  But as I strolled through the aisles of Michaels, nothing really jumped out at me to use for a base.  Until I saw the cork boards!


Once I saw this large cork board, the idea immediately came to me.  Just a couple of days before, my husband added a Christmas card to our mantle; which really shouldn't be a big deal, but I had already decorated our mantle to perfection.  The newly added card messed with my aesthetic!  I made him take it down and put in on my magnet board in my craft room instead.  So when I saw the cork board, I knew it was the perfect solution for this conundrum I found myself in. 


And this is surprisingly easy to recreate!  So here's the supplies you need:

-cork board (any size will do, mine is 20"x16" and was $4 on sale at Michaels)
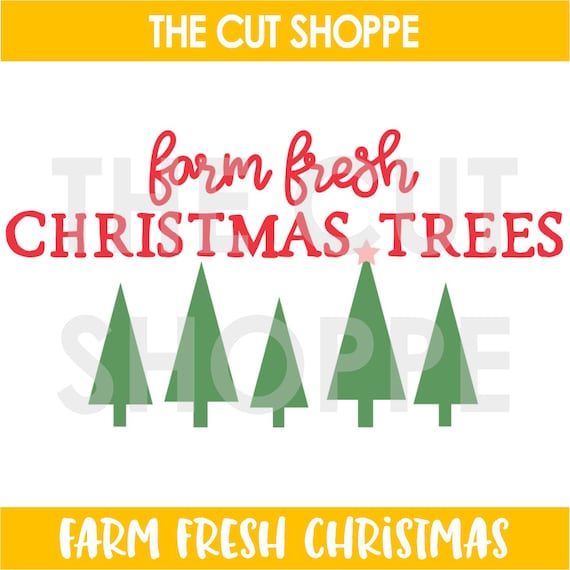
-your favorite cut file from The Cut Shoppe (I used Farm Fresh Trees)
-vinyl
-acrylic paint
-paint brush
-contact paper or blue painters tape

image 0

Once you gather your supplies, it is time to get working!  Start by cutting your chosen cut file on some vinyl.  You'll want to measure your cork first and decide on the proper size.  Since my cork board was 20" wide, I sized my cut file to 19" wide. 

Unfortunately, I wasn't sure what the outcome of this project was going to be, so this is the only "in progress" picture I took.


When your design is cut from the vinyl, you'll want to do some opposite weeding.  Usually when working with vinyl, you weed off the pieces around your design, but in this case you will weed out the design, leaving the outer/inner pieces to create a stencil of sorts.  Use your contact paper (or blue painters tape) to remove the vinyl from its backing.  Using a t-square ruler, make sure your design is straight before adhering it to your cork board. 


You'll want to make sure that all the edges of your design are adhered well to the cork, so when you paint, the paint won't leak through.  Use a dabbing motion with your paint brush, rather than a sweeping motion.  This will help the paint from seeping under the vinyl as well. 

After you have painted your entire design, removed the vinyl SLOWLY!  I made the mistake of trying to remove it more quickly in one area and it ripped the cork!!  Ugh!!! 


And that's it!  I also created some custom push pins using cut files, paper and thumb tacks!  Let me know if you have any questions about the creation of this!  Thanks for stopping by!

xo, Kira


Friday, October 12, 2018

Fall Inspired Mini Album with Kira


Hey friends!  It's Kira and I am coming to you today joining in on The Cut Shoppe monthly challenge that Marsha has come up with for the month of October.  She challenged us all to scrap in a form that is smaller than how we typically scrap.  Since I typically scrap in 12x12, 8.5x11 and TNs, I decided to shrink down to a mini album!


I like to think that I am the type of girl that mother in laws love to have.  And I am pretty sure that is exactly how my MIL feels.  I try to send her a mini album every few months, so I thought this would be the perfect excuse to make one to send her.  Since it's FINALLY fall, I wanted to keep it in a fall theme.

image 0

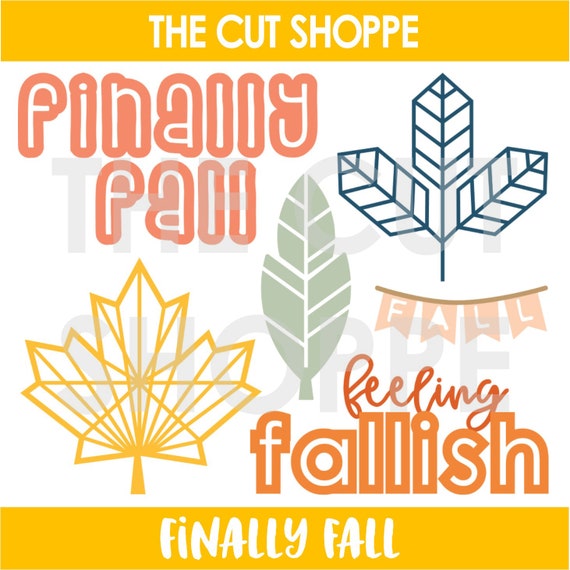
I started but cutting out one of the leaves from the Finally Fall cut file.  I cut it out about 12 times on white cardstock.  Then I used my Cricut to cut out the filled in leaf, using a few different colors.  Once I adhered the leaves together, I punched a hole towards the stem...but if I was to make this again, I might choose a different spot to punch my hole.

Then it was just a matter of embellishing!  Here's a look at a few of the pages:


On the reverse side of each leaf, I typed out questions and answers that I asked my kids.  I love adding little details like that for my MIL.

I hope you join us for this challenge!  You can enter to win FREE cut files too!  Just join our Facebook group.

Thanks for stopping by!

xo, Kira