I love the look of stitching and I think the In Stitches cut file is so unique and fun! I couldn't wait to use it, the only hard part was choosing which version!
\
For this layout I used the top version of "Hello Love". I cut it out and backed each letter with a different pattern. To help the title stand out more, I outlined each "X" with a black pen. I chose to make the layout about my adorable pup because I couldn't wait to use the bow tie wood veneer I found at Michael's! It's perfect for him since he always wears a tie.
I partially backed the white cardstock onto a patterned paper, but apparently I didn't line it up straight. To me, scrapbooking is all about embracing the imperfections, so I'm choosing to let it go! I hope you have a fabulous day!
Hello again! This is Sheri and I have a fun back to school layout to share with you. It's hard to believe that summer is ending in most places and the kiddos are heading back to school. Since I don't have school aged children anymore, I had to bug my sister to get back to school photos of my nieces who just returned this past week. I couldn't wait to use the new cut files just released this past week!
So here is my layout! I used the star circle from the Scribble Scrabbles set for my photo frames. The other elements are from the School Rules set. Isn't that pencil just adorable? I had to use that and of course, had to paint it like a pencil! I'm a sucker for school supplies!
On the Back to School and 2015-2016 cutout, I created an offset cut to use behind the cut outs so they stand out a little better. With that striped paper, it helped ground those cuts a little better.
Here's a close up of the Scribble Scrabble circles. Aren't they cute? They look almost handdrawn and I love that effect.
Oh that pencil! I just love it.
I do have a process video for this layout if you'd like to watch. Here it is:
Thanks so much for stopping by! Can't wait to see what you do with your back to school photos!
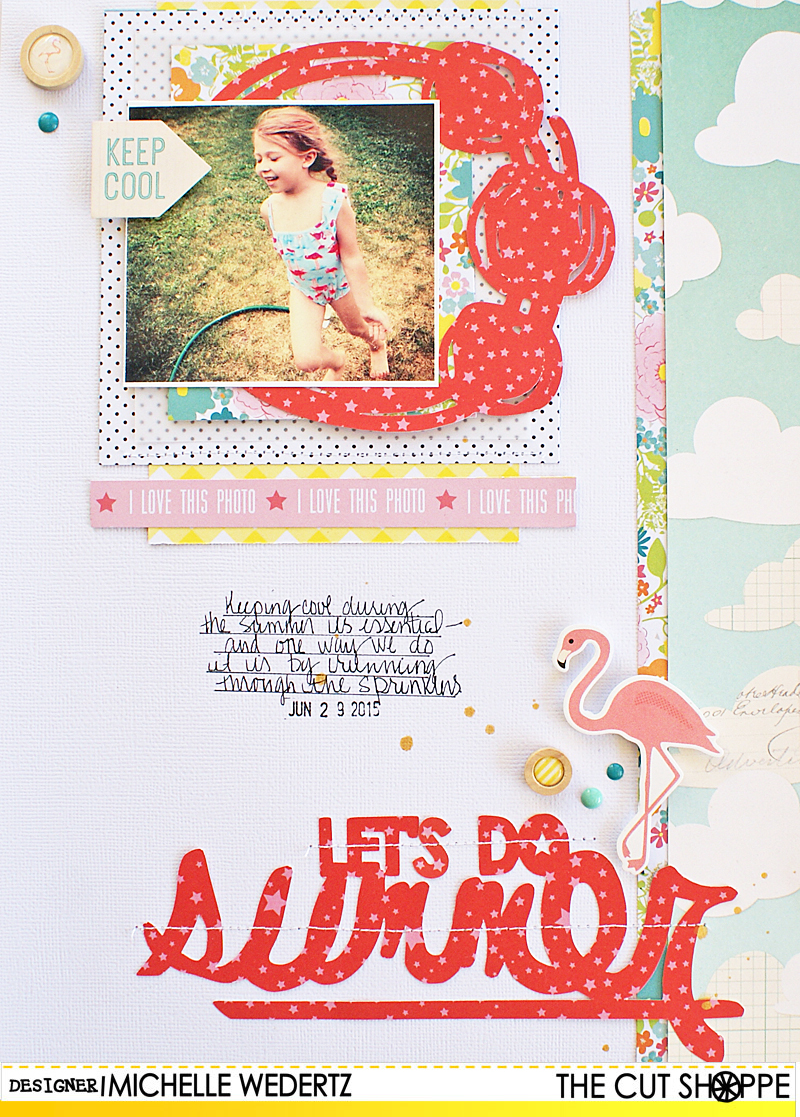
Hi guys! Michelle here with you today to share a new layout featuring two fun cut files from The Cut Shoppe-the Let's Do Summer and the super new Scribble Scrabbles cut files! Here's a look at each of them:
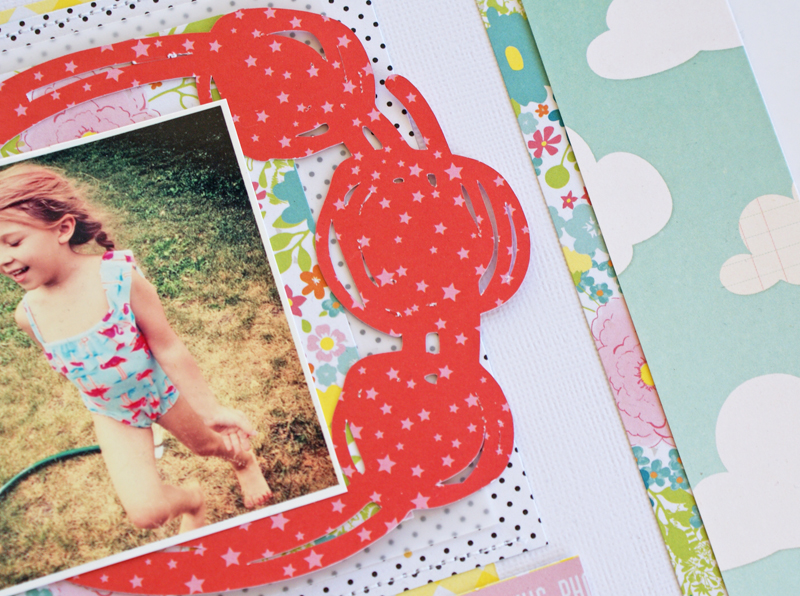
When I saw the Scribble Scrabbles shapes, my brain instantly thought "layer" and that's is exactly how I used it. I cut it out of a fun, bright red (my fave color right now!) and popped it under the picture to bring the attention straight to this fun pic of my daughter running through the sprinklers!
These cool scribble shapes would also work great to frame a photo. As I was working with the layers and photo, I tried that option and really liked it. In the end though, I popped it underneath the photo because I thought the red overwhelmed the photo a bit. Next time, I think a lighter color or a neutral would work great if I wanted to use them as a frame.
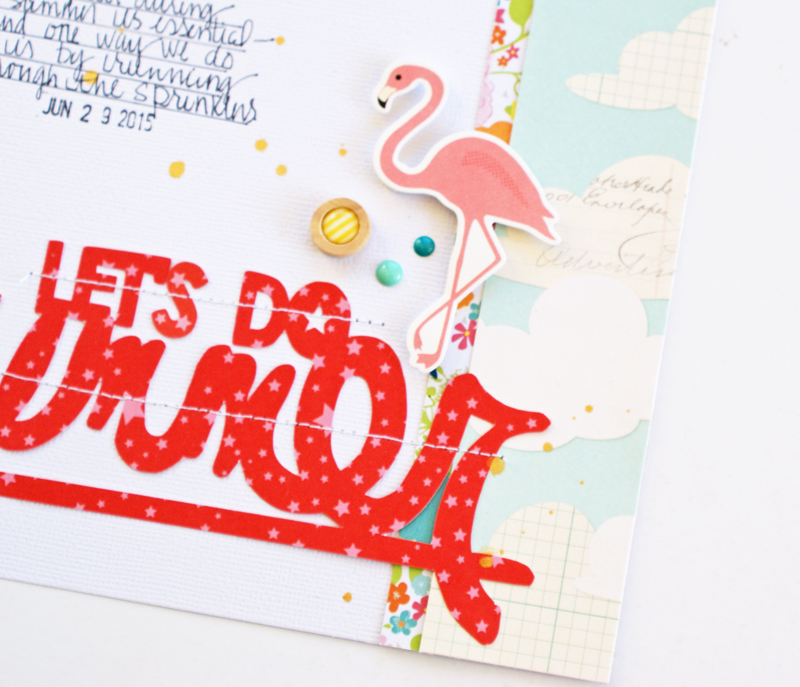
I thought that the Let's Do Summer title was perfect for the story--I mean, keeping cool and playing in the water is essential to surviving the summer heat!
It's all about arrows and rainbow colors on my layout today! I used the new Get to the Point cut file set, with acrylic paint and the Finders Keepers collection from Amy Tangerine. I thought it would be fun to use one of the patterned papers from the Finders Keepers collection and match it with the acrylic paints, painted behind the cut file. Here's how it turned out!
I layered the graph patterned paper over the painted cardstock, so the paint colors would show through the arrows. Once my photo and title were in place, I added several embellishments to the coordinating rainbow colors.
I created a new Process Video to go along with today's layout, if you would like to see how I put everything together!
And make sure you visit The Cut Shoppe today and check out the new Get to the Point cut file, available in 8.5x11 and 12x12 size, as well as these awesome other sets that are now availalbe!
Supplies: Get to the Point cut file: The Cut Shoppe; Patterned Paper, Rubber Embellishments, Thickers, Mylar Flair, Puffy Stickers, Die Cut Cardstock Shapes & Date Stamp: American Crafts; Color Shine: Heidi Swapp; Acrylic Paint: Reeves; Enamel Dots: Freckled Fawn; Tiny Attacher: Tim Holtz; Die Cut Machine: Silhouette Cameo
It's finally time to announce the new Design Team, that will be bringing you inspiration from September to February! We had a great call and received so many amazing applications! It's always hard to narrow down the selection, but we have an awesome group of Ladies and they will start sharing with you in September! So let's find out who they are and a little bit about them! You can click each of the Designer's bios, to visit their Blog!
As we welcome the new Team that will be joining us for the next 6 months, we have several Ladies that we will be saying goodbye to. We have loved seeing their work and hope that they can join us again, down the road! You can continue to follow each one of these Ladies, by visiting their Blogs and staying up to date with them on Social Media.
Hey everyone, Amy here to share a layout I created of my daughter celebrating her 14th birthday. Of course, I had to use the It's My Party cut file and the August kit from Paper Camellia to create my page.
Here's my layout.
I couldn't resist that cute circle die cut Ashley created and I colored it with just a bit of mist.
For the "happy" banner, I did some smooshing with mists and watercolors to get a subtle effect to match the colors on my background paper.
Hey there! Missy back with you today. I have a new layout to share using the fun Make a Splash cut file. Summer layouts (and pool layouts) are my favorite ones to create, and so I knew right away I wanted to use that cute sun.
I enlarged the sun so it would take up most of my page. I used some Pinkfresh Studio Up in the Clouds collection for this. I cut the sun using pale yellow cardstock and then used some yellow and orange gelatos to give it some shading and depth. I used some white gesso and a blue gelato to create the blue background haze behind the sun.
I added some yellow and pink stitching around the circles and then added in my embellishments and the curved title. I used Thickers, Pinkfresh Studio stickers and die cuts and flair buttons from A Flair For Buttons.
I wanted this "sunshine" Thicker to be pink, so I mixed up a few colors of acrylic paint and used my finger to dab the paint on. I like that it's a little bumpy and messy...it gives it some texture :)
Here's one more close up of the embellishments. I've been wanting to use those cute heart stickers and rainbows for a while. They worked out perfectly for this page!
If you'd like to see how I put this layout together, check out my process video. Hope you enjoy and get some inspiration!
Thanks so much for visiting the blog today! Be sure to check out the store...so many new and awesome cut files are available!

 \
\