Showing posts with label Die Cuts. Show all posts

Friday, December 13, 2019

Dashing through the SNOW! // Audrey Yeager

Are you in the holiday spirit?  I love scrapping the Christmas holiday and winter photos, and there are so many great cut files in the store.  I used the new "Sleigh Ride" cut file from the store along with the "Season's Greetings" file for my title:


Sleigh Ride


Season's Greetings


I began by cutting my sleigh from the Sleigh Ride cut file from gold foiled cardstock.  I first cut the title from white cardstock, but later changed it to navy.  I backed the sleigh with red patterned paper.


Next, I began adding some gesso to my background papers, and cutting a "hill" shape from my tree patterned paper. 


I tucked my photo into the sleigh and added some die cut presents, candy cane stickers, and a machine stitched Christmas tree die cut behind it.


To jazz up my sleigh even more, I added a tiny set of single bells to the front, and some layered flowers from my stash.


Finally, I added some due cut snow flakes, tiny house stickers on the hill, and my title near the sleigh.


Hope you are enjoying the holiday files!


Wednesday, April 18, 2018

Never Grow Up by Jill

Hey friends!  Have you seen the GORGEOUS Flutterby file in The Cut Shoppe Etsy store?  I think every single one of us on the design team have lost our minds for these beautiful butterflies!

I started by sizing the background file to approximately 8.4 x 8.1 inches, then I cut it two times from white cardstock.  I planned to use one of the cuts as a whole, then place the other cut file in two places on my mixed media background.


I backed the butterflies with a few patterned papers from the same collection, then adhered the full background cut with foam tape so I could slip my photo in behind the butterflies.


The second cut was backed with the same papers, then I cut the file into two pieces so I could place it in two spots on my layout.


I stitched the butterflies down with my sewing machine to show some variation and add texture.  My last step was adding in tons of die cuts and a few flair badges.


I adore these butterflies!  You can count on seeing this cut file as a regular in my scrapbook pages.  Thanks for stopping by The Cut Shoppe blog today!


Monday, June 12, 2017

Fun Trip

Hey there scrappy friends,

Zsoka here with you today with my last before one layout for The Cut Shoppe! However, this is my last blog post here, my last layout will only be posted on my own blog in two weeks. I hope you'll check it out, it will be a special one ;P.

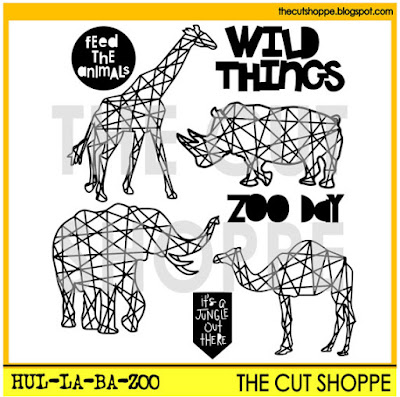
As I was browsing through my cut files, I realized I still haven't used the Hul-La-Ba-Zoo cut file even though I've been wanting to for ages.

While on Spring Break in April, we went on a Safari in Italy and we took many photos of all the different animals. For whatever reason I didn't take more than 2 photos of my favourite giraffes! Either way, I decided to use the giraffe cut file to go with my giraffe pictures and document this memory.

https://www.etsy.com/listing/468665995/the-hul-la-ba-zoo-cut-file-set-includes?ref=shop_home_active_41

I chose the wonderful Crate Paper Oasis collection which reminded me of Safaris, trips and getaways. Then I cut two giraffes in two different sizes (one image I mirrored so they are facing each other) then backed them with two patterned papers from the collection.


For my background I picked a wood grain paper and I used a very limited color palette, which I find matches the Safari theme. I used embellishments from the Oasis collection: die cuts, chipboard stickers, a chipboard frame and stickers as well as some wood veneers and plain chipboards from other manufacturers. 


I created two clusters with tropical leaves, most of these came from the ephemera pack, some I fussy cut from a patterned paper. I also added some chipboard leaves for additional dimension. 


For my title I used the gold phrase stickers from the Oasis collection. I just love the font!


I hope you like how this layout turned out! I will be honest, I promised myself earlier to never use another animal cut file on a layout (long story!) but with these pictures this file was kind of the obvious choice right?! :)

Thank you for stopping by today and also for all the support in the past! I'm also thanking Ashley from the bottom of my heart for this wonderful year that went by way too quickly! I am grateful for having been a part of the last TCS DT. I sure will miss it!

Have a great day and see you around X

Friday, August 28, 2015

Make a Splash

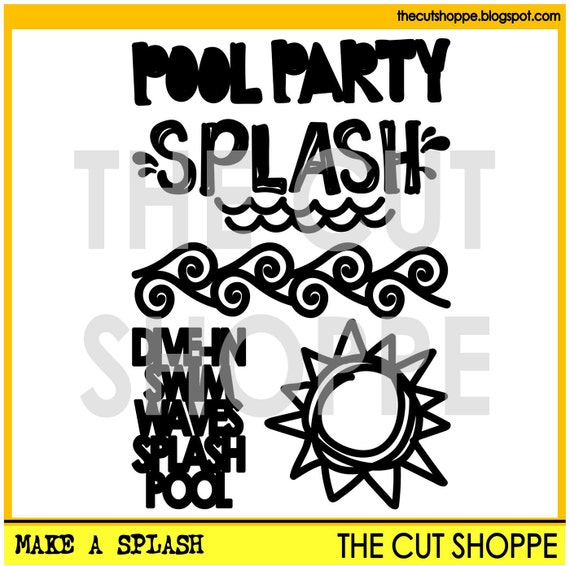
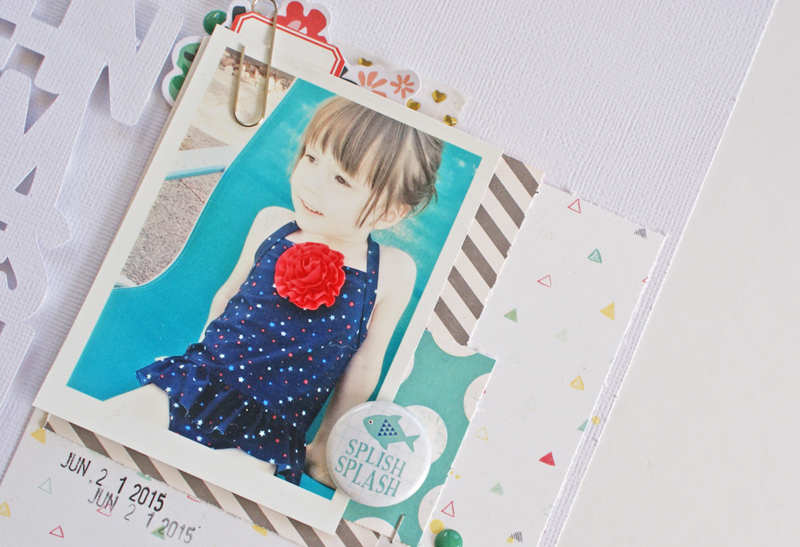
Hello! Michelle here with you today to share a new layout using a fun title from the Make a Splash cut file.

The Make a Splash cut file includes 5 pool themed icons, that can be used on your scrapbooking and papercrafting projects.

As much as I love cutting out shapes to use on my projects, it's the cool phrases and titles that really get me excited. I sometimes feel totally uncreative when it comes to picking a title for a project and to be able to browse through the selection of cool and unique cut files at The Cut Shoppe means I am able to add some fun variety to my titles.

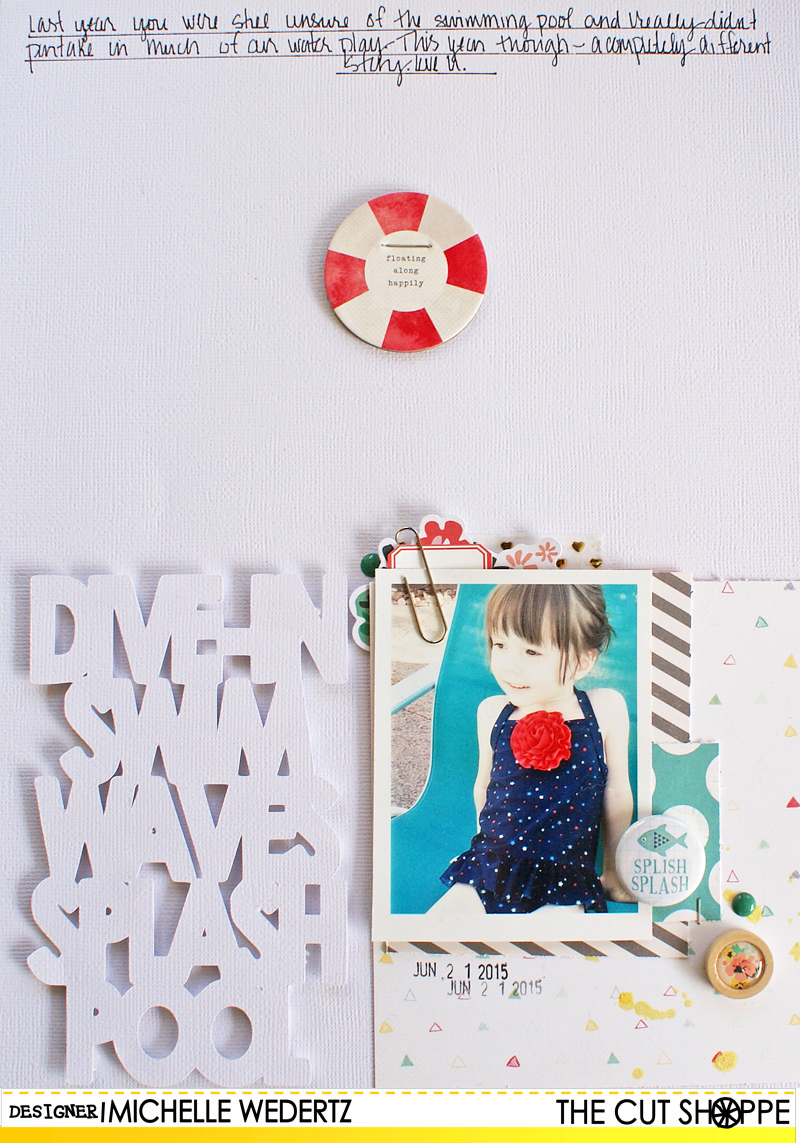
For this next layout, I cut out the stacked "Dive-In" title after sizing it to fill approximately half the width of my page. Since it is on the narrow side, I also increased the width to bulk it up a bit. Here's what I came up with:

Dive In

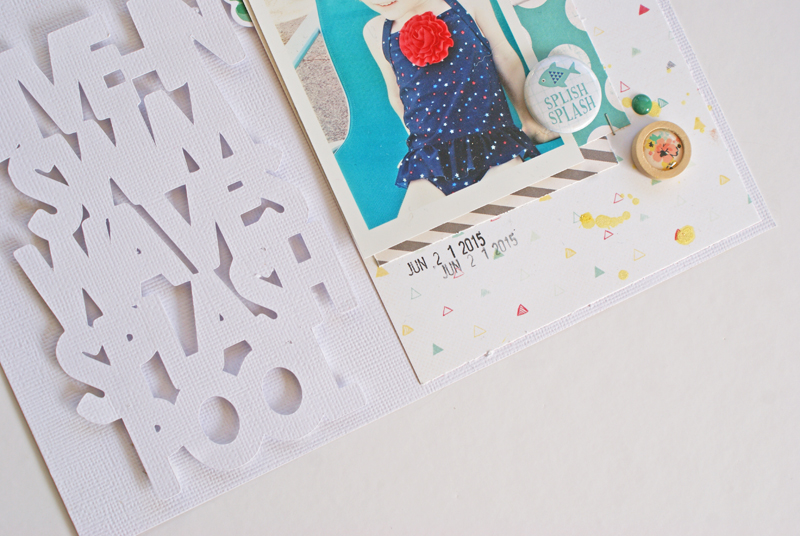
When I began to work on this layout, I knew I wanted to go with minimal color-something that normally isn't my style-and this led to me making the decision to cut the "Dive-In" out of white cardstock, the same as my base. To make sure the title stood out and was easy to read, I used pop dots to raise it up off of the background.

Dive In 2 

Dive In 3

Now it's your turn! I would LOVE to see how you all are using these fun, summery files! To share, you can link your projects up to our current monthly Cut It Out challenge or you can share on Instagram (make sure to tag us!). Looking forward to being inspired by all of you!


CS Blog Signature

Wednesday, August 12, 2015

Birthday Time

Hey everyone, Amy here to share a layout I created of my daughter celebrating her 14th birthday.  Of course, I had to use the It's My Party cut file and the August kit from Paper Camellia to create my page.


Here's my layout.


I couldn't resist that cute circle die cut Ashley created and I colored it with just a bit of mist.


For the "happy" banner, I did some smooshing with mists and watercolors to get a subtle effect to match the colors on my background paper.


Thanks for visiting the blog today!


Tuesday, June 30, 2015

Hello Summer Love


Hi everyone!  It's Gina here and I have a new layout to share with you today using the free Newsletter (Summer Love) cut file and the Bitty Borders cut file. 

Here's my layout:


I'm in love with that Summer Love cut file.  I knew right away when I saw it, that I just had to use it right away.  To create my layout, I actually cut the Summer Summer Summer Love title twice.  The first cut was the full title and then I trimmed off the bottom (love) piece.  The second cut I only cut the word "Love" from white cardstock paper.  I then placed the "Summer Summer Summer" title right above the love cut piece.  I placed my photo behind the love word.   To add color to my page I added watercolors on two of the Summer words and behind the title, before adhering down.  


The small circular hearts are from the Bitty Borders cut file, I simply ungrouped them and then cut them out individually and added watercolors to them.  To finish off my layout I added black spray mist, wood veneer pieces and machine stitching.


Summer Love


I hope this post has inspired you to try watercolors on a layout. It really adds a lot of color and interest!  Have a great day!


Saturday, May 30, 2015

Daddy Love and a Sad Good Bye...

Hi everyone!

It's Tarrah McLean back with you today and sadly, its my last time sharing my layouts here on The Cut Shoppe blog but its time to introduce some new members to the team for some fresh inspiration! These girls are super talented so watch out for their work!

Ashley has just included the gorgeous new 'All Heart Remix' cut file in the Cut Shoppe store so I jumped at the chance to use it on my final layout!

I cut the file out using white cardstock as I knew I wanted to back the hearts with different patterned papers. I played around for ages deciding which background cardstock I wanted to use, I pulled out American Crafts Black, Stone, Kraft and Smoke but finally decided I preferred just plain white!

I used the gorgeous American Crafts Amy Tangerine 'Stitched' collection for this layout...I still had some in my stash and I have been stash busting a bit so it was perfect to use! I find the 6 x 6 paper pads perfect to use for these times when using just little bits and pieces of paper!
I machine stitched through the hearts for added texture and to secure the layout. I used some Thickers for my title that I had in my stash however I didn't have a 'y' in this particular style so I improvised and made it with a 'u' and cut up the number '9' to use the tail of it! I am always doing this! 
\
Thank you so much for joining me on the Cut Shoppe blog today and for all your lovely comments over the past few months...I hope I have inspired you in some way to use your Cut Shoppe files!

Happy creating, farewell for now.... 

Wednesday, May 27, 2015

Happy Carousel

Hi everyone, I am here to share a layout I created using some fabulous cut files from The Cut Shoppe.  Here are the files I used for this layout.


Here's my layout.


Here are some closeups.  I love the pop of black that the frame gives the layout.


You can't go wrong with alphabets and arrows.  LOVE!


Thanks for stopping by the blog today!