Showing posts with label Wood Veneer. Show all posts

Saturday, February 15, 2020

XOXO | Tarrah McLean

Hi creative friends,

It's Tarrah back with you and today I have a new love themed layout using the Love Ya cut file.

I cut the cut file design out of white textured cardstock and then backed the shadow parts with black cardstock. I then used a black pen to outline the outer edge and also the shadow pieces.


Love Ya

Going through my stash of bits and pieces of love collections I found I had lots of things with the XOXO on to add to my page. These were mostly from the Hello Love and Main Squeeze collections by Crate Paper. 

I adhered the XOXO to some red cardstock using some craft foam underneath the cut file to give some height and dimension. 


Over the top of the cut file, I layered lots of things like a pocket, some tags, a few stickers and some wood veneer hearts. 


The fabric X and O are from my stash and I layered a heart puffy sticker and a gold glitter sticker. The flair button on the left of my page is also from my stash and it goes perfectly as it is a bicycle with hearts in the top basket!


Thank you so much for stopping by today, I hope I have inspired you to create a love themed layout and to check out all the gorgeous cut file designs in the shop!

Happy creating!

Tuesday, January 28, 2020

Farm Fresh- Audrey Yeager

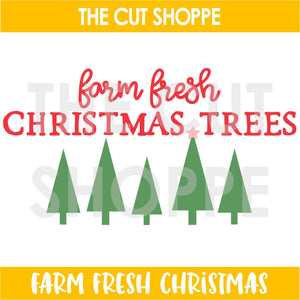
Hello everyone!  I am still plugging along with my Christmas pages.  There are just so many great holiday cut files in the store!  I used two on this page below; "Farm Fresh Trees" and "Branches and Boughs".


Branches & Boughs


Farm Fresh Christmas


I began with some woodgrain background paper and added some white gesso and mixed media shades in grey and brown.  I cut the trees from the "Farm Fresh" file from patterned paper, and one of the trees from the "Branches and Boughs" from a dark green cardstock. I centered my photo and scattered the trees around it.


I fussy cut out a few flowers and animals with red accents to add a pop of color. Finally, a few wood veneer starts an embellishments to go with the theme!


For the title, I again used the Farm Fresh file and cut it from brown cardstock and a mint colored patterned paper.


Thanks so much for looking!


Monday, November 26, 2018

Cozy weather | Sasha Biyanova

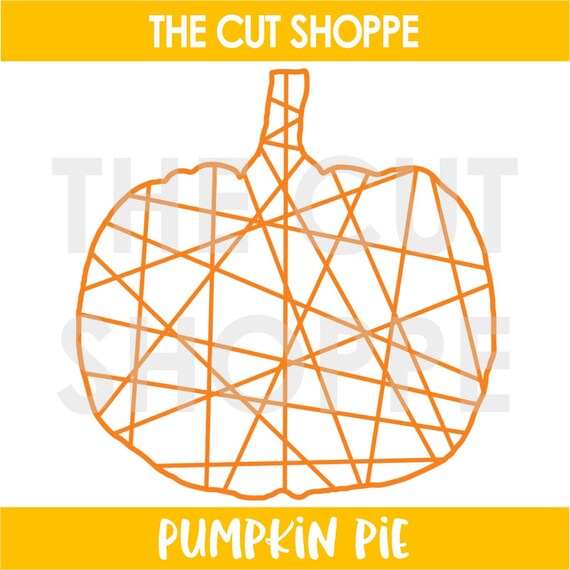
Hello, everyone! Sasha here today) There will be winter in several days, but I have so many photos and want to create layouts and albums about autumn) And this one not the last)))) I loved The Pumpkin Pie cut file so much that decided to make layout with photo which is not connected with pumpkins at all)))


I think this pumpkin is cozy so I've used it with cute photo of my sleeping son)


I've just took 2 piece of pattern paper (size 6x6) and embellishments from different old collections. Our autumn was so warm that ladybags didn't fall asleep for a long time!


Wood veneers looks nice with this pattern) Actually I wanted to use acrylic paints but changed my mind! And I want to join challenge of this month in the facebook group : white on white :)


I recorded the video process of this layout creation! Thank you for watching)


Thank you for stopping by today! Please visit The Cut Shoppe Etsy Store to find more beautiful cut files!!!

And happy crafting))


Friday, November 9, 2018

Hello Fall | Marsha Farris

Hey friends!  It's Marsha, and I am here with you today sharing a traveler's notebook layout using the DIY Quilt cut file that is available at The Cut Shoppe Etsy store.


We have finally started getting some cooler weather here, and I could not resist adding another Fall layout to my notebook.

I have been wanting to use the DIY Quilt cut file since it was first released, and I thought it would be perfect for my spread.  I used the Simple Stories Forever Fall collection, Traci Reed Designs I Heart Fall Most of All traveler's notebook papers, and wood veneer from Colorcast Designs.

I cut out the cut file using a navy floral paper from the Forever Fall collection and layered it over a TN paper from the I Heart Fall Most of All collection.   The chipboard fall banner placed over the cut file serves as my title.  I tucked a couple of ephemera pieces behind the banner and added a wood veneer piece on top.


On the other page, I layered some patterned paper, a book page, and some ephemera pieces behind the photo.


Next, I placed a vertical line of embellishments down the page, using wood veneer pieces and die cuts. 

For the final touch, I added staples and some machine stitching to a few areas on the layout.


Thanks so much for stopping by today.  I hope I have inspired you to use a cut file on your next project!


Saturday, October 13, 2018

Say Hello to Fall | Marsha Farris

Hey friends!  Marsha here and I am excited to be starting a new term on The Cut Shoppe Design Team!   Today I am sharing a layout in my traveler's notebook album using the new Falling for You Travelers Notebook Decorative Page cut file.


I love the TN decorative pages from The Cut Shoppe because they are sized to fit perfectly in a traveler's notebook, and this makes them so easy to use!  I thought the Falling for You cut file would be perfect for my spread documenting a photo of my son taken last year at our local fair.

I started by cutting out the file using white cardstock.  I chose to use a piece of textured kraft cardstock as my base and love the way the cut file looks against it!  I used a fun wood veneer circle from Color Cast Designs (designed by our own Ashley Horton) as my title piece and layered it over the cut file.


I used some digital papers and elements from the Little Lamm Co. Gossamer collection, along with stamps from Feed Your Craft, and a wood/epoxy button sticker from Freckled Fawn.

I decided to cut out a few more of the leaves from the cut file to add to the other page.  I like the way this helps the pages feel like one cohesive spread.


I did some stamping, typed my journaling on a label, and added a few staples using my tiny attacher for added texture.


Thank you for stopping by today!  I hope I have inspired you to use a cut file from The Cut Shoppe on your next project! 


Monday, June 12, 2017

Fun Trip

Hey there scrappy friends,

Zsoka here with you today with my last before one layout for The Cut Shoppe! However, this is my last blog post here, my last layout will only be posted on my own blog in two weeks. I hope you'll check it out, it will be a special one ;P.

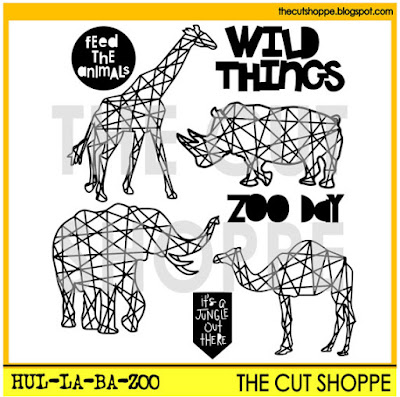
As I was browsing through my cut files, I realized I still haven't used the Hul-La-Ba-Zoo cut file even though I've been wanting to for ages.

While on Spring Break in April, we went on a Safari in Italy and we took many photos of all the different animals. For whatever reason I didn't take more than 2 photos of my favourite giraffes! Either way, I decided to use the giraffe cut file to go with my giraffe pictures and document this memory.

https://www.etsy.com/listing/468665995/the-hul-la-ba-zoo-cut-file-set-includes?ref=shop_home_active_41

I chose the wonderful Crate Paper Oasis collection which reminded me of Safaris, trips and getaways. Then I cut two giraffes in two different sizes (one image I mirrored so they are facing each other) then backed them with two patterned papers from the collection.


For my background I picked a wood grain paper and I used a very limited color palette, which I find matches the Safari theme. I used embellishments from the Oasis collection: die cuts, chipboard stickers, a chipboard frame and stickers as well as some wood veneers and plain chipboards from other manufacturers. 


I created two clusters with tropical leaves, most of these came from the ephemera pack, some I fussy cut from a patterned paper. I also added some chipboard leaves for additional dimension. 


For my title I used the gold phrase stickers from the Oasis collection. I just love the font!


I hope you like how this layout turned out! I will be honest, I promised myself earlier to never use another animal cut file on a layout (long story!) but with these pictures this file was kind of the obvious choice right?! :)

Thank you for stopping by today and also for all the support in the past! I'm also thanking Ashley from the bottom of my heart for this wonderful year that went by way too quickly! I am grateful for having been a part of the last TCS DT. I sure will miss it!

Have a great day and see you around X

Monday, May 22, 2017

Hey hey my my

Hi guys,

Zsoka back today with a new layout!

I've picked the All Heart Remix cut file which is one of my favourites ever from The Cut Shoppe and I've used it many times too. In fact I've used it in this form as well, cropped into two semi-circles, but I do like this design so I don't mind doing it more than once. The end result is always different since I use different collections, decorate differently and so on.

https://www.etsy.com/listing/234503384/the-all-heart-remix-cut-file-is-a


I've chosen the stunning Wild at Heart collection from Cocoa Vanilla Studio - now that CVS is finally available in Germany (at Scrapbook Werkstatt) I can't stay away :).

I very often go with white card stock for my cut file because I generally don't have a plan in my head when I start a layout. And with a white cut file one can go in many directions!


I backed the bigger semi-circle with different patterned papers from the collection and glued it down on the right top side of my page. I didn't glue down the biggest hearts so they add a bit of dimension.


I layered some tissue paper and a couple of the frame ephemera pieces behind my photo and placed these on the big semi-circle. I added some phrase stickers, chipboards, ephemera, fussy cut butterfly and a flair button to embellish this side. I wrote my journaling here too.

Don't ask about the title...I just had this song on my mind when I was working on the layout :).


As for the smaller semi-circle. I cut this from the same white card stock and glued it down completely so it is flush against the background. I hand stitched a few of the hearts and did some string art.


I filled some hearts with those fabulous glitter enamel dots, some wood veneer hearts and I added a couple more fussy cut butterflies.

I splattered some blue paint across my page to finish it off. I hope I could inspire today in some small way!

Thank you for stopping by X