Friday, October 13, 2017

"Holy Cat" with Jennifer

Hello everyone!

This is Jennifer and I am so excited to share my first layout for The Cut Shoppe!

I am a big fan of using geometric shapes on my layouts - especially triangles or circles. So it's no wonder I instantly fell in love with the circle shape from the Midway cutfile set.


I cut the circle about 10 inches wide with white cardstock and backed it with a light-mint coloured paper from my stash. Because I knew I wold be using embellishments with copper metallic accents I used white thread with copper strands for some hand stitching.


For my title I used the Out Of Line Alpha cutfile and also white cardstock. I backed the letters with a dark blue paper. In the end I probably could have gotten away without backing it because my background paper is nearly the same shade. But I really like the subtle difference between background and backing paper. It works really well together.


The rest of the layout came together really fast. I matted my photo on a bit of white vellum and popped it up with a bit of foam. I added a few star-shaped emebllishments to go with the celestial feel of the layout and finished it of with a few sprinkles of gold Color Shine. 

Thanks so much for stopping by and I hope to see you soon!

xoxo


Wednesday, October 11, 2017

"Hello Love" with Jill

Hello!  It's Jill Keller and I am beyond thrilled to be posting my first layout on The Cut Shoppe blog!

I am so excited to share my layout, "Hello Love" using the brand new All About Fall 12x12 cut file. I sized the file to 10.7 x 10.7 inches in my Silhouette program and cut from white cardstock.


I backed each individual leaf with four different papers, sometimes using two different papers per leaf to really highlight this lovely cut file design.

To add more detail to the leaves, I opted to machine-stitch the centers, using both a straight stitch and a slight zigzag, just for fun.


I embellished my layout with die cuts, sprinkling in the hex shapes down the page and adding a few florals at the bottom right of the photo area.  The photo is layered on paper scraps in the same patterns as the leaves, with one additional pattern to really make it pop.  I also used foam adhesive to add dimension to the photo and title.


Thanks so much for checking out my first page for The Cut Shoppe team!  I cannot wait to share all the fun projects I've been making with the new files Ashley has designed.


Tuesday, October 10, 2017

Sweet Fall | Kelly Janes

Hey scrappy friends! Kelly here, and I'm so excited to be back for another term with The Cut Shoppe Design Team! For my layout today I used one of the newer sets in the shop, The Autumn Acres Cut File.


In case you didn't know, I am a Cricut user, so I started in Cricut Design Space with the Autumn Acres Cut File and sliced out the largest leaf. I then duplicated the leaf numerous times and cut the leaves on a sheet of white cardstock.


Using Shimmerz Great Fruit Creameez I painted the cut file images and then arranged each image on my background paper. I did back a few areas of the leaves with green patterned paper and vellum. I then added hand stitching to each of the leaves using white embroidery floss.


I added minimal embellishments to this layout because the cut file speaks volumes all on its own.

Now you can take a look at my YouTube process video.


Thanks for spending part of your day with me!


Sunday, October 8, 2017

"Explore" with Kira

Hello crafty friends!  I am so excited to be here with my first layout on The Cut Shoppe design team!  I have to be honest with you though...it was REALLY hard to chose a cut file to use for this layout.  I literally wanted to use them all!


I was feeling some strong autumn vibes when I was creating this though.  So I narrowed it down to "leaves", which was still a very tough decision because there are a few leaf themed cut files in the shop.  The Autumn Acres cut file though?!  It spoke to my autumn-loving-pumpkin-patch-visiting soul.


I decided to cut two of the same shaped leaves, and did them in slightly different sizes (about a 1/2" difference).  And the most obvious thing to do at this point would be to go through my scraps to back the leaves with pattern paper.  But instead I went to Hobby Lobby and bought $45 worth of new paper to create my perfect color palette.  I wanted something autumn-ish, but in a more non-traditional sense.  My current favorite autumn color palette is cobalt blue, aqua, deep reds with pops of orange and yellow.


Each leaf "section" was backed in a different color/pattern and some were even left open so the background paper could peek through.  My photo (which is a picture of my son at the apple farm last year, pointing at an old vintage truck in the middle of a field...I mean, how much more "fall" can you get?!) is nestled under one of the leaves and on top of the other in a sort of diagonal design.


The title is an acrylic piece that says "explore" from Bella Blvd.  I used some burnt orange embroidery floss to create the look as if it is stitched on the page.  At this point I felt like my layout was almost complete, the leaves had really done most of the work for me as far as embellishing goes.  I used a couple phrase stickers and then decided to add in a few more leaves.


The small leaves on the left side of the page are from another cut file you can purchase in the shop.  It's called Funky Florals.  (Full disclosure:  my original idea was to use the florals and leaves from this cut file and I had backed a ton of them and then changed my mind about 2 hours in...as any sane person does.  Ugh.)  Anyway, I used a few of the leaves I had already backed with pattern paper and created the illusion that they were falling from the autumn trees.


I finished the layout off with some gold Heidi Swapp color shine and a date stamp.  Thanks for stopping by and checking out my very first layout as part of this amazing design team!

Until next time,


Thursday, October 5, 2017

Farm Fresh + NEW Cut Files!

Hello Cut Shoppe fans!  It's so exciting to be back with a new Design Team and BRAND NEW Cut Files!!  Today, we've got four new designs in the Shop, and I have a layout to share with you, using the Farm Fresh Cut File set.


https://www.etsy.com/listing/548768618/the-farm-fresh-cut-file-set-includes-6?ref=shop_home_active_2 

This cut file was a perfect fit for a layout about our recent visit to the Silos in Waco, TX.  I had several photos I wanted to include on the layout, but couldn't quite figure out how I wanted to arrange them.  Once I cut the design and placed it on my background paper, the idea for the photos popped into my head.  Instead of using four separate photos, I created a photo collage, which made it a one photo layout...which is what I typically like to do anyway.


Before placing the photo collage in the center of the crossing arrows, I machine stitched over them.  I also added hand-stitching around the outside of each of the letters.  I love the texture that stitching adds to a layout.  


Once all of the stitching was finished, I added my embellishments.  I created clusters on each of the letters from the cut file.  I really liked the look of the embellishments grouped around each of the letters, to keep the layout from being too busy.

You can pick up the Farm Fresh Cut File in The Cut Shoppe Etsy store, along with our other new designs.  Here's a look at what's new!

https://www.etsy.com/shop/TheCutShoppe

We would love to see how you're using our Cut Files, so make sure you share on Social Media and tag us @thecutshoppe!

https://ashleyhortondesigns.blogspot.com/

Wednesday, October 4, 2017

All The Things You Love Right Now

Hello everyone! It's Enza, and I am so excited to be here again to share projects featuring Ashley's amazing cut files.

The focus of today's layout is the All The Things cut file, which not only served as title for the page, but also inspired the journaling that went with it.


I enlarged the cut file to the desired size, then using the offset function in the Silhouette software created a border. I find that this is the easiest way for me to make a cut file stand out more and create some separation between patterned papers. The Take Note September kit from the Fairytale Club I used here is very colorful and features a variety of patterns. The border around the cut file allowed me to incorporate many of them while still achieving a defined look.


I placed the photo where the cut file had an empty space. To give it dimension, I adhered it down with foam dots. I also added lots of embellishments around it.


I wanted to continue the “All the things” sentiment to include “you love right know”. The bottom heart worked perfectly in place of the word “love”. I finished the layout with several pieces from the kit and my journaling.


Thank you for stopping by today. Make sure to check out The Cut Shoppe Etsy store for this and many more awesome cut files. Have a lovely day!


Monday, October 2, 2017

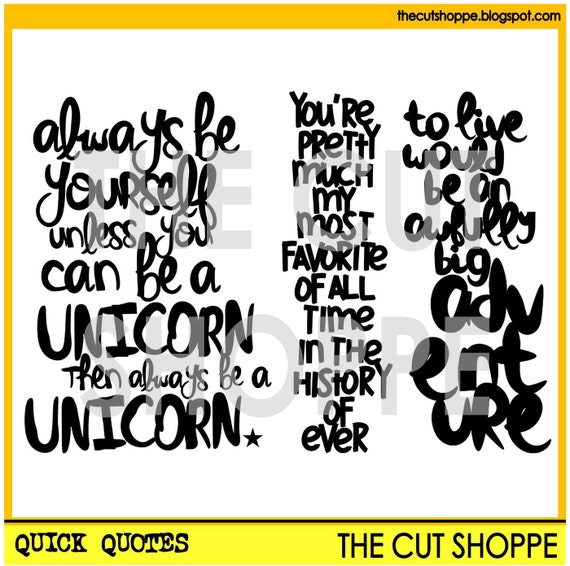
Always be a unicorn with Anna

Hello everyone. I am so happy to post my first project on TCS blog. I have been a fan of those cut files for a long time and felt so honored when Ashley invited me to join her team.
Let me introduce myself. My name is Anna. I live in Poland with my little family of two daughters, hubby and a beagle dog. I started scrapbooking nine years ago and I think it was the best thing ever happened to me (not counting my friends and family). I love creating with papers and pretty embellishments. My projects are filled with colors and a little bit of mess.
You can visit my blog or follow me on Instagram. 

After this short intro I am ready to show you my first project. 


I created this cute, girlish layout inspired by the unicorn quotation.


I used it to build the composition on my page. I cut it in contrasting paper to make it pop from the layout.


I added some bits and pieces under the letters to make the inscription more interesting. I love using pink on my projects. I think it's quite normal when you are a mom of two girls :D


I must admit that with this page it all started with a quote. It's not typical fro me because usually I pick a picture and then look for matching items. I needed some soft, pinkish photo to go well with this quotation and I found a perfect one. It was taken few years ago, when Maja was taking a bath. She looked so dreamy and her eyes are so blue. I love this picture.


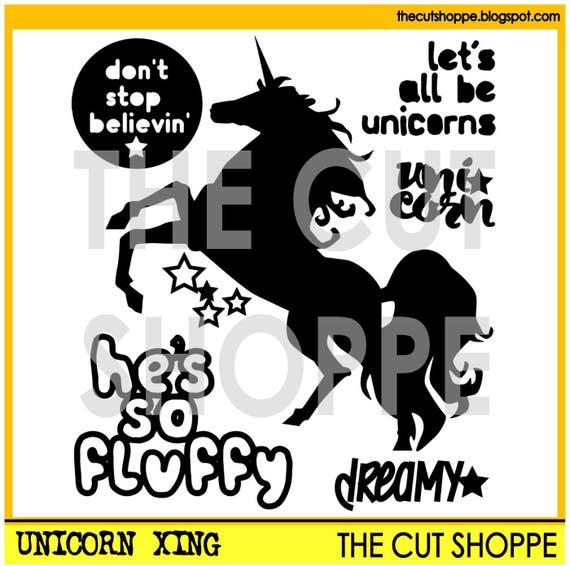
With all the unicorn quotation I had to add some unicorns too. Found one in my sticker stash and I cut the second one using this cut file:


That's all for today. Thank you for stopping by and see you soon with another fun project created with The Cut Shoppe cut files.

XO Anna