Showing posts with label Funky Florals. Show all posts

Monday, May 13, 2019

MAY GUEST DESIGNER | CHRISTINA BURESCH

It's time to welcome our talented Guest Designer for May, and we are excited to introduce Christina Buresch!!  We always love seeing the beautiful mix of projects, that Christina shares!  She is here to share a gorgeous layout with us today, but before we see what she created, let's get to know a little bit more about Christina.

https://www.instagram.com/fishstick_in_love/
 
Hello everyone! My name is Christina, I live in a small village in southern Germany with my husband (who I often refer to as “Mr. Fishstick” on social media), I love music, traveling, pasta, coffee (lots of coffee!) and being creative. I started scrapbooking a couple of years ago when I wanted to create an album for my husband with photos from a music festival we’ve been to. Since then, I cannot imagine a life without playing with pretty paper anymore!

You can find more of my work here:


Thanks so much for sharing with us Christina!  Now let's take a look at the layout she created, using the Flower Power and Funky Florals Cut Files.

https://thecutshoppe.com.co/products/the-flower-power-background-cut-file-is-available-in-8-5x11-and-12x12-sizes-for-your-scrapbooking-and-papercrafting-projects

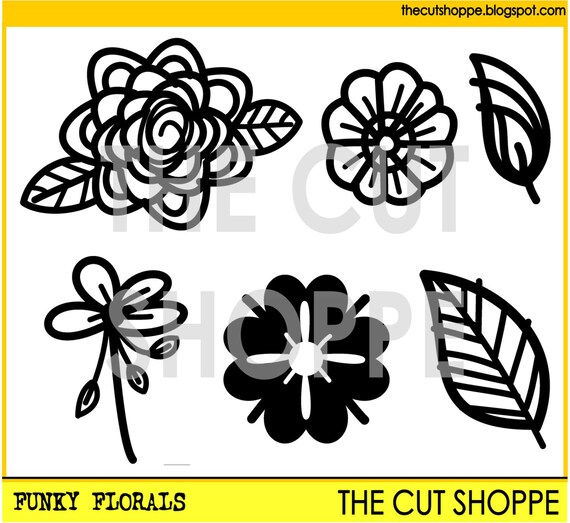
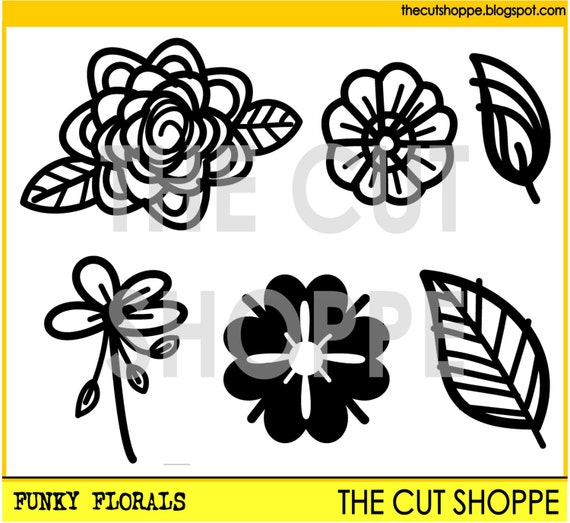
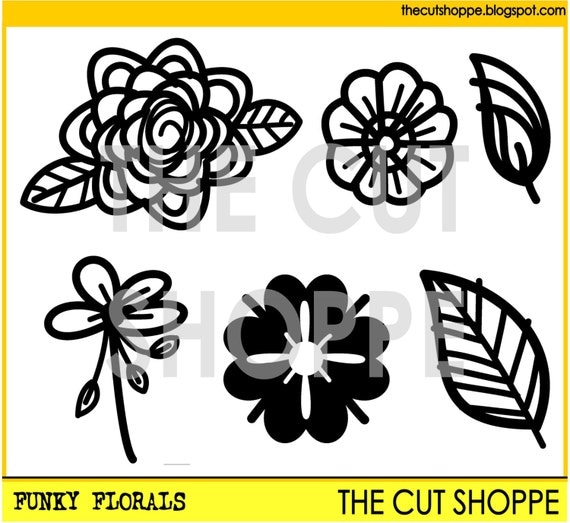
https://thecutshoppe.com.co/products/the-funky-florals-cut-file-includes-4-flower-themed-icons-that-can-be-used-for-your-scrapbooking-and-papercrafting-projects

 What a gorgeous design!!  We love the tone on tone White cardstock for the background and for the cut file.  And the Blue mixed media and embellishments really make the flowers stand out on the layout!


It's been great having Christina join us for the month of May!  Thanks so for guesting with us this month Christina!!
Don't forget to follow Christina on Instagram, to keep up with all of her amazing work, and you can find her YouTube channel above, with her bio.
https://www.instagram.com/ashleyhorton75/

Tuesday, September 25, 2018

Costa Rica by Caroli Schulz

Hi there! How are you today? Caroli here, and I'm sharing my very last project as part of the DT here at The Cut Shoppe.

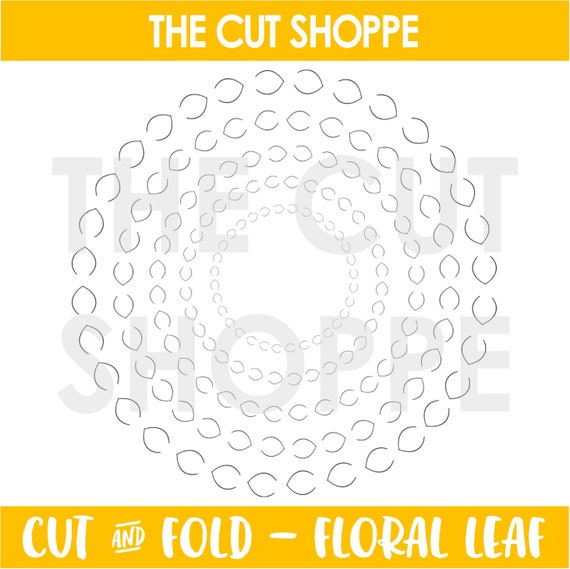
In this layout I've used The Floral Leaf cut file as background, and also used The Funky Floral cut file.


I created a simple but fun layout using The Bright Side collection by Fancy Pants and this lovely photo of all the ladies that attended to my scrapbook workshop in Costa Rica last March.


I love the volume of this cut file, it makes a great effect as background. As embellishment, I created these cluster flowers I cut using some dies by American Crafts. 


I really love all the volume and texture of this cut file, love it!


I wrote my journaling in a bunch of tags lined one over another, I think this is a really eye-catching effect.


I am very pleased with the result of this layout, it's full of color and volume, I love that! I hope you liked it too and got inspired to work with this cut file.

I want to thank Ashley for the opportunity of being part of her DT, I've really enjoyed working with her cut files and I hope I got the chance to inspire you all. Thank you very much and see you around on social media!

Monday, June 18, 2018

Made For Each Other | Helen Gullett

Hello everyone... Helen is here today with a 8x11 scrapbook layout using the several cutting files from The Cut Shoppe.


A couple of days ago my husband and I celebrating out 10th Anniversary. I am still working on an album about us... I found this picture that was taken in 2008! It was 2 weeks after I arrived in States. I printed it out and it has to be on our album :)

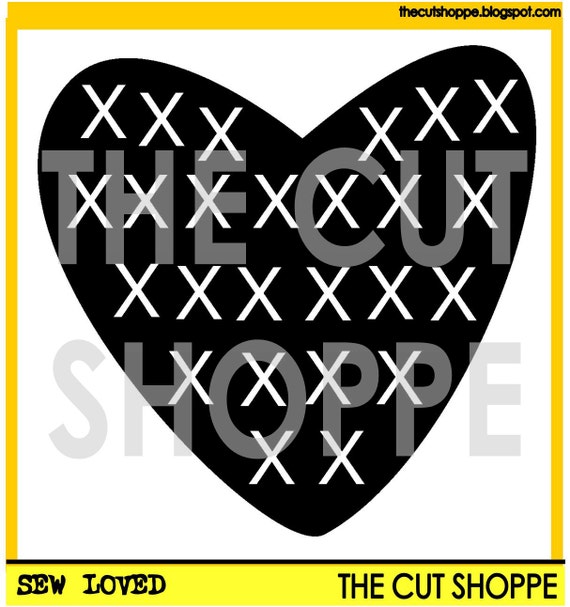
For the background, I cut out the Sew Loved cutting file using one of the Neenah Basic 12x12 Cardstocks Collection. I added it on the page with adhesive glue.


I then cut out the flowers from the Funky Florals cutting file with white cardstocks and I added the patterned papers for the leaves and flowers with adhesive glue and trimmed the extra.

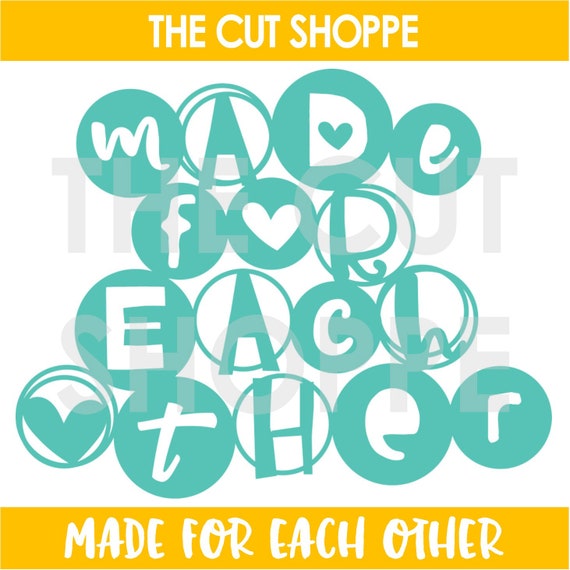
For the title, I am loving the new cutting file, Made For Each Other. I cut it with purple Neenah Cardstock and added the gold glitter cardstock for the backing with adhesive glue.


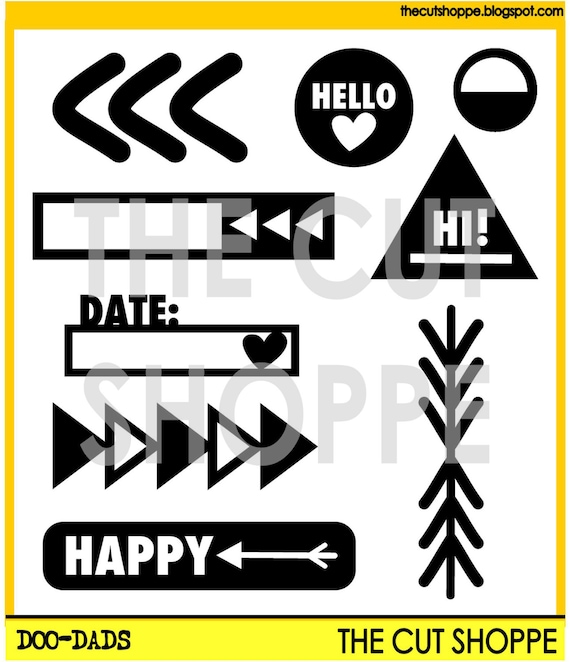
For the journaling date, I use one of the date tab from the Doo Dads cutting file. I also use three arrows as embellishment on this page. I cut the date tab using white cardstock, and then I colored the heart with Red Big Stamper's Brush Pen and I doodled the faux stitching on the tab using Faber Castell PITT Artist Pen. I also use the same pen to write the journal.

I arranged and added all the pieces on my page using the dries-clear adhesive glue. I added some of teal enamel dots to embellish the page.

Here are the files I used on my page today that you all can find them at the store:


Thank you so much for stopping by today. I hope you all have a fabulous and wonderful day!


Wednesday, February 21, 2018

"Amazing"

Hello everyone! Enza here, and today I am sharing a new layout with you. I love combining cut files on my pages. Sometimes I weld shapes together, other times I just like to layer them to add dimension and interest. The cut files I used for today's layout are: Happy Hearts, Flower Delivery, and Funky Florals.


I started by duplicating the heart shape three times, and changing the dimensions to obtain different sizes. I then did the same with flowers and leaves. The collection I used is Moostruck by Pink Paislee, one of my absolute favorites. After adhering the hearts onto the background, I played with the embellishments to find the right placement.


I layered several cut files and fussy-cut elements to create three main clusters. I backed some cut files with patterned paper, others with vellum, while I left some other ones as is.


 The photo has journaling cards and tags behind it, as well as die-cuts and puffy stickers on top.


I used one of the die-cuts as my title, and scattered a few butterflies around to fill empty spots and finish the layout.

I love how all the cut files worked seamlessly together and added that dimension I always try to achieve on my layouts. Check out The Cut Shoppe Etsy store for these and many more amazing designs!

Until next time.


Friday, January 5, 2018

Spring Blooms Layout | Elsie Robinson

Hey friends, it's Elsie here and I think I've officially ditched the Winter/Christmas layouts now it's a new year!

Whilst I've loved making Christmas projects, I'm definitely ready to start creating something different. So for this layout I was inspired by some of the beautiful floral cut files that are on offer in the Cut Shoppe store.


I started by super-sizing the rose cut files from the Blooming Bouquets and Spring Fling sets and I cut them from white cardstock. However, I wanted the stems to be green, so instead of manipulating the cut file and cutting the flowers and stems from different papers, I painted the stems green with some watercolours.

I didn't saturate the paper with a lot of water so they didn't warp at all and I love how much quicker this was so do than having to edit and run different papers through my cameo!


For my title, I again super-sized the 'Bloom' from the Spring Fling set and cut it from white cardstock. I stitched around the title with some white thread, to add a bit more definition.


I backed the large roses with pink and purple papers, the title with a yellow pattern and then I cut some more flowers from the Funky Florals and Flower Delivery sets and backed them with blue patterns.

With this being quite a busy page, having each of these elements have their own base colour meant they all didn't blend together and it really made these gorgeous files the stars of the page!


By raising the 'bloom' title on some small foam squares from the patterned paper, I was able to tuck the rose stems and some ephemera pieces into the letters, which helped integrate such a large title into my scene!

I love how this turned out and I think that incorporating a large title in this way, is something I'll definitely be doing again in the future!


Make sure you click on the images below to grab these cut files for yourself!

Thanks for stopping by!


Sunday, November 5, 2017

Hello baby with Anna Komenda

Hello crafty people. It's Anna here with my brand new project created with The Cut Shoppe cut files. It's a fall / Halloween and almost Christmas season on the scrappy blogs but I will break the cycle with a layout filled with colorful flowers and baby pictures :)


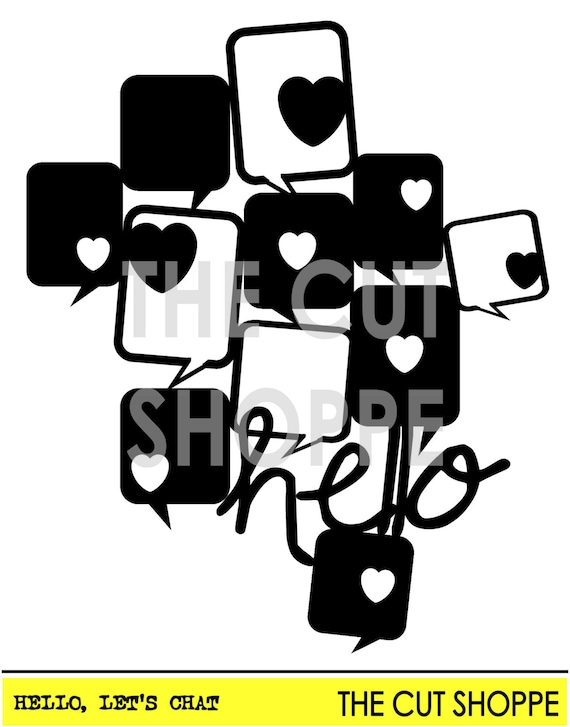
I used "Hello, let's chat" cut file to build a base of my page. I cut it using light pink cardstock and filled the gaps with small pictures and paper scraps


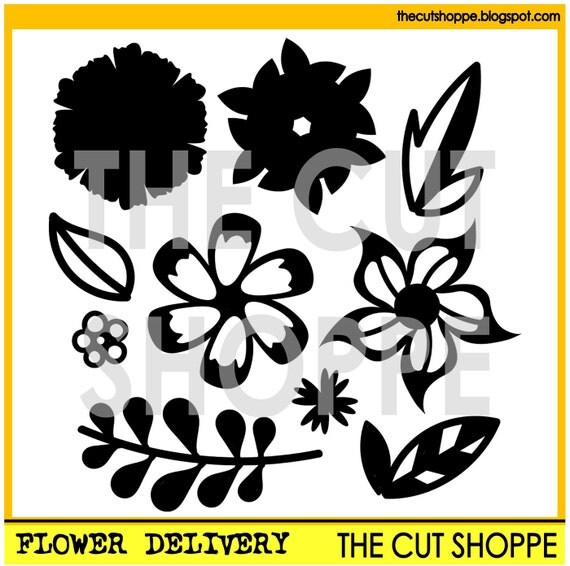
I also cut a lof of tiny flowers using "The flower delivery" set along with "The funky florals". I used a watercolor paper and painted them using watercolors.


Flowers help me to get this whimsical mood highlighted by funny characters like bee or owl. 


I hope you like this simple yet cheerful page with my cheeky and lovely daughter. It feels like an ancient history for me because she is already 4,5 years old and is no longer bald :D

Those are the cut files I used to create this page.


Thank you for stopping by and see you in about two weeks.

XO Anna


Sunday, October 22, 2017

Mug Shot! | Elsie Robinson

Hey TCS fans, Elsie here with a new layout! I think you can all agree that Autumn seems to have become the season of flavoured coffee. Pumpkin Spice Lattes are everywhere, which is actually what inspired this this layout! Even though I really don't like Pumpkin Spice Lattes... Eek! I prefer the Christmas themed Lattes ;)

But anyway, here's my layout!


I firstly started by cutting out and backing one of the new cut files in the store 'The Great Pumpkin'. I cut it into three different sizes, the biggest pumpkin was about 6 inches wide. However, the paper was cut so thin that I definitely did not have the patience to carefully take the smaller pumpkins off the mat, so I ended up completely destroying them - oops!


Although this was easily fixed, as I used the offset tool in my Silhouette software to make the pumpkins a little wider. I made sure not to increase the width of the lines too much as I like the style of thinner lines. It worked perfectly the second time around!


I also used a leaf cut file from the 'Funky Florals' set for my pumpkin leaves because I wanted larger leaves on them to contrast with the bold orange and red patterns I backed the pumpkin cut files with.


I used the coffee mugs from the 'Cuppa Joe' set, and cut three of them out so I could scatter them amongst the pumpkins! I decided not to use either of the phrases on the cups and just cut the outlines instead.

I knew this would be a busy page and my title was going to be big element so I think to have those phrases on the cups as well, would've made the page a little too chaotic!


I love the title of this page, and it comes from 'The Java Script' set. I originally just cut the title from patterned paper but it wasn't standing out enough, so I offset the title and cut that shape from white card stock and matted the patterned piece onto that, which made it stand out a lot more!


Thanks for stopping by everyone! I'll see you soon for more layouts :)