Tuesday, March 24, 2015

Hello Lucky Girl

Hey there, friends!  It's Missy back with you today.  I know St. Patrick's Day has come and gone, but I wanted to create a fun and festive layout using the new Lucky Charm cut file.  I was inspired by the rainbow and knew exactly what I wanted to do with it.  I have a process video at the bottom if you'd like to see how I created this layout :)


Here is what I came up with.  I enlarged the rainbow and gave it some color with gelatos.  I wasn't sure at first what I wanted my background to look like, but in the end I decided to create an abstract landscape with a blue sky, green grass and bright yellow sun.  I coated the cardstock with clear gesso and used a circle stencil with gelatos first...they blended in when I started adding watercolors.  You can see exactly how I did this in my video.

I didn't use any particular collection for this...it's mostly white cardstock with a few pieces of random patterned papers thrown in...they are both Recollections brand from Michael's.  There is also a piece of vellum in my layers as well.


I also cut the word "lucky" from this file.  I first traced it with a gold pen and then decided to scribble in the space.  I figured I need gold touches on a rainbow layout, right?  I also used gold thread to stitch.  I colored that wooden veneer "hello" with gelatos, paint and a bit of ink spray.


I love the dimension of the rainbow.  I didn't lay flat, and I actually like that.  I added some yellow stitching on the sun's rays...my needle got sticky at one point and made little tiny holes....you can see it here.  It doesn't bother me, though...it's not that noticable.


I cut these cute shamrocks from the file, too.  I simply colored them with green watercolor and added touches with a green gelato.  I layered some flair buttons in there, too.  I used gold foil on the wooden hearts....I showed how I did this in my video.  Super easy and fun!


One more close up of the layers and the cute shamrocks.  I topped them off with some rhinestones.


I hope this gives you some ideas on how you could use this file to scrap your St. Patty's Day photos!  I love combining gold with rainbows...they just seem to go together.

Here is my video...I hope you enjoy it!


Thanks for stopping by, and have a great day!

Monday, March 23, 2015

Guest Designer Anke Kramer

Happy Monday everyone!  We have a new Guest Designer joining us this month, and I am so excited to share her work with you!  Anke Kramer creates beautiful layouts, and her use of cut files always adds an amazing touch to her pages.  Anke created two gorgeous layouts to share with us today, but first let's get to know a little more about her.


Hi, My name is Anke and I live in a small town in Northern Germany with my husband and my dog Edgar. I’ve always loved being creative in many ways such as painting, drawing, decorating etc. I got in touch with scrapbooking in 2011 when I was looking for ideas for an album I wanted to create as a gift for my brother. I visited many creative blogs and galleries and immediately fell in love with all of these pretty papers and embellishments. One of my favorite scrapbooking tools is my silhouette cameo so I was very excited to be invited to work with The Cut Shoppe designs, as a guest designer. Thank you so much Ashley!
 
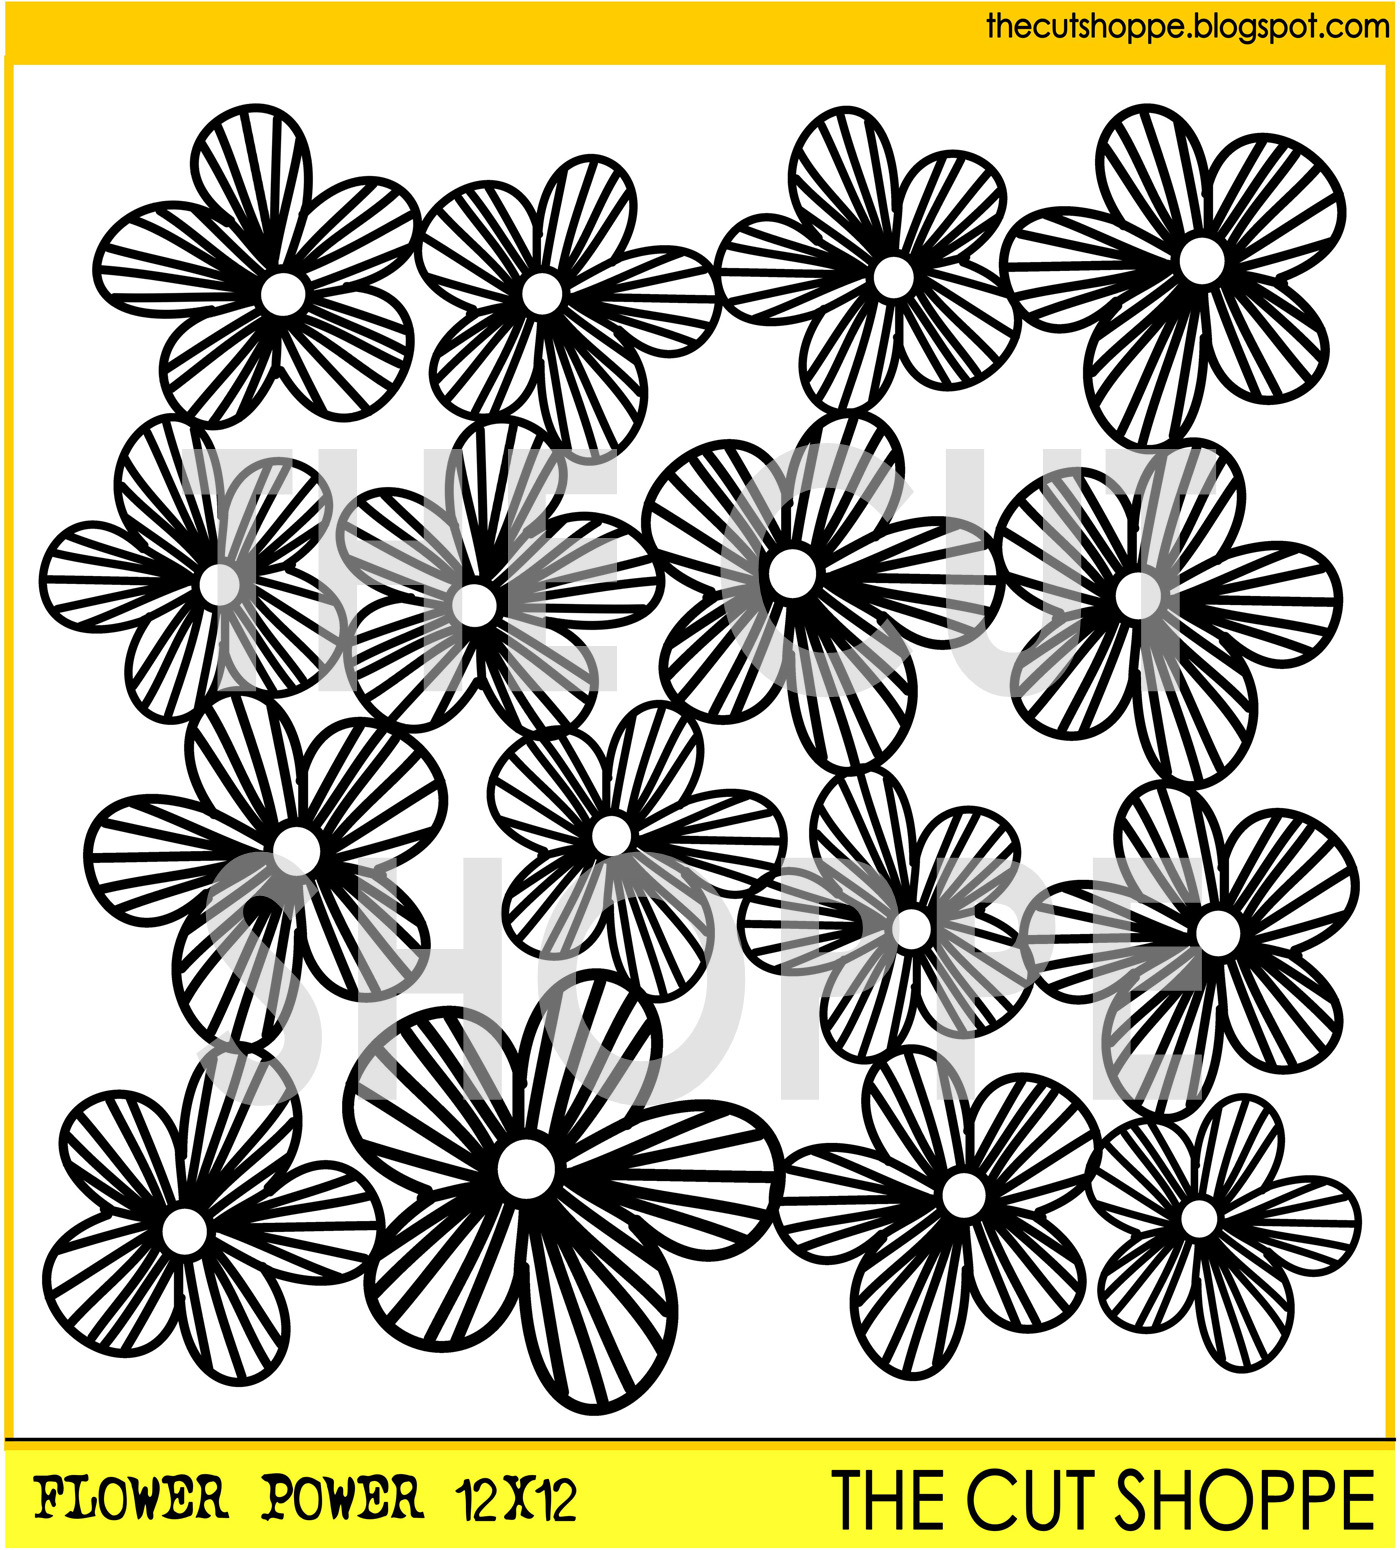
Here's what Anke had to share about her two layouts, using the Flower Power cut file and the Rosey Posey cut file!  I chose two floral designs and colored them with layers of embossing powder.  For fine details, I like to use an embossing pen instead of an ink pad.


https://www.etsy.com/listing/210864192/the-flower-power-background-cut-file-is?ref=shop_home_active_20
 
For creating the watercolor background I applied Gelatos on a piece of foil, added some water with a paint brush and then pressed the foil onto my cardstock. Finally I added some stamping.


https://www.etsy.com/listing/223161363/the-rosey-posey-cut-file-is-a-background?ref=shop_home_feat_3
 
 WOW!  We love what Anke created with these two floral backgrounds!  And her embossing and watercolor techniques add such a beautiful touch to the cut files.  Thank you so much Anke for designing for us today!  You can find more of Anke's work on her Blog, Bits & Pieces, and connect with her on social media!

http://www.ashleyhortondesigns.com/

Sunday, March 22, 2015

Hello Hello


Hi, It's Gina here today to share a new layout with you using The Love Club cut file.  I love using repeated patterns on my layouts.  I chose to use the "hello" word from this set to create a repeated pattern on my layout.


How To:  Flick white paint across a striped patterned paper background, set aside to dry.  Using Silhouette studio cut the "hello" word word five times from five different pieces of patterned paper.  Adhere notebook piece of paper to right side of a layout, use a tiny attacher to staple it down.  Print a small photo and adhere on top.  Trim a small strip from an overlay and adhere to right hand side of notebook paper.  Apply adhesive to wood veneer piece and adhere it to the bottom right hand side of layout just underneath the photo.  Adhere "focus on the happy" sticker on top.  Stamp the phrase "make it happen" in white ink across the page.  Adhere wood veneer clouds and die cut cloud to page.  Finish by adding machine stitching to a couple of the words.


Supplies: The Cut Shoppe: The Love Club cut file; American Crafts Shimelle True Stories: Patterned Papers, wood veneer pieces, overlay, die cut cardstock shapes, notebook pad, cardstock sticker, rotary stamp; Other: white paint, tiny attacher, sewing machine, thread


Saturday, March 21, 2015

I Heart String Art

Hey there! Today I'm sharing with you the layout I created using the I Heart String Art cut file that is brand new to the shop! I used it a little unconventionally and made it huge. I cut it from one piece of cardstock, traced the outline on my textured cardstock, and painted with my watercolors within that outline. I stuck down the star, added the embellishments and did some REALLY fun paint spattering.

If you need cheap creative therapy there is nothing more fun than splashing paint all over a blank canvas of ANY KIND!


I really wanted something fun for this photo of my family. We ran a 5k together and had a photo taken of us after we all crossed the finish line.


I chose paper and watercolor paints to put behind the string art based on the colors in the photo (okay, okay, mostly my crazy striped socks because life is too short to not have FUN!) 

While these cut files are very intricate, with a sharp blade they will cut beautifully!

We'd love to see what you create with this file!  Check out this and all the cut files at The Cut Shoppe!  Have fun & Happy Creating!


Friday, March 20, 2015

Dream Big


Hi, It's Gina with you today.  I have a fun layout to share with you today using string art!  Have you seen the brand new I Heart String Art cut file set in the shop?  The 5 files (cloud, house, star, heart and arrow) make great embellishments for your layouts, cut just the way they are.  But, you can also use them as templates to create your own string art, as I did on my layout today.


To create my string art layout I used the I Heart String Art cut file as a template.  I enlarged the arrow shape and then cut it out with my Silhouette.  I placed the template over my background paper and then used a hole piercer to poke holes.  After all of my holes had been pierced I began to string the design with black embroidery thread.  I used my template as a visual guide so I would know where to thread each string.  I used the same template to make three arrows.  After my string art design was complete, I finished my page, by adding my photo and embellishments.  I love the look of the three bold arrows.  Super easy and makes a great impact!


Supplies: The Cut Shoppe: cut file; Fancy Pants: Ephemera Pack, Insta Pack; Dear Lizzy Serendipity: Watercolor words, Thickers; Felicity Jane: Patterned Paper; Other: Embroidery Thread, watercolors, paint, spray mist


Thursday, March 19, 2015

Beach Day '14

Hi guys!! It's Thursday and I'm back to share a layout with you, using the new Cut File sets that are now available in The Cut Shoppe!  We've got a great variety of new sets this week, and I decided to work with the I Heart String Art cut file set.  You may think it's kind of early to do a summer themed layout since it's only March, but it's been in the 80's here this week!!  Yuck!  I am not a fan.  Too hot, too early!  I used the clouds and arrows from the I Heart String Art set to go with some photos from a beach day last year, and used the Solstice collection from Pink Paislee.


https://www.etsy.com/listing/226708496/the-i-heart-string-art-cut-file-consists?ref=shop_home_active_1

I cut out several of the clouds and backed three of them with patterned papers from the Solstice collection.  Then I cut the outline for two other clouds from patterned paper and just added them to the background.  I used the arrows to point toward the center of the rays, to bring the design together.

I have a new Process Video up, sharing how I put the layout together, and I would love for you to check it out!!


And don't forget to check out the other new sets that are in the Shop today!  Here's a look at all of the new sets!

https://www.etsy.com/shop/TheCutShoppe?show_panel=true

Supplies:  I Heart String Art Cut File:  The Cut Shoppe; Patterned Paper, Stickers & Bits:  Pink Paislee; Flair Button:  A Flair for Buttons; Color Shine: Heidi Swapp; Enamel Dots:  Freckled Fawn; Date Stamp:  American Crafts; Die Cut Machine:  Silhouette Cameo

http://www.ashleyhortondesigns.com/

Wednesday, March 18, 2015

Pretty Much Perfect

Hi! It's Heather here today, and I'm excited to share with you a new layout that I created with some new cut files from The Cut Shoppe!

Originally I was planning on backing the "Geometric Graffiti" cut file with patterned papers because I just LOVE this triangle-filled background cut. And patterned paper. I LOVE patterned paper. ;) So I did that. And WHEW! First of all, that took a while. And also I didn't like it. Then I added some machine stitching to it, along with some paint and gesso. I should not have done that. LOL I hated it even more with each addition. 


So I decided to scratch that idea and recut the cut file and try another idea. Previously, I have used cut files as stencils and painted inside the shapes. I did that with this "Geometric Graffiti" background using some pink watercolors. Boo hoo. I didn't like that either. I especially didn't like the way it crinkled the paper! 

I ended up leaving the page on my desk for a day or so so I could think of another way to salvage the layout. It ended up that try #3 I liked (finally)! Instead of using the entire diecut background, I used the triangles cut out by the background (they are super cool on their own!). I watercolored them different shades of turquoise and placed them in a messy column on the left side of my page. I even salvaged the chalkboard word strips from try #2 and used them on my final page.


I also used the cloud cut in the "Moody Blues" set to make the white clouds on one of the squares in the grid. I think those clouds are so funky and perfect! 

Guess that just goes to show that the saying, "Try, try, and try again" is true. I finally came up with a layout that I like after three attempts!