Saturday, May 26, 2018

BLOOM | Donna Espiritu

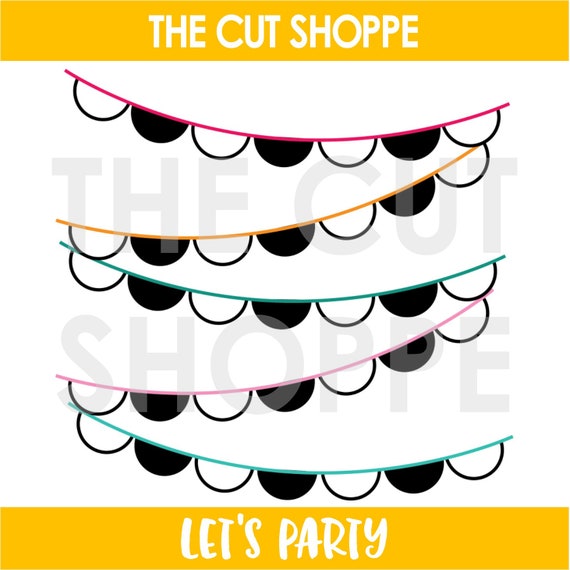
Hello! Donna here with my take on one of the latest cut files in the shop called "Let's Party".


This is the cut file I used


I kind of deconstructed it to complement the pattern on the papers I chose as background.

I used a white cardstock as the base and then backed the empty spaces with pretty papers from the Bloom collection by Simple Stories.

I took advantage of the slope the banner created and adhered the chipboard word art "Bloom" as the layout title. A mixture of stickers, ephemera, and chipboard stickers embellished the page.


That's all from me today! Thanks for dropping by and
Happy crafting,


Friday, May 25, 2018

Espresso Yourself ~ Cards In 2 Ways | Helen Gullett

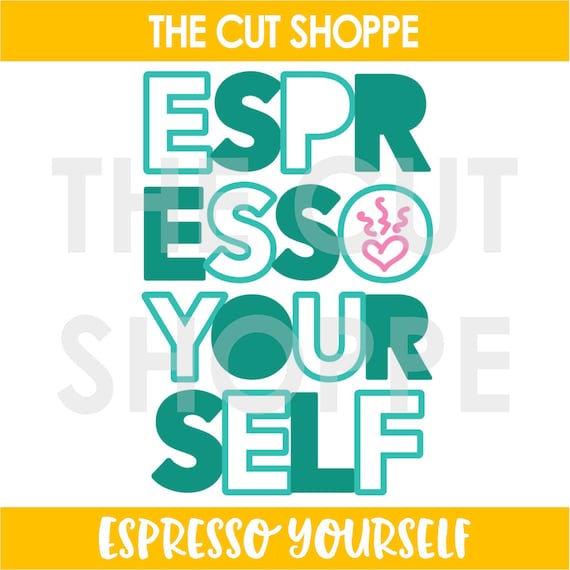
Hello everyone... Helen is here and today I have 2 cards that I created using the Espresso Yourself Cutting File, one of the new cutting files from The Cut Shoppe that just released last week.


On these cards, I am using both positive and negative cuts. This way, you can use to make 2 cards with just 1 cutting file. 

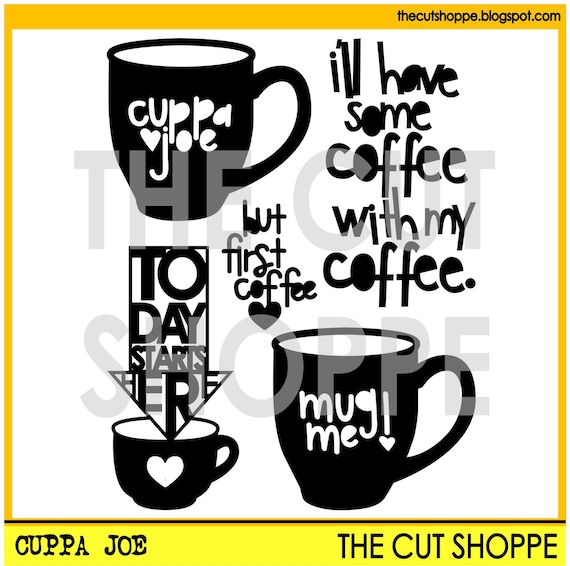
On my cut out, I modified the Espresso Yourself cutting file a little bit. Instead of the steamy heart image, I replaced it with one of the mugs from the Cuppa Joe cutting file. 


On this first card, I added the words on dark brown/white polkadots paper with dries-clear adhesive glue. After that I fussy cut the extra paper off the words.

I added some shadow on the words using Vintage Photo Distress Ink and foam applicator. After that I added on the card with 3D foam tape for extra dimension to them. I love how those words turned out, they look like chipboard words. On the background, I added a softer look patterned paper. 


On this second card, I added the cut out panel on a light brown/white polkadots patterned paper with dries clear adhesive glue and then I added the whole panel on a white card. 

Using digital cutting files, it quick and easy way to create handmade cards.


If you are coffee/tea/cocoa lovers, you are invited to join this fun Coffee Lovers Blog Hop and Link Up Party this week. You can link up any of your Coffee/Tea/Cocoa Spring and Summer theme projects until June 1. There are many prizes to win! Check out more details at Coffee Loving Cardmaking Blog.

Thank you so much for stopping by today. Hope you all have a fabulous caffeinated day!


Thursday, May 24, 2018

dance | orange gearle

Hi friends! Orange Gearle here with a layout using one of the new cut files in the shop I used white card stock for the cut and then a bunch of beautiful papers from Maggie Holmes Flourish collection. 


The cut file is called Let's Party! And I loved using it to tell the story of my mom and daughter dancing together in a restaurant. 


I backed the file with a bunch of papers from the 6x6 pad in the collection. I love how the 6x6 works for backing cut files because the patterns are scaled down. Here are a few close ups!


I added some fussy cut flowers to my layers and called it done! I also made a process video, if that suits your fancy!


Thanks for stopping by! See you again soon! XO o.g.


Wednesday, May 23, 2018

Oh Snap | Tarrah McLean

Hi everyone!

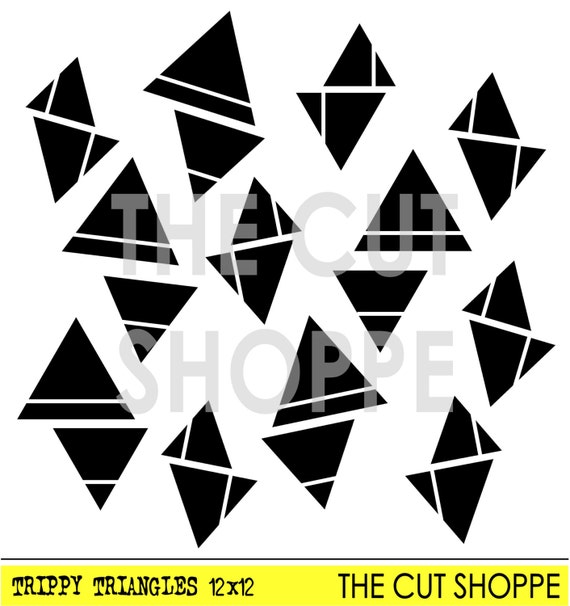
It's Tarrah McLean back with you and today I am sharing a new layout with you using the awesome Trippy Triangles 12 x 12 cut file. 

Here is the Trippy Triangles cut file from the Etsy store I used on my layout!

I backed all the cut out triangles from the background paper with some of the other papers by Pinkfresh Studio, I used a range of collections in this layout! I love Pinkfresh Studio products! 

My photo was the inspiration for this layout, the shark head reminded me of triangles and the Trippy Triangles was the perfect solution for the cut file to use! 

As I was rummaging through all my Pinkfresh stuff, I came across the transparent words and the one that says 'Oh Snap' was just perfect and made for this layout!

Embellishments were kept to a minimum so as to not cover up too much of the background detail. 

Thanks so much for stopping by today! Check out The Cut Shoppe Etsy store for amazing designs to use in your papercrafting!


Tuesday, May 22, 2018

hello there ♥

Good morning, Shannon here sharing this layout with you ♥

It has some of my very favorite people in it, and it's perfect for featuring one of Ashley's brand new files! Take a look:


You'll find Hello Hello and The Happy Little Clouds set on this layout, thanks for taking a look!


Make sure you keep checking back on the blog for inspiration! ♥

Monday, May 21, 2018

Cactus Embroidery with Kira


Hey everyone!  It's Kira and I am back with a little off the page project today.  Did you know you can use The Cut Shoppe cut files as embroidery patterns?!  I chose this cute little cactus from the Llama Love cut file to embroidery as a gift for a friend.


There's a few ways you can use the cut file as an embroidery pattern, but to start, you'll need to choose your hoop size and fabric.  I buy 5.5" hoops in bulk so that's the size I went with, but any size will work!  And I typically use a cotton blend fabric, but if you're a beginner, a sturdier fabric might be best.


Then to transfer your cut file.  You could print the cut file on paper and trace around the image onto your fabric by using a light box or window.  You could use the draw feature on your die cut machine to trace the image onto paper and then transfer it onto your fabric.  Or you can do what I do and let your die cut machine trace the image directly onto your fabric for you!  It's so easy!  I use just a regular black precision pen, but if you do that, you will need to make sure you cover up all the pen marks with your stitching.


Once you have your image transferred, it's just a matter of stitching.  I am no professional here.  I am actually self taught and have Pinterest to thank for that.  So if you're interested in learning, it's a really easy hobby to pick up for relatively low cost.  But in case you're curious, the stitches I used are mostly the short and long stitch and a satin stitch.


Thanks for stopping by!

xo, Kira


DIY Canvas Tote Bags For Teachers | Helen Gullett

Hello The Cut Shoppe fans! Helen is here today... School year reaches the end and we are so totally all the teachers for all what they have done to help our children to grow. For them, I made these canvas tote bags that filled with gifts.


I dressed up these three canvas tote bags with glitter heat transfer vinyls (HTV) that I cut them with cutting files from The Cut Shoppe.


On this first canvas tote bag, I cut out the some of the images from the School Rules and You've Been Schooled. When you work with HTV and vinyl, don't forget to mirror the images, and then cut. After I cut and weeded them, I saved the numbers and letters for the second canvas tote bag.


I put the cut out HTV images on the canvas (plastic carrier on top), added pillow case on it, and then I ironed it with the highest/cotton setting and no steam. I pressed it down for at leas 20-30 seconds each section. Once a while I checked it if it sticked or not yet.


On the third canvas tote bag, I used the All Caps Alpha cutting filed to create the words: Teach and Inspire. With alpha cutting files, you can create any word you want to put on your project!

For the love heart image, I welded the heart image from Friends Forever and the word "love" from Words To Live By cutting files. Before I welded them together, first I removed the word "life" from the "Love Life!" using the erase tool on Silhouette Studio.

After I arranged them in the space where I wanted them to be, I mirrored them, and then cut. Then, I ironed them just like the first 2 tote bags above.

Creating these canvas tote bags is super fun. I love the options what I can do with digital cutting files on projects I want to create.


I hope today's projects give you some inspiration to try something new with The Cut Shoppe cutting files! Thank you so very much for stopping by today. Have a fabulous day!