Showing posts with label Traveler's Notebook. Show all posts

Monday, March 30, 2020

Love This | Marsha Farris

Hey friends!  Marsha here sharing a layout in my life crafted album.  For my final project for The Cut Shoppe, I chose to create a spread using one of my favorite cut files- the Love Rules cut file.

Here's a look at the layout and cut file:


To begin the spread, I cut out the heart TN portion of the cut file using white cardstock.  I adhered it to a patterned paper sized to fit in the album.  Next, I did some machine stitching around the edges of the cut file.  I added my photo and used some wood veneer hearts as embellishment, adding them to the hearts that were cut out in the cut file.  I also added a rainbow sticker and wood veneer heart to frame the photo.


For the other side of the layout, I adhered a strip of the same patterned paper to the left side of the page and did more machine stitching around the edges.  I layered some tags and a label and created my title using a puffy word sticker and stamping.  To complete the page, I added my journaling in strips below the title and added a few more wood veneer hearts.


Thank you for stopping by today!  I have enjoyed my time here, sharing projects using the awesome cut files from The Cut Shoppe store!

xo,
Friday, March 13, 2020

Happy Details | Marsha Farris

Hey friends!  It's Marsha with you today, and I'm sharing another layout in my traveler's notebook.  I used the fun Bless Your Heart cut file from The Cut Shoppe.

Here's a look at the layout I created:


Here's the Bless Your Heart cut file:


For my project today, I am documenting two photos of my youngest son and me.  He rarely asks to take photos, so I am always happy when he requests them.  We take one "serious" photo and then take lots using Snapchat filters.    

To begin the spread, I resized the cut file to about 4" wide (to fit in my traveler's notebook) and cut it out using white cardstock.  I then backed it with a turquoise patterned paper.  I trimmed a woodgrain patterned paper into a tag shape as the base for the page.


Next, I adhered another patterned paper to the bottom of the page and added the title at an angle using a die cut and puffy word sticker.  To embellish the page, I used some puffy stickers and a chipboard sticker and stamped the date below the cut file.


For the other side of the layout, I added another piece of the heart patterned paper at an angle at the top of the page.  I added my two photos and used labels and puffy stickers to embellish.  I used another puffy word sticker at an angle on the page to mirror the one on the other side of the layout.


To finish off the page, I typed my journaling, trimmed it out, and stapled it to the layout.


Thank you for stopping by today!  I hope I have inspired you to use a cut file on your next project.  I'll see you again soon!


Friday, February 21, 2020

Happy Love Day | Marsha Farris

Hey friends!  It's Marsha back again today sharing a layout in my traveler's notebook album.  I couldn't resist creating one more Valentine's Day project before the month was over!  I used the fun Love Rules cut file from The Cut Shoppe.

Here's a look at the layout:


Here's the cut file:


For my spread today, I am documenting a photo of my youngest son with his Valentine treat bags for school.  He loved making goodies for his friends and teachers!

To begin my layout, I printed out the cut file using white cardstock and backed it with a plaid patterned paper from my stash.  I love using the TN sized cut files, because they don't require much embellishment but look awesome on a page!  I stamped the word "happy" using a stamp set from Elle's Studio and black ink.  To complete the title, I used puffy letter stickers to spell out "day" and stamped the date using a roller date stamp.  To complete this page, I added a puffy heart sticker to the heart portion of the cut file.


For the other side of the layout, I used a grid paper as the base.  I added my photo and used a variety of ephemera pieces to create a grid on the page, overlapping the photo with some of them.


Next, I added more stamping using two stamp sets from Elle's Studio.  To finish off the page, I added some staples and faux stitching to a couple of spots on the layout.


Thank you for stopping by today!  I hope I have inspired you to use one of the awesome Traveler's Notebook cut files from The Cut Shoppe on your next project!

xo,


Sunday, February 16, 2020

My Boy | Mandy Melville

Hello everyone!

Mandy here with you today to share a traveler's notebook layout using the Love Grows Here cut file from The Cut Shoppe! It was perfect for documenting a recent photo of me with my handsome boy!


Here's a look at the cut file.

Love Grows Here

I started by resizing the cut file to fit my traveler's notebook insert. I then cut it out of white cardstock and backed it with patterned papers. I chose to use the Felicity Jane Madison collection for this layout, as I thought the colours would complement the photo nicely.


Once I'd finished backing the cut file I adhered it to the left hand side of my spread, and I scattered some sequins and puffy stickers around it. I also added some typed journaling to this page as well.


Over on the right hand side of the spread I added my photo and title. I kept this page fairly simple so as to keep the focus on the cut file and photo.


Thanks so much for joining me here on the blog today! I'll be back with another project to share with you later this month.


Wednesday, February 12, 2020

Be My Valentine | Marsha Farris

Hey friends!  It's Marsha here today, and I'm back with another layout in my traveler's notebook.  I used the oh so fun Be My Valentine cut file from The Cut Shoppe.

Here's the layout I created:


Here's the Be My Valentine cut file:


For my project today, I used lots of January 2020 release products from Elle's Studio.  To begin the layout, I sized the cut file to fit in my traveler's notebook and cut it out on white cardstock.  I backed the words and heart with different patterned papers.  Next, I adhered the cut file to another patterned paper and added it to the traveler's notebook.  To embellish the page, I added some puffy heart stickers and a die cut heart.


For the other side of the layout, I layered a tag behind my photo.  I stamped a label and sentiment onto some patterned paper, trimmed it out, and added it to the top of the page.  I used some phrase stickers and a leatherette sticker to frame the photo.


I did a bit more stamping at the bottom of the page and added a puffy heart sticker.  To finish off the layout, I added a messy hand-drawn border around the edges of the spread.


Thank you for stopping by today!  Be sure to check out all of the fun new designs at The Cut Shoppe store.  I will see you again soon!

xo,


Wednesday, February 5, 2020

DEN fun with Kira

Hey there!  It's Kira and I am back with another layout in my Life Crafted album.  If you are unfamiliar with these albums, they are from Citrus Twist Kits and are about the size of a standard travelers notebook.  But they are in a six ring binder form, and include page protectors and pocket pages.  Here's a look at the layout I created today:


Today I am telling the story of what career I had when I got my dog Folsom, and why I chose a new career because of him.  I typed out my journaling on white cardstock and cut it down to 4.25x8.25.  There was a space at the bottom of the page where I placed a sticker and did a little hand stitching. 


 In this album, I've been loving the look of bits of ephemera punched and stuck in throughout.  And there were some cute pieces in the Dear Lizzy She's Magic collection that I thought worked perfectly like this first class tag:


I used another die cut, which looks like a postcard, as well.  But the back looked very plain, which is where The Cut Shoppe's Ready Set Go cut file comes in!


With a little Cricut magic, I was able to cut one of the cute little airplanes out on patterned paper, and created my title for the page "DEN fun" (which is the airport code for Denver, where I was based during this time).  

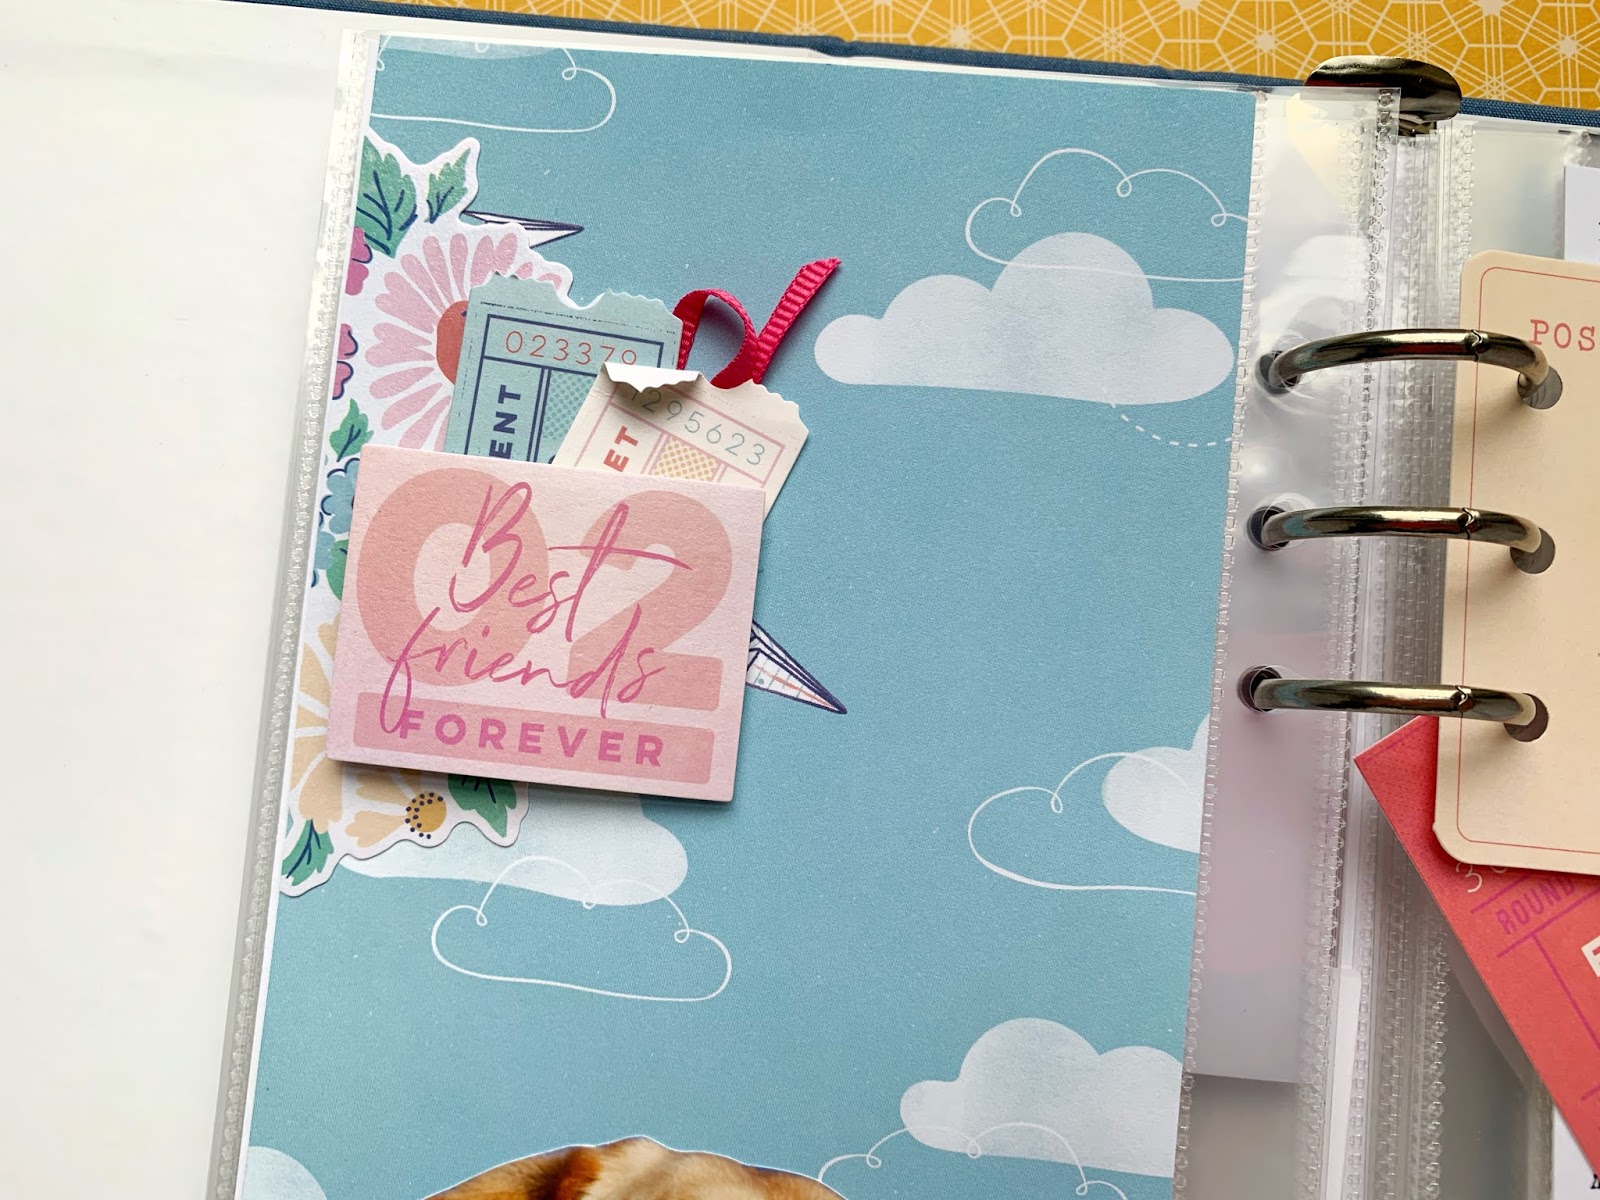
On the reverse page, I fussy cut a photo of Folsom, and adhered it to a patterned paper with blue skies, clouds and paper airplanes, which seemed fitting.  


The page seemed a little simple though, so I added in an embellishment cluster above the photo, on the left hand side of the page.  


And that's it!  Thanks for stopping by!


xo, Kira 


Tuesday, January 21, 2020

All the Feels | Marsha Farris

Hey friends!  Marsha here again today sharing a layout in my traveler's notebook.  I used the Working Title cut file from The Cut Shoppe.

Here's a look at the spread:


For my project today, I wanted to do a non-traditional Valentine-themed layout about two of my favorite things- coffee and coffee mugs.  I began by cutting out the cut file using white cardstock.  I backed the heart portion with a black and white grid paper.  I chose a patterned paper from my stash to use as the background for the left side of the spread.  Using my sewing machine, I did some messing stitching around the edges of the paper.  I love how this adds texture and interest to the spread!  Next, I adhered the cut file to the page and added a heart ephemera piece, attaching it with staples.


For the other side of the layout, I printed my photo and backed it with a black and white patterned paper.  I used a tag and some ephemera pieces to embellish around the photo.


I printed my journaling on the computer and added it to the page.  To finish off the spread, I added a stamped sentiment and some more machine stitching.


Thanks so much for joining me today!  Make sure you stop by The Cut Shoppe store and check out all of the fun cut files!


Thursday, January 16, 2020

Fabulous NYE | Marsha Farris

Hey friends!  Marsha here again today sharing a traveler's notebook layout.  I was excited to document my New Year's Eve photos, and I decided to use the fun New Year Countdown cut file from The Cut Shoppe as a feature on my spread.


For this layout, I began by cutting out the cut file using white cardstock.  I trimmed the cardstock to fit in my TN album and backed the numbers and "Happy New Year" with black cardstock, so that it would stand out on the page.  I decided not to use the star and 2019 that was in the center of the cut file, but instead trimmed my fireworks photo into a circular shape and placed it in the center.  I love how this turned out!  For the title, I used a gold glitter word and puffy alpha stickers.  I added labels, glitter stars, and some stamping to embellish.


For the other side of the layout, I began by printing my photos in black and white into a collage.  They were not the best quality photos, so I didn't mind printing them at a smaller size.  It also allowed me to get more photos on the spread.  I layered some patterned papers behind the photos and added ephemera pieces, stamping, and puffy stickers to embellish.


Thanks for stopping by today!  Make sure you check out the amazing cut file designs at The Cut Shoppe store.  I will see you again soon!