Showing posts with label cutfiles. Show all posts

Tuesday, March 24, 2020

Happy spring layout - Lisa Fonseca

Hey friends, 

it's Lisa on the blog and today I'm sharing my last layout for TheCutShoppe.


The cutfile I'm using is called Happy spring, you can find it by clicking on this link. :)

For this layout, I wanted to use very bright spring colors, so I chose pink, yellow and mint. I went through my paper scrap stash and chose all the ones that I thought would look good together, then I traced all the letters on the mint and pink papers and cut them out. 


For my background, I created three stripes of color, using acylics, on a white cardstock sheet. Then I adhered my letters to the mint and pink sections. I wasn't careful with the placement of the letters, I wanted them to be a bit crooked, so that when I placed the cutfile on top, they would't match perfectly. If you have been following me for a while, I'm sure you know that I like doing this. I like when the letters peek out from the sides.


The yellow section was still empty at this point. I wanted to place my photo there but I also needed something else to fill up more space. So I went back to my cutfiles and used one of the flowers from the Spring Flowers cutfile. I backed it, as well as my photo, with a yellow patterned paper. I thought it would be cool if the flower had a stem going down to the green section. So I cretated a stem with leaves and a cute little knot. 


I went through my stash and chose a lot of cute little details to add. Stickers, ephemera pieces... I added them all to the corresponding section. To finish I splattered some paint. 
I hope you like how it turned out. 


I want to thank Ashley Horton again for giving me the chance to work with her great cutfiles. Audrey, I wish you all the best for your future projects. :) 

Don't forget that you can still purchase cutfiles on the CutShoppe website!!! :) 

Thank you for the support and nice comments on Instagram.

See you,

Lisa


Tuesday, March 10, 2020

Lovely moments layout - Lisa Fonseca

Hey friends,

it's Lisa back on the blog today and I'm sharing a super fun layout using the beautiful cutfile SPRING FLOWERS. You can check out all of the other super cute cutfiles on the THECUTSHOPPE website.


I know that my last two layouts for The Cut Shoppe have also had big hearts... well, I can't stay away from hearts apparently... ;) I just love them! When I saw this cutfile, I knew I wanted to use it. Flowers and hearts, it was just screaming my name! :)

To start I chose the papers and colors I wanted to use. I wanted my color scheme to be a bit different than usual. Of course, I wanted pink, but I also wanted the layout to be bold and not too pastel. I went to my big drawer of scraps of patterned papers and chose the ones I liked together. 


I cut out the cutfile from white cardstock and also created a cutfile from it with just one flower. I then used that flower cutfile to cut out all my colored flowers to back the cutfile. That way, I didn't have to trace all the flowers and cut them all by hand. 

I started by adhering all my flowers to the white background and then added the cutfile on top. That way, the flowers were not matching the cutfile exactly and I love that effect, when some parts peek out from the sides. Then I went around it with my stitching machine and white thread a few times to give it more definition and to have this cool messy border. 


I looked through some of my Maggie Holmes collections and found a few fussy-cut flowers and leaves, word stickers and puffy stickers, some heart stickers and some green jewel stars. I used the word stickers as my title and the rest of the embellishments to decorate my heart. 


I also used a super cute sticker with a girl lying on an inflatable hoop... :) To add more detail and interest, I used some tangled gold thread behind my fussy-cut flowers. 
I also created a frame with a fun yellow patterned paper and then splattered gold paint around the heart. 


I really hope you like it, thank you so much for stopping by,

see you soon,

Lisa :)


Sunday, September 23, 2018

Haunted Halloween | Erica Thompson

Hello Everyone!  Welcome back to The Cut Shoppe blog!  Today I have a fun layout to share using one of the new cut files called Haunted Halloween!
As soon as Ashley posted these new cut files for the design team I knew I had to cut this one!  I cut it out using some black textured cardstock and I just love how it turned out!  I backed the file using fun Halloween papers from Photoplay Paper's Trick or Treat collection!  Halloween is my absolute favorite and I think I have just about every Halloween collection every printed!  


I started with a piece of smooth white American Crafts cardstock as my base.  I added some black splatters and some purple using my Seedless Preserves Distress Ink from Tim Holtz!  The purple color was a perfect match!  
The photo I used is one from a past Halloween.  We all dressed up as a Star Wars character and we had so much fun!  We even talked my oldest sons girlfriend into dressing up and taking the littles out trick or treating!  It was so much fun and the kids loved that mom and dad dressed up!  You know I am counting down the days till this Halloween!
You can find the Haunted Halloween cut file in HERE in The Cut Shoppe! While you are there check out all the other new cut files released this week! Here is a look at my final layout using Haunted Halloween!
Thanks so much for stopping by the blog today!  I hope to see your projects soon using the new Haunted Halloween cut file! Have a great day!


Sunday, July 22, 2018

Liam Jay | Erica Thompson

Happy Sunday everyone!  Erica here with you today to bring you a layout using the Super Star Alpha from The Cut Shoppe!


I wanted to cut out my sons name Liam Jay and use that as the main focus of my layout!  I cut the letters out of American Crafts white cardstock!  Once I had the letters picked out for his name I made sure that each letter was touching each other and then welded them together so they each word would be one piece.  It was very easy to do and I love how it came it!
I used a super cute collection designed by Lacey Gasper called Burps & Giggles!  I just love the colors in this collection!  It is a digital collection so you can print at home or do like I did and send to your local printer to print it off for you!  
I backed each letter with pattern paper and adhered to my layout using foam tape!  I love this alpha so much!!  It is so fun and can be used on so many different themed layouts!  I think it would also be fun to use some sketch pens with it and cover a whole paper in this alpha!  Maybe some fun words or lyrics to a song! 
Here is a look at my completed layout!  Maker sure to check out my process video HERE!


Thank so  much for stopping by today!  We would love to see how you use the Super Star Alpha cut file!  Make sure to tag us when using TCS files on your projects!  Have a great rest of your day and if you have not already joined the Scrap Spot on Facebook we would love to see your lovely face!  You can check it out HERE!


Friday, April 7, 2017

Happy Adventure

Hello again, it's Melissa here and I'm back with you from Autumn here in the Southern Hemisphere! I must say I've been looking at lots of Spring photos on social media and wishing it was Spring here!!

Today I have a layout to share of my oldest two kids that was taken for the school calendar last year.  Its such a lovely photo of the two of them, and trust me its very hard to get a smiling and happy photo without someone pulling a face!!  Of course in the making of this layout I had to restrain myself from using hearts and words such as "love" haha!!

I used "The Half of It" Background cut file, and I turned it upside down.  Remember to always make the cut files work for you, for your layout.  I also used my February Hip Kit.


I prepared my background with my watercolours and the packaging technique.  I applied gold acrylic paint with a baby wipe.  I layered the cut file over the top so the paint would peek through.


I embellished with die cuts, a fringe butterfly and a fussy cut butterfly.


I made my title with a sticker and a chipboard word.


And here is the cut file which you can purchase here.


Thanks for looking!


Tuesday, January 10, 2017

Restore

Hi its Melissa here, Happy New Year!!  I always love to start my year off with a word that will set the scene for the year.  I write my goals around that word, and I choose a bible scripture that supports my word.  This year my word is "Restore", and its appropriate for me after 9 months of being sick with Hyperemesis Gravidarum (extreme morning sickness) throughout my entire pregnancy.  Now that baby Ava is 7 weeks old I'm looking forward to getting my health and life back on track, and being fit and healthy.

I used two cut files for this layout, the new Flower Delivery cut file and the Brush Up Alpha, which is an older release.   My background paper is by Cocoa Vanilla Studio and all other products are from Take Me Away by Paige Evans for Pink Paislee.


I cut my title twice from white cardstock and layered it up for extra dimension.


I had so much fun cutting the flowers and leaves from different patterned papers and layering them with dimensional foam so they popped off the page.


Here are the two cut files, so many creative possibilities with both of them!


Thanks so much for looking!


Wednesday, November 30, 2016

LoveLoveLove

Hello, crafty friends. It's Eunoung. Today I'll a layout with a beautiful wreath cutfile. I used a The Wreated in Love cut file set.


Wreated in Love cut file set in cludes three beautiful wreath die-cuts.

1. Cut a wreath cutfile by silhouette cameo.
2. Do machine stitching on background with a white thread.
3. Arrange wreath die-cut, a photo, other die-cuts.
4. Do machine stitching on die-cuts.
5. After adding a wreath die-cut, add a photo & other die-cuts using pop-dots.
6. Embellish with puffy stickers & cork stickers.
7. Stamp a date here & there.
(I usually stamp a date several times on a background as an embellishment)
8. Finish to splatter a white mist on background. 


I hope you'll enjoy it and Thank you for stopping by.


Friday, October 9, 2015

Wicked Fun!

Hello friends!  Candace here today to share another Halloween layout with you!  So far my favorite cut files ever from The Cut Shoppe are the Halloween cut files.  I adore them all!  I had a "wicked fun" time creating with them this year!  For my first Halloween layout I decided to use the Wicked Fun cut file from the shop.  Here is a look at how fab it is...


I paired this cut file with the adorable collection from Crate Paper called "After Dark".  Here is a look at the final layout including some close ups.


Here is a video of the entire process of me putting this fun layout together.  Enjoy!  Can't wait to share my next Halloween layout with you!  Have a beautiful day!


Friday, June 19, 2015

Nannie & Grampie

Cara here today with a layout about 2 of my children with my grandparents, who celebrated 63 years of marriage yesterday!!


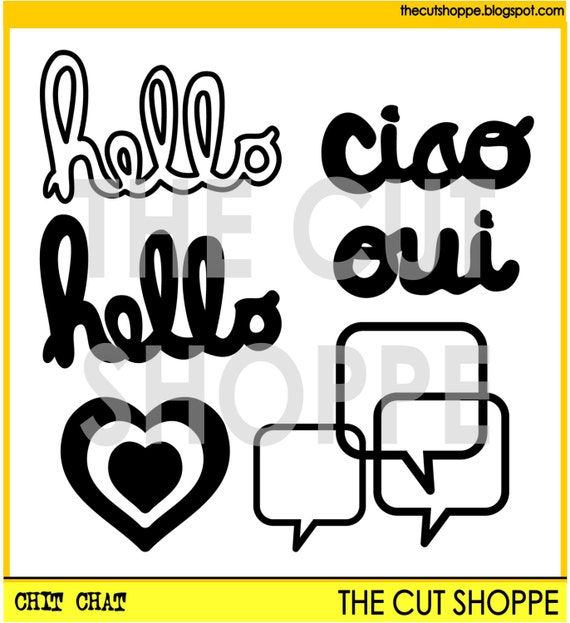
Lately, I have become completely obsessed with using my silhouette to make stitching holes and then getting out the needle and floss!  Today, I tried string art and I LOVE how it turned out.  I used the heart from the Chit Chat cutfile and added holes just around the outer shape.


The Chit Chat cuf file includes 4 phrases and 2 icons, that can be used for your scrapbooking and papercrafting projects.

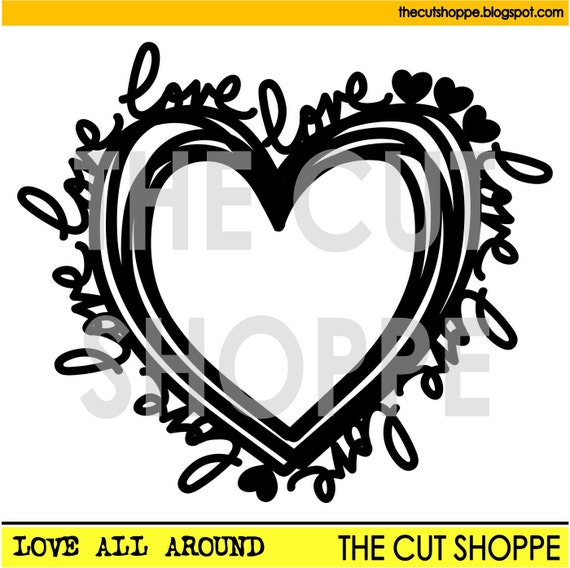
I used the new background cutfile called Love All Around, but instead of using the actual cut, I used the negative and backed it on a piece of yellow patterned paper. It took some time to get all the pieces glued on in just the right spots, but it was worth it!


The Love All Around is a heart shaped background, that can be used on your scrapbooking and papercrafting projects.


Hearts are one of my favourite shapes to use on a layout or project.  What are some of your favourites?

Have a fantastic day!